










Skip to navigation Skip to main content
Home > Blog > How to Define Diamond Blade End of Life: Endpoint Criteria for Testing and Production
Diamond Blade Articles, blog

How to Define Diamond Blade End of Life: Endpoint Criteria for Testing and Production

How to Define Diamond Blade End of Life: Endpoint Criteria for Testing and Production

Ask three people when a diamond blade is “worn out,” and you may get three answers. One says when it stops cutting. Another says when the finish gets rough. A third says when the supervisor tells them to swap it.

That disagreement matters. Blade life is the number behind most blade comparisons, cost calculations, and supplier decisions. If nobody defined the endpoint, the number means little. Two tests can report different lives for the same blade simply because they stopped at different points.

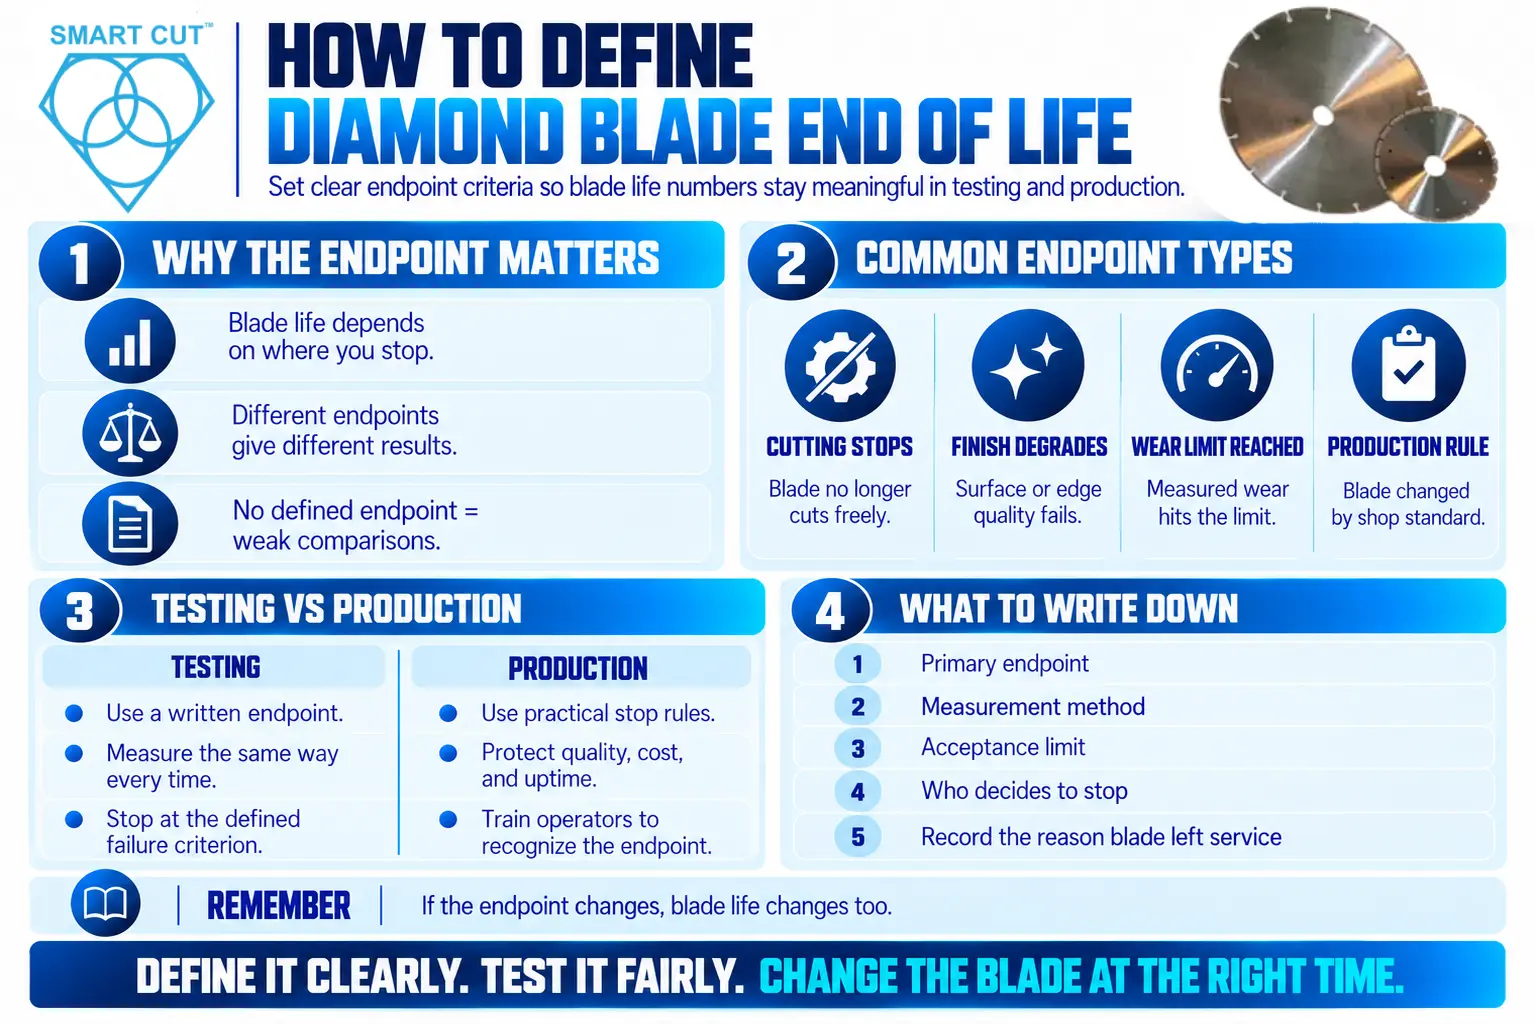
This article shows how to define a diamond blade’s end of life. It covers the types of endpoints, the criteria you can measure, how testing and production differ, and how to write the rules down. The goal is a clear answer to one question: when do we stop using this blade?

Trusted by Tens of Thousands of Manufacturers, Laboratories Research Institutions Worldwide Since 1990

American Based Manufacturer

Established in 1990

Custom manufacturing

Why Blade Life Needs a Definition

Why Blade Life Needs a Definition

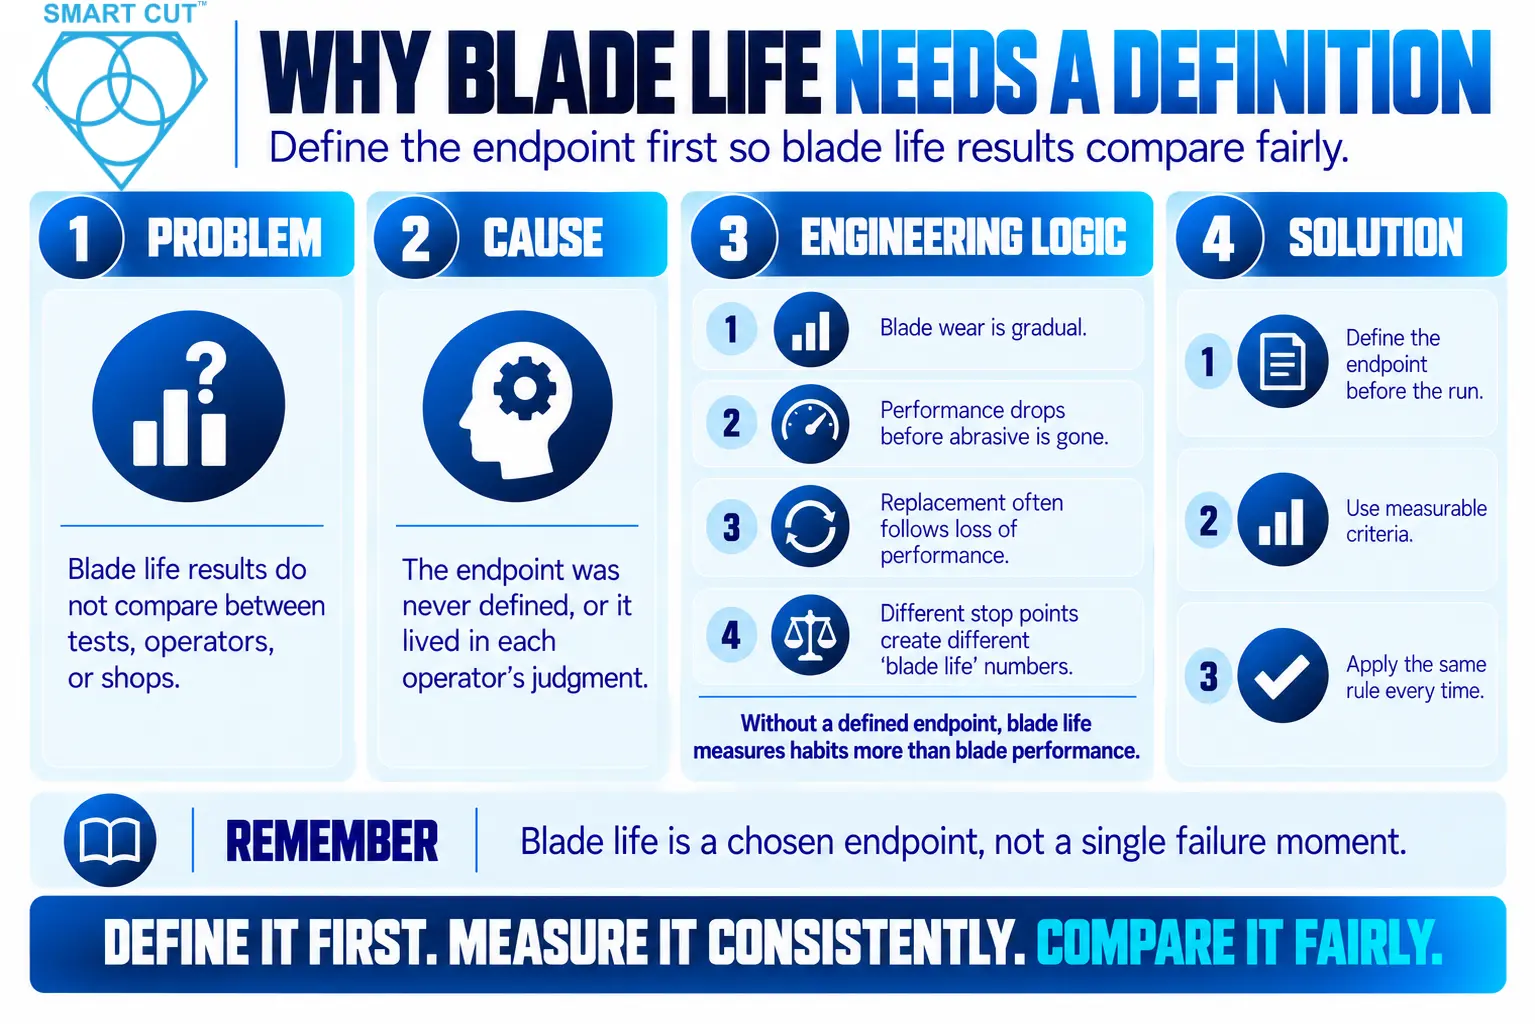
Problem: Blade life results do not compare between tests, operators, or shops.

Cause: The endpoint was never defined, or it lived in each operator’s judgment.

Engineering logic: A diamond blade does not fail at one moment. It changes gradually. Diamonds wear, the bond erodes, the rim changes shape, and cutting conditions shift. Many blades are retired long before the abrasive is fully consumed. Our article on how to increase diamond blade life makes the same point: replacement usually follows a loss of performance, not the loss of all the diamond.

Because the change is gradual, the endpoint is a choice. You pick the point where the blade no longer serves the job. If you pick it differently each time, “blade life” measures your habits, not the blade.

Solution: Define the endpoint in measurable terms before the test or production run starts, and apply the same definition every time.

Four Kinds of End of Life

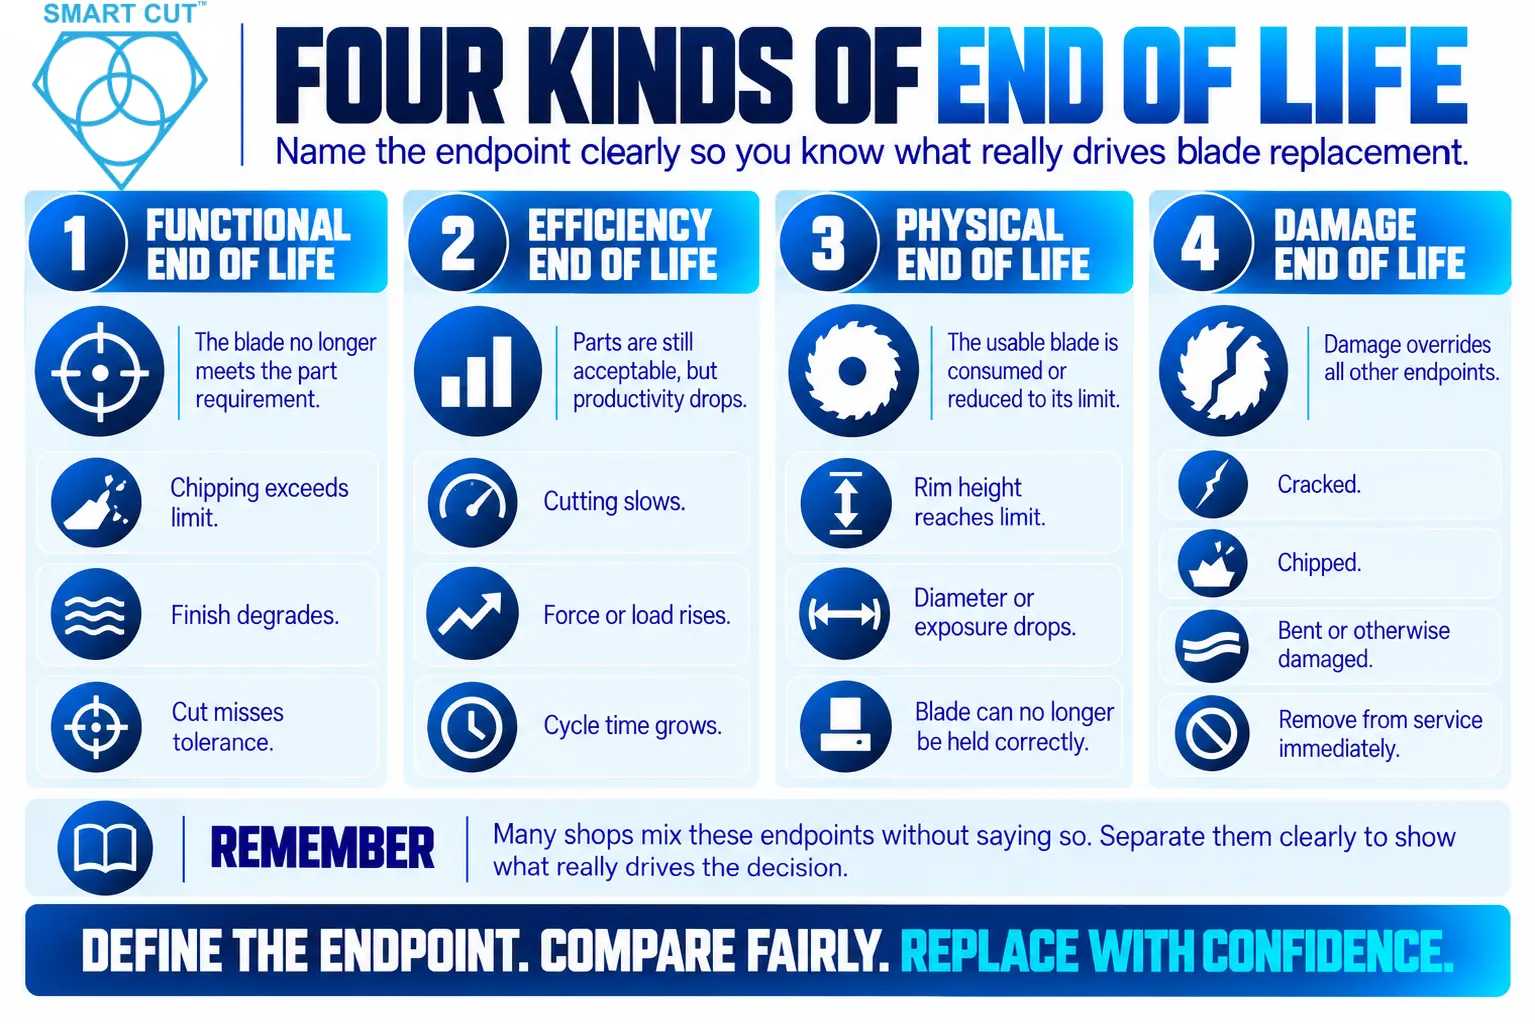
A blade can reach the end of its useful life for different reasons. Name them separately, because each needs a different response.

  1. Functional end of life. The blade can no longer meet the part requirement. Edge chipping exceeds the limit, the finish degrades, or the cut no longer stays within the required tolerance.
  2. Efficiency end of life. The blade still produces acceptable parts, but cutting slows, force or load rises, or cycle time grows enough to hurt throughput.
  3. Physical end of life. The usable blade is consumed or reduced. Rim height, diameter, or exposure falls to the limit, or the blade can no longer be held or exposed correctly.
  4. Damage end of life. The blade is cracked, chipped, bent, or otherwise damaged. This endpoint overrides all the others. Remove a damaged blade from service immediately. Do not wait for a quality limit.

Most shops mix these without saying so. Separating them shows which one drives your decisions.

Criteria You Can Actually Measure

Criteria You Can Actually Measure

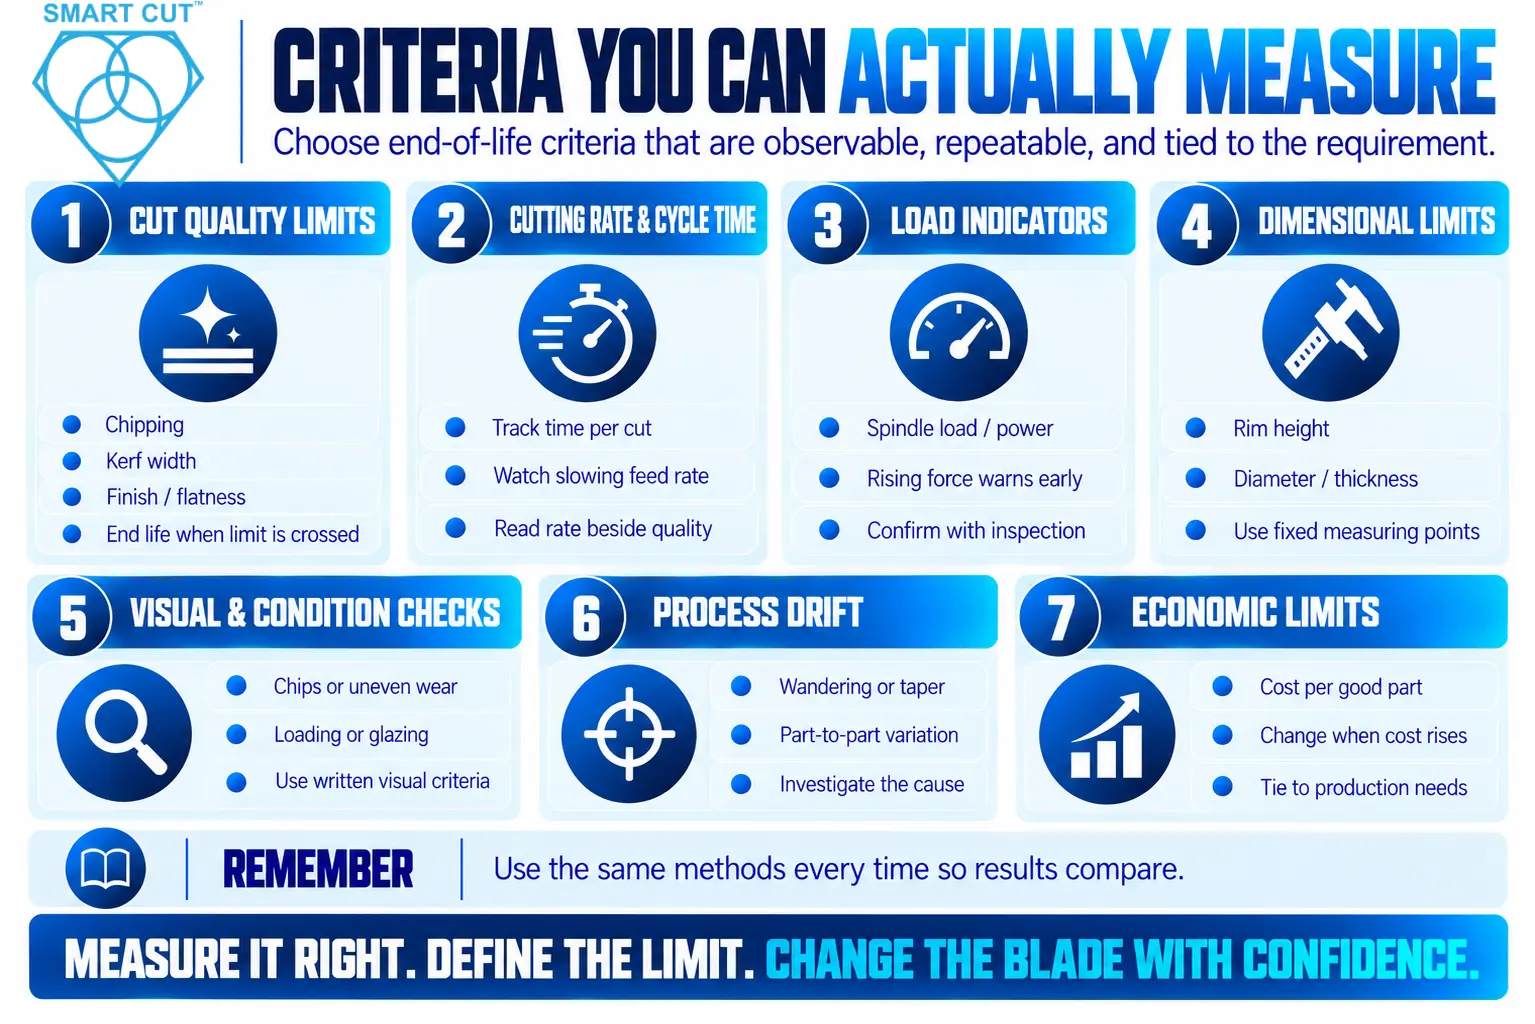
Good criteria are observable, repeatable, and tied to the requirement. Choose the ones that match your decision.

Cut Quality Limits

For precision work, quality often ends the blade’s life first. Measure what the part requires. Common choices include edge chipping, kerf width, flatness, surface finish, and subsurface damage. Our guide on how to measure diamond blade cut quality explains the methods.

Set a limit on the metric. The blade reaches end of life when the metric crosses it.

Cutting Rate and Cycle Time

A blade that cuts more slowly costs more per part. Track the time per cut, or the feed the blade can sustain, under fixed conditions. Define a point at which the slowdown no longer makes sense, given your throughput needs.

Read rate beside quality. A fast cut that damages the part is not good.

Load Indicators

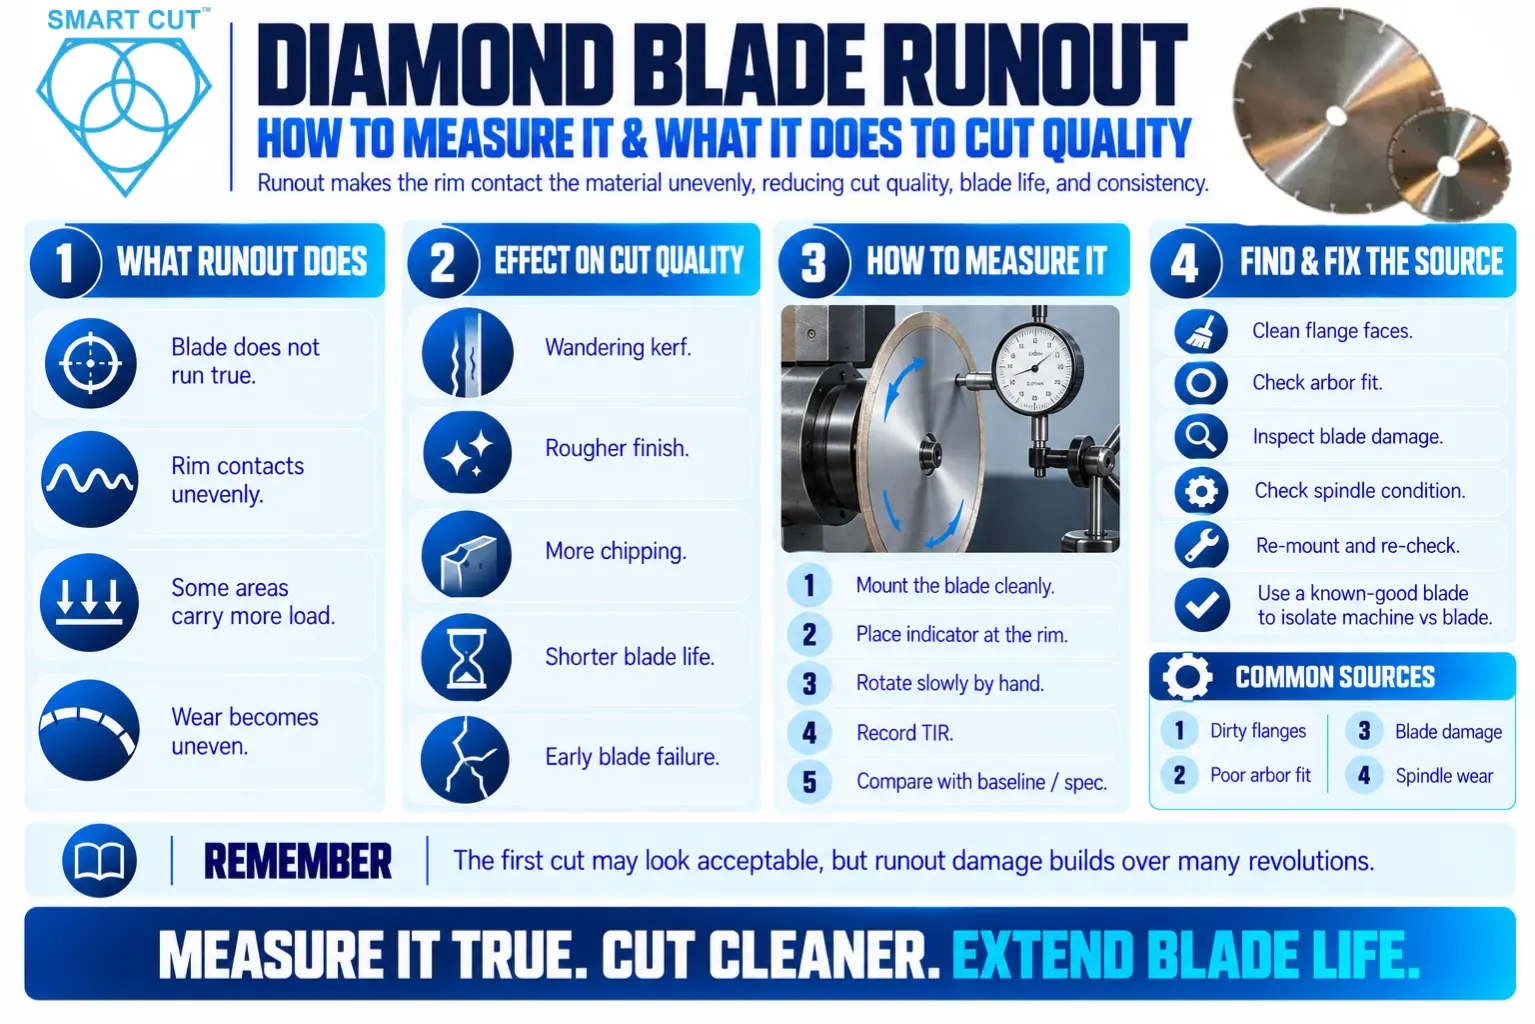
If your machine reports spindle load, power, or feed force, rising values can warn of a dulling blade. Use them as a leading signal. They usually move before the cut quality fails. Treat them as indicators and confirm them with direct inspection.

Dimensional Limits

Measure the blade itself. Rim height, diameter, and thickness change with wear. Set minimum usable dimensions, based on what the machine and the cut depth require. Use one measuring method and fixed measuring locations, so values compare.

Visual and Condition Checks

A trained inspector can spot chips, uneven wear, loading, or glazing at the rim. Visual checks work best when the criteria are written and illustrated, so different people judge the same way. Our article on troubleshooting common diamond blade wear patterns shows what these conditions look like and what they mean.

Process Drift

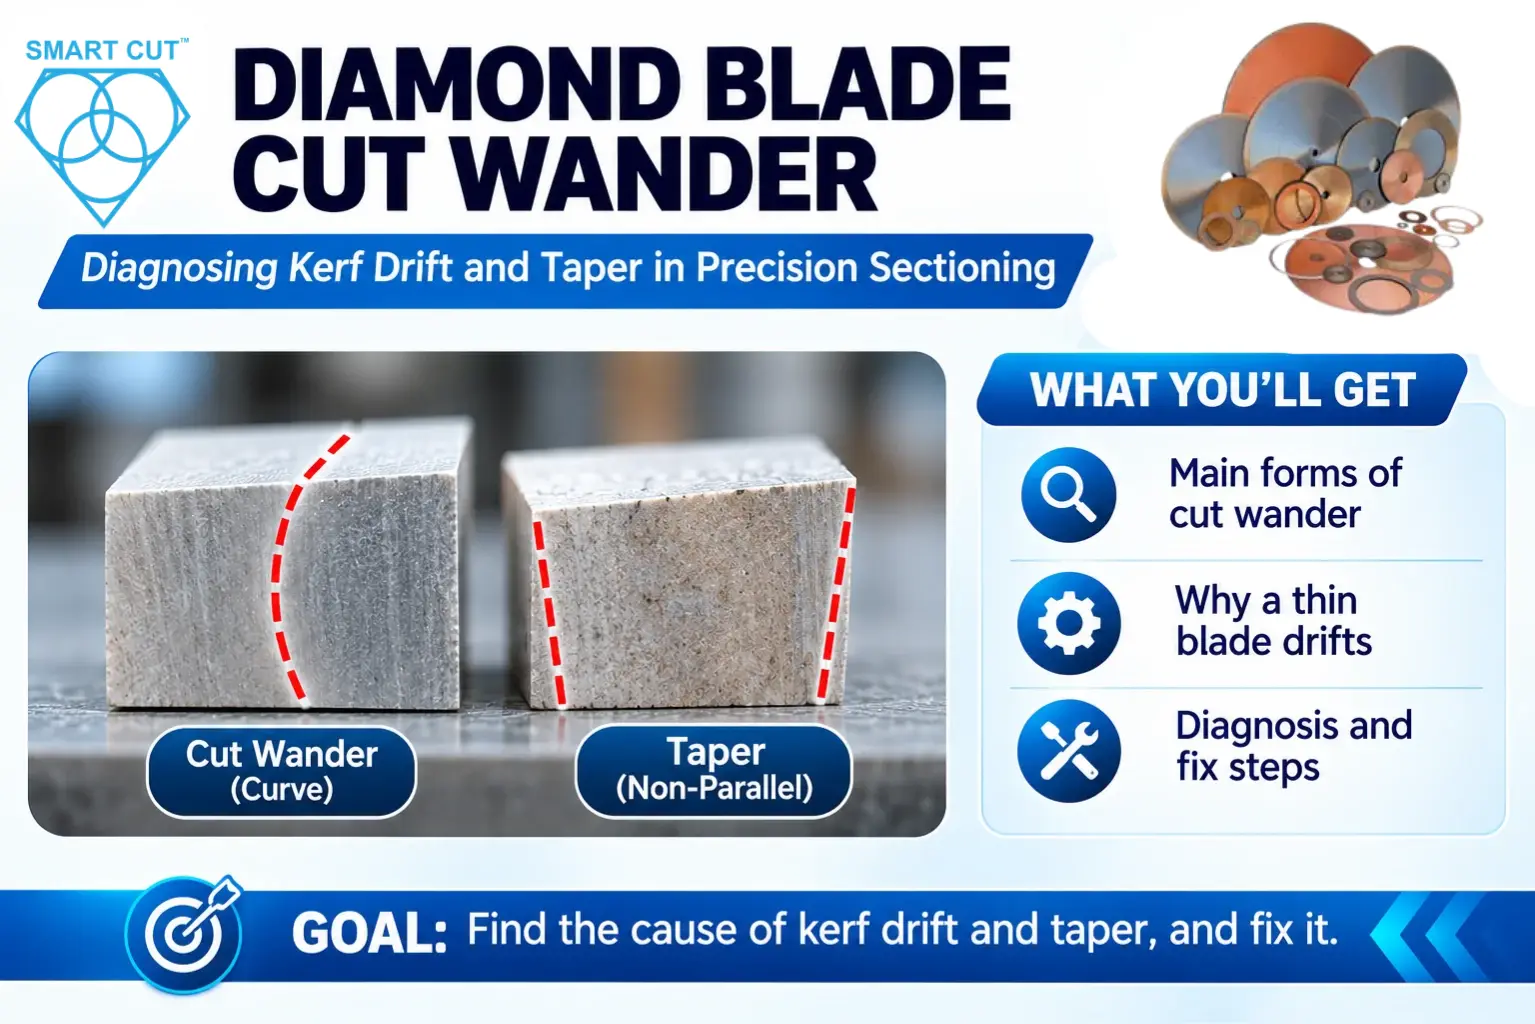
A cut that starts to wander, taper, or vary part to part signals that something changed. The cause may be the blade, the setup, or the machine. Treat drift as a trigger to investigate, not automatically as end of life.

Economic Limits

Eventually, cost sets the endpoint. When the blade’s cost per good part rises above an acceptable level, it makes sense to change it. See diamond blade cost per cut for how to calculate that figure.

Summary Table: Endpoint Types, Indicators, and Actions

Summary Table: Endpoint Types, Indicators, and Actions

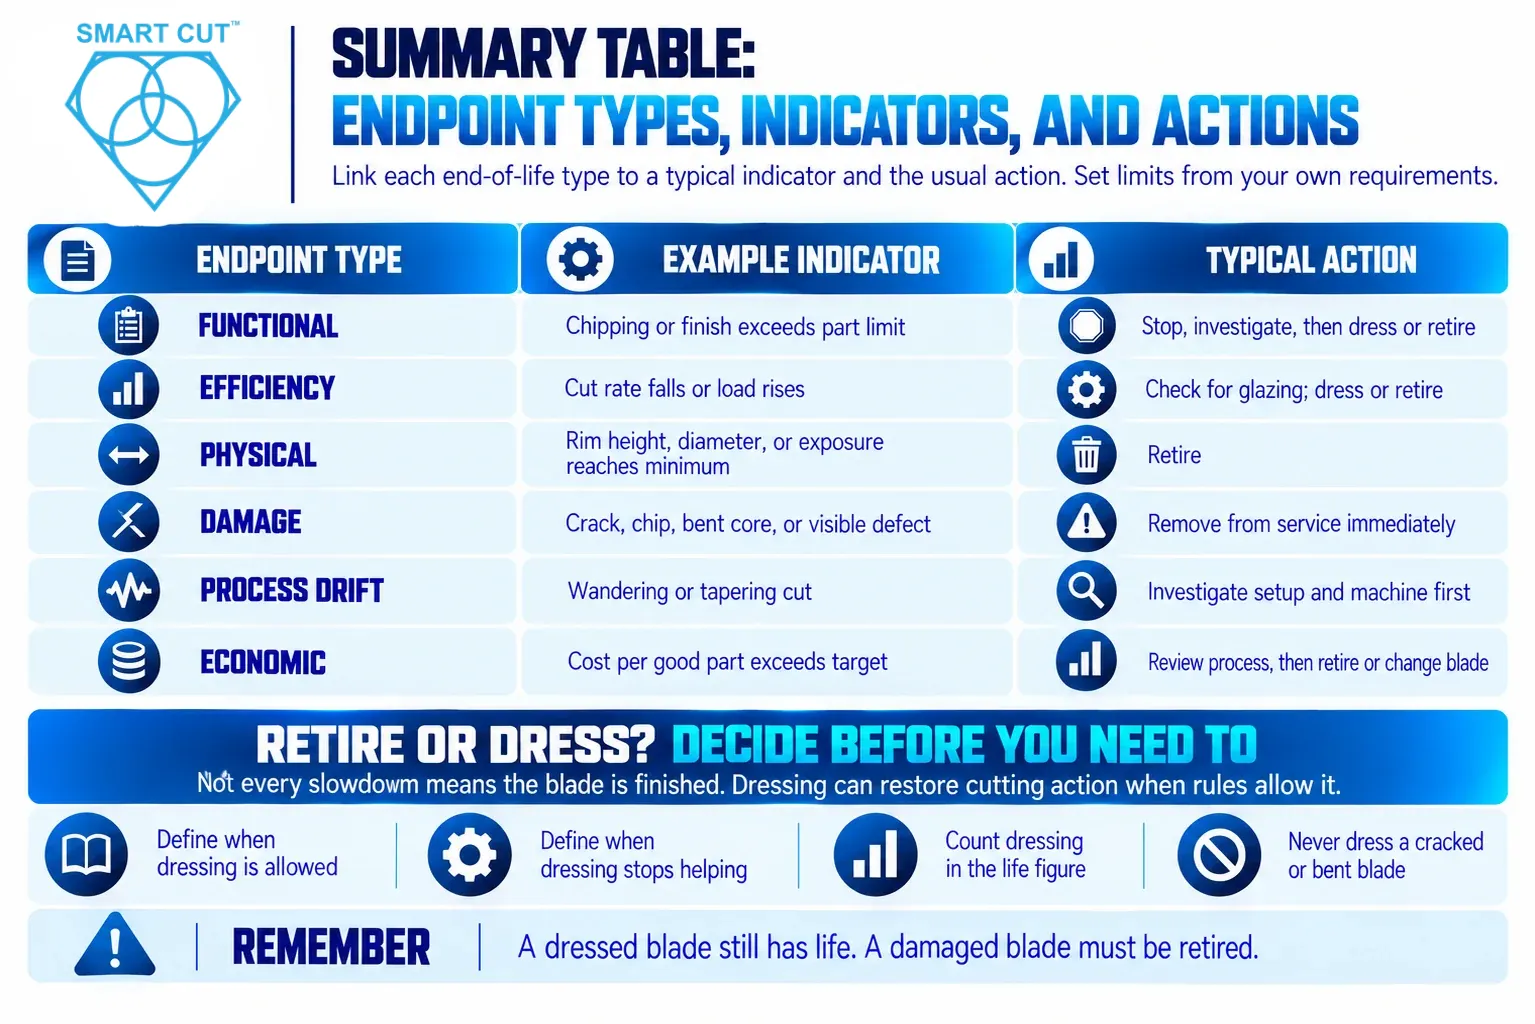
The table below links each endpoint type to typical indicators and the usual action. It contains no performance values. Set the limits from your own requirements.

Endpoint type Example indicator Typical action
Functional Chipping or finish exceeds the part limit Stop, investigate, then dress or retire
Efficiency Cut rate or feed falls below the needed level; load rises Check for glazing, dress if appropriate, otherwise retire
Physical Rim height, diameter, or exposure reaches the minimum Retire
Damage Crack, chip, bent core, or visible defect Remove from service immediately
Process drift Wandering or tapering cut Investigate setup and machine first
Economic Cost per good part exceeds the target Review the process, then retire or change the blade

Retire or Dress? Decide Before You Need To

Not every slowdown means the blade is finished. A blade can glaze or load and still have usable life. Dressing can restore cutting action in many cases. Our guide on diamond and CBN blade dressing explains when and how.

Therefore, build the choice into your endpoint rules.

  • Define when dressing is allowed. Name the symptoms that call for it.
  • Define when dressing stops helping. If dressing no longer restores performance, the blade is at the end.
  • Count dressing in your life figure. A test that allows dressing measures something different from one that does not. State which one you used.

Never use dressing to hide damage. A cracked or bent blade does not get dressed. It gets retired.

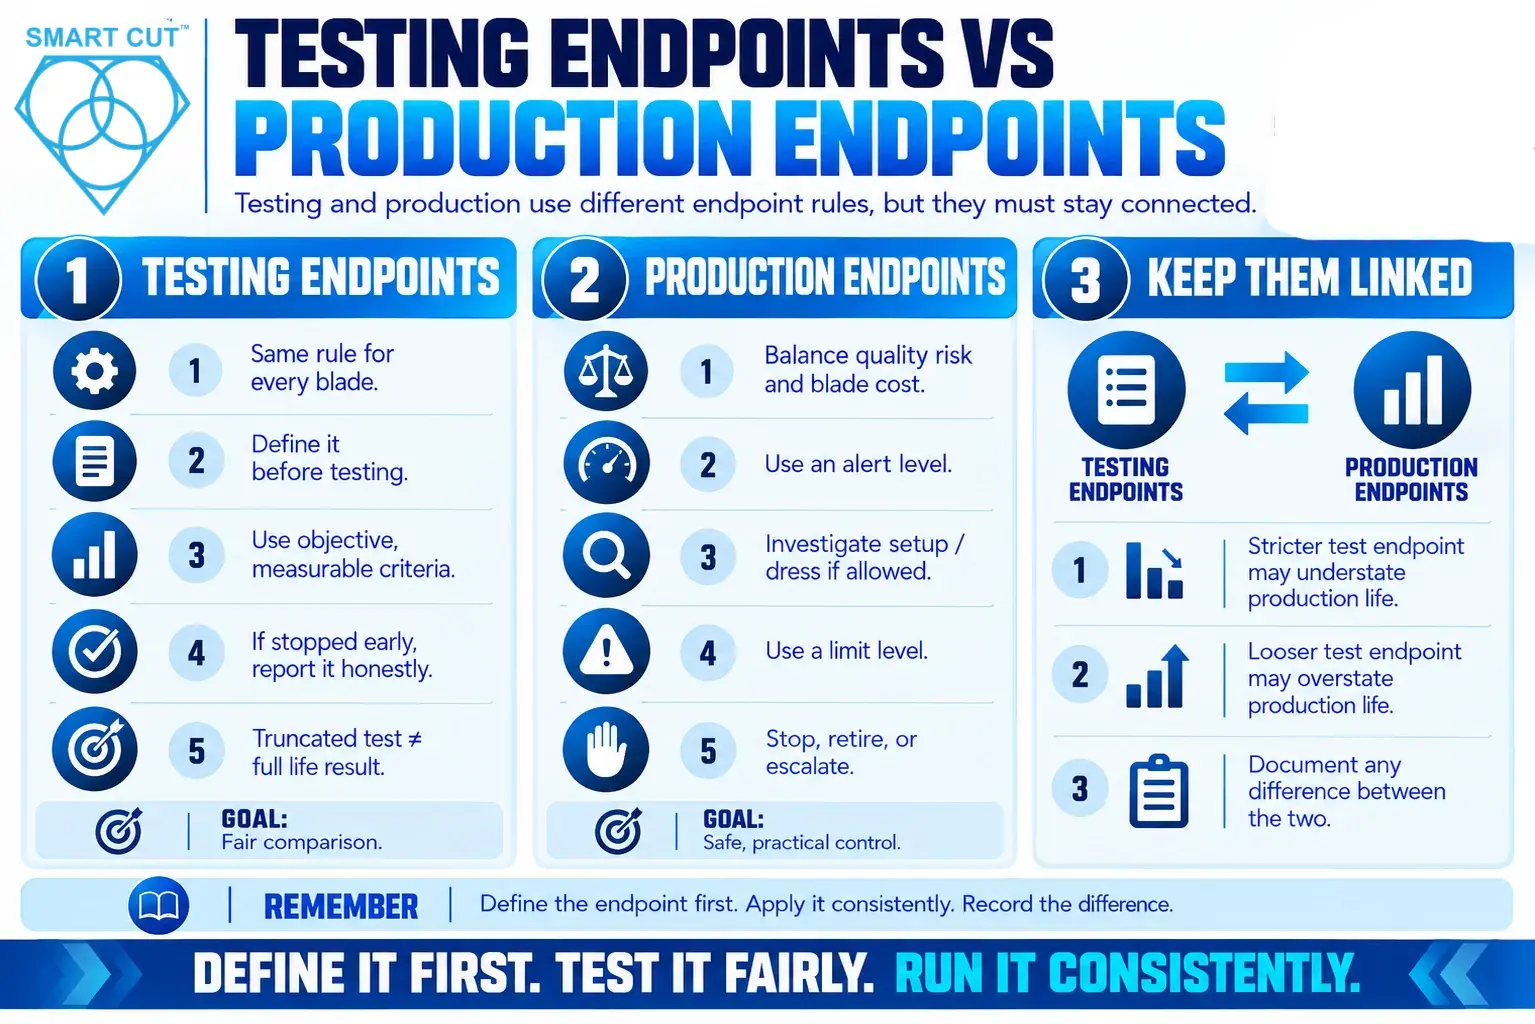
Testing Endpoints vs Production Endpoints

Testing Endpoints vs Production Endpoints

The two settings have different goals, so their endpoints can differ.

Testing Endpoints

A test needs an endpoint that supports a fair comparison. The same rule must apply to every blade in the test. Choose a criterion that is objective, measurable, and tied to the decision you face. Define it before the first cut.

Tests often cannot run every blade to the end. Time and material are limited. In that case, you may stop at a fixed number of cuts and record the state of each blade at that point. Report it honestly. A blade that “did not reach the endpoint” has a different story from one that did. Never present a truncated test as a full life result.

For the full method, see our articles on the diamond blade testing procedure, how to design a repeatable test, and how to create a testing SOP.

Production Endpoints

Production has a different problem. You must balance quality risk against blade cost. Retiring too early wastes blade life. Retiring too late risks scrap and rework.

Use two levels.

  • An alert level. When a measure crosses it, the operator investigates, checks the setup, and dresses if allowed.
  • A limit level. When a measure crosses it, the operator stops, and the blade is retired or escalated.

Two levels give early warning without forcing a stop at every small change. They also give operators a clear script.

Keep Them Linked

Test endpoints and production endpoints should connect. If a test uses a stricter endpoint than production, its results may understate the real production life. If it uses a looser one, the results may overstate it. Document the difference. Our article on laboratory vs production testing explains why results differ between the two settings.

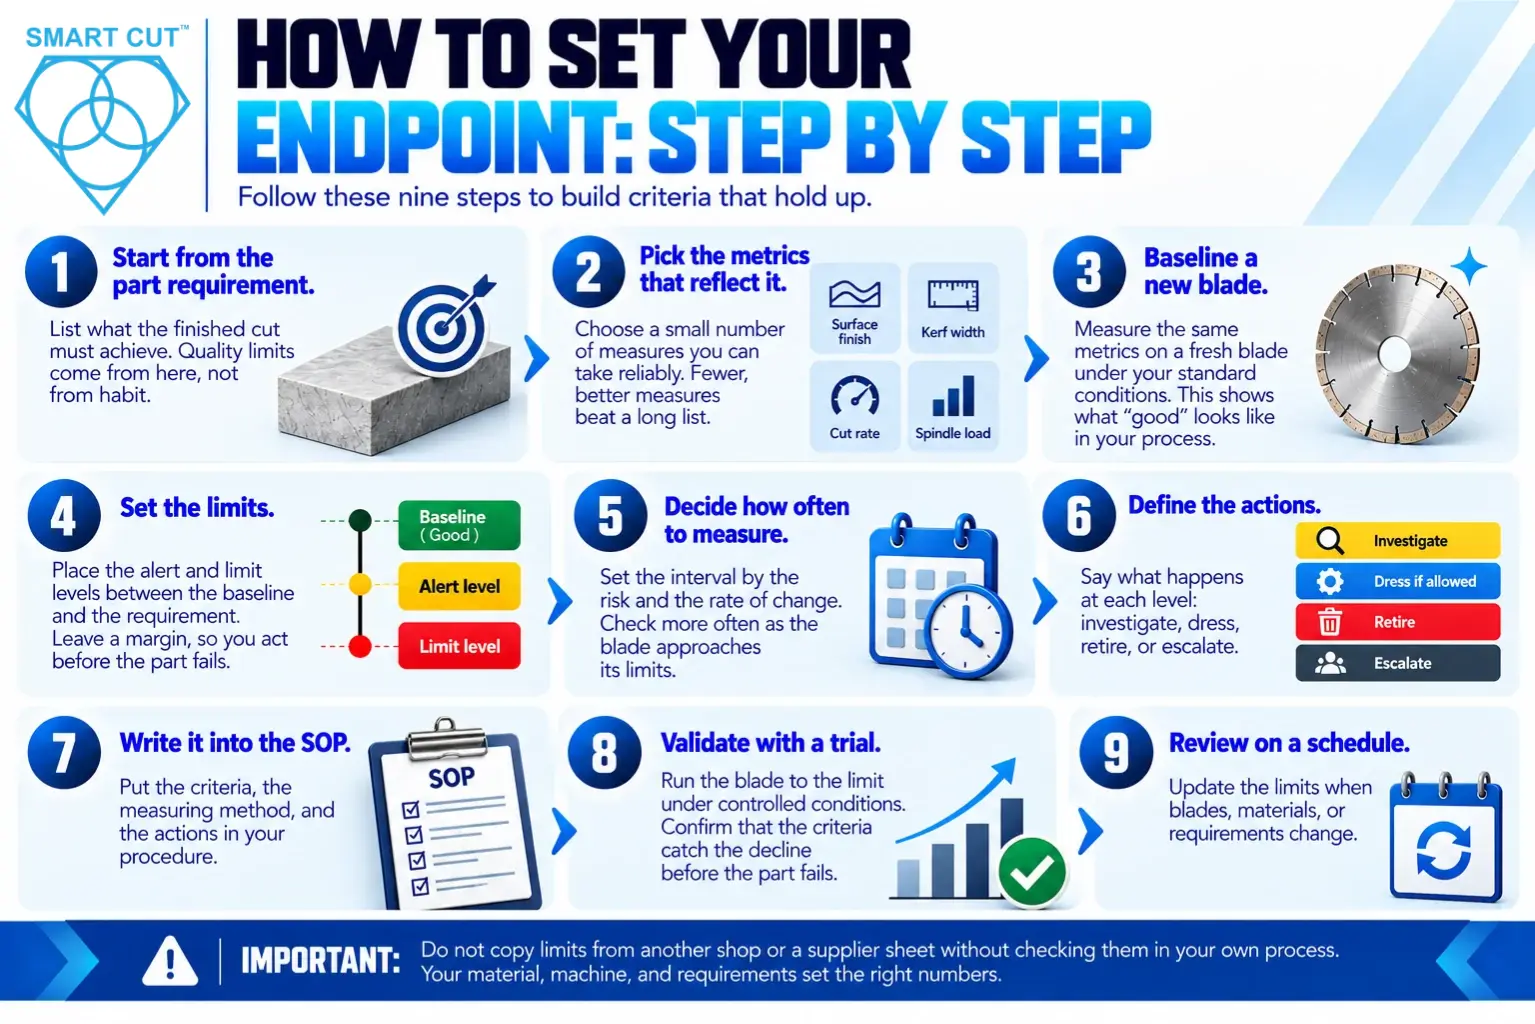
How to Set Your Endpoint: Step by Step

How to Set Your Endpoint: Step by Step

Follow these steps to build criteria that hold up.

  1. Start from the part requirement. List what the finished cut must achieve. Quality limits come from here, not from habit.
  2. Pick the metrics that reflect it. Choose a small number of measures you can take reliably. Fewer, better measures beat a long list.
  3. Baseline a new blade. Measure the same metrics on a fresh blade under your standard conditions. This shows what “good” looks like in your process.
  4. Set the limits. Place the alert and limit levels between the baseline and the requirement. Leave a margin, so you act before the part fails.
  5. Decide how often to measure. Set the interval by the risk and the rate of change. Check more often as the blade approaches its limits.
  6. Define the actions. Say what happens at each level: investigate, dress, retire, or escalate.
  7. Write it into the SOP. Put the criteria, the measuring method, and the actions in your procedure. Our precision diamond saw SOP template shows one way to structure it.
  8. Validate with a trial. Run the blade to the limit under controlled conditions. Confirm that the criteria catch the decline before the part fails.
  9. Review on a schedule. Update the limits when blades, materials, or requirements change.

Do not copy limits from another shop or a supplier sheet without checking them in your own process. Your material, machine, and requirements set the right numbers.

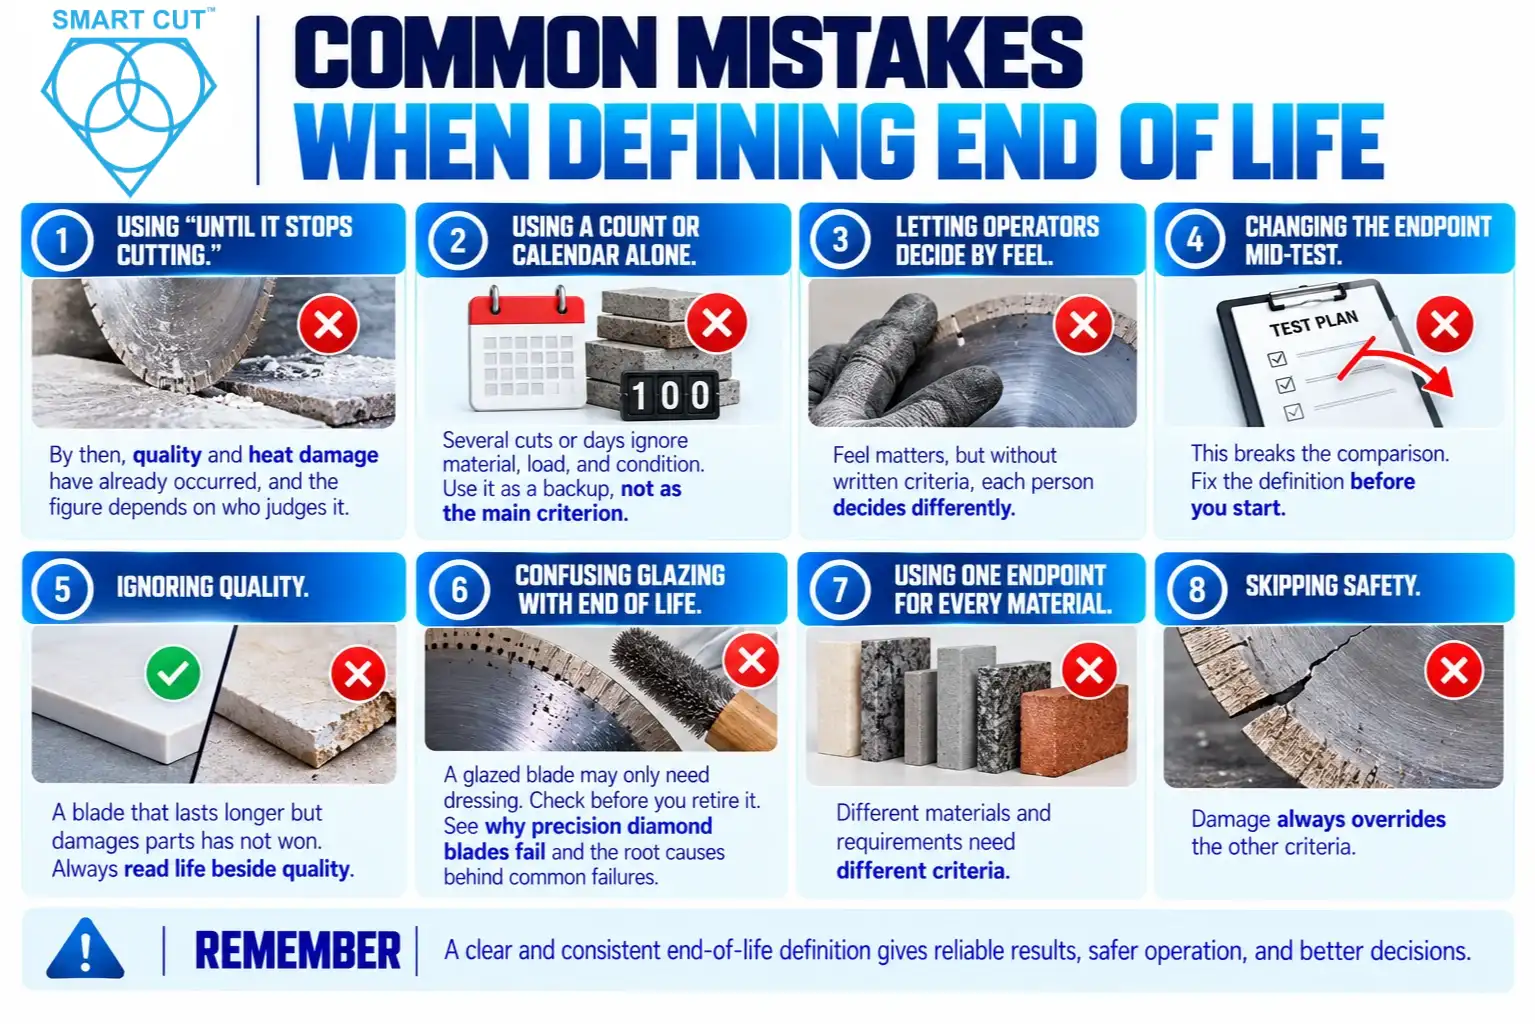
Common Mistakes When Defining End of Life

Using “until it stops cutting.” By then, quality and heat damage have already occurred, and the figure depends on who judges it.

Using a count or calendar alone. Several cuts or days ignore material, load, and condition. Use it as a backup, not as the main criterion.

Letting operators decide by feel. Feel matters, but without written criteria, each person decides differently.

Changing the endpoint mid-test. This breaks the comparison. Fix the definition before you start.

Ignoring quality. A blade that lasts longer but damages parts has not won. Always read life beside quality.

Confusing glazing with end of life. A glazed blade may only need dressing. Check before you retire it. See why precision diamond blades fail and the root causes behind common failures.

Using one endpoint for every material. Different materials and requirements need different criteria.

Skipping safety. Damage always overrides the other criteria.

Report the Endpoint with the Result

A life figure without its endpoint is incomplete. Whenever you report blade life, state the following.

  • The endpoint criterion and its limit.
  • How you measured it, and how often.
  • Whether dressing was allowed.
  • The conditions: blade, machine, material, and settings.
  • Whether each blade reached the endpoint or the test stopped early.

With this information, anyone can judge whether two results compare. Our guide on how to read and evaluate diamond blade test reports shows what to look for. For the number of blades and cuts you need before trusting a life figure, see how many diamond blade tests you need.

Applying This in Your Shop

Start with your most common blade and material. Write down the part requirement, choose two or three measurable indicators, and set an alert level and a limit level. Run a controlled trial to check them. Then add the rules to your SOP and train operators on them.

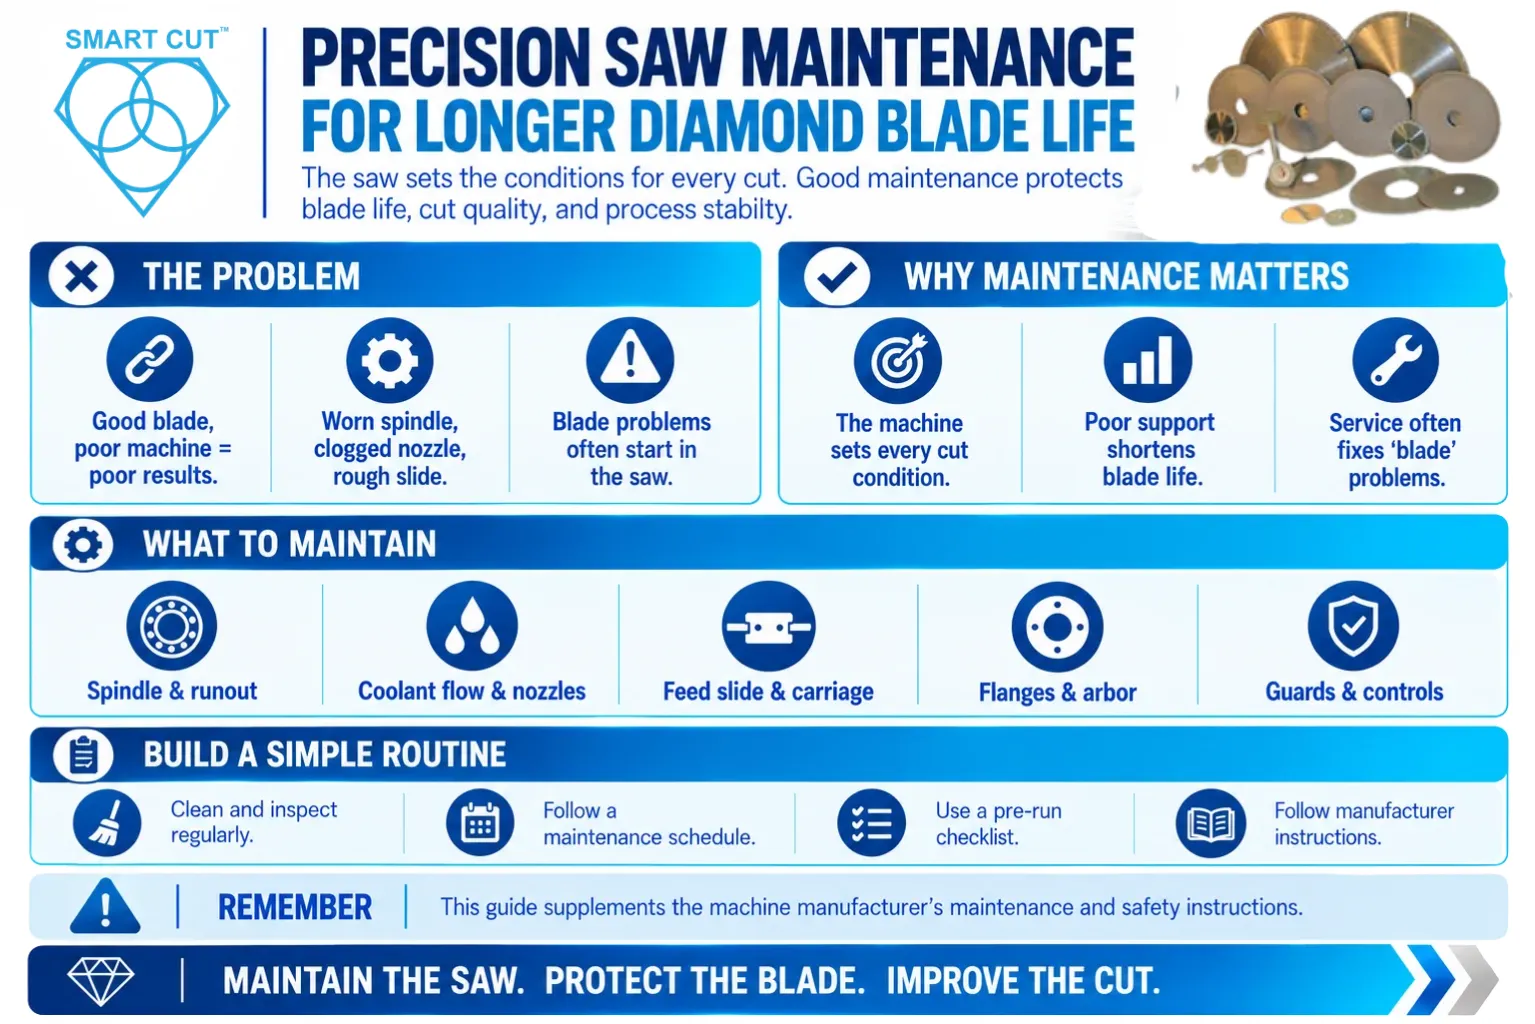
Operator practice influences how fast a blade reaches its endpoint, so setup, coolant, and feed all affect the result. A rigid, well-maintained precision saw reduces variation, which makes endpoints more consistent. A well-matched blade helps too. Explore the material guide and the diamond and CBN blade range to start from the right specification, and read diamond blade cutting process qualification for the wider qualification workflow.

Key Takeaways

  • Blade life has no meaning without a defined endpoint.
  • There are four kinds of end of life: functional, efficiency, physical, and damage. Damage always overrides the others.
  • Choose measurable criteria tied to the part requirement: cut quality, cut rate, load, dimensions, condition, and cost.
  • Decide in advance when to dress and when to retire.
  • Use a fixed endpoint in tests, and report truncated tests honestly.
  • Use an alert level and a limit level in production.
  • Write the criteria into the SOP, validate them in a trial, and review them regularly.
  • Always report blade life together with its endpoint.

Frequently Asked Questions

It is the point at which a blade no longer meets the requirement and should be retired.

Rarely, because most blades are retired for performance reasons well before the diamond is fully consumed.

It loads the rim unevenly, so some sections wear and heat up faster than others.

The one tied to your part requirement and measurable in your process, often a cut quality limit.

Use it as a backup only, because it ignores material, load, and blade condition.

Check for glazing or loading first, since dressing can restore cutting action in many cases.

Remove it as soon as you see a crack, a bent core, or other damage.

Report the blade’s state at the stop point and say that it did not reach the endpoint.

They can differ, but document the difference so you can interpret the results correctly.

It is an early threshold that triggers investigation before the blade reaches its limit.

Set the interval by risk and rate of change, and check more often as the blade nears its limit.

Not necessarily, but they warn of dulling, so confirm with direct inspection.

Without it, nobody can tell whether two life results compare.

Use them only as a starting point and verify them in your own process.

Conclusion

A diamond blade does not end its life at one clear moment. It declines gradually, and someone has to decide where to draw the line. If that decision stays unwritten, blade life figures mean little, and comparisons mislead.

Define the endpoint in measurable terms. Tie it to the part requirement, set an alert level and a limit level, decide when dressing applies, and let damage override everything. Then write it into your SOP, validate it, and report every life figure with its endpoint. Your tests will compare fairly, and your production decisions will rest on clear rules.

If you want help setting endpoint criteria for your material and process, request a consultation with the UKAM team, or explore the diamond and CBN wafering and cut-off blades.

Trusted by Tens of Thousands of Manufacturers, Laboratories,
Research Institutions Worldwide Since 1990

American Based Manufacturer

Established in 1990

Custom manufacturing

RELATED ARTICLES

Brian is an experienced professional in the field of precision cutting tools, with over 27 years of experience in technical support. Over the years, he has helped engineers, manufacturers, researchers, and contractors find the right solutions for working with advanced and hard-to-cut materials. He’s passionate about bridging technical knowledge with real-world applications to improve efficiency and accuracy.

As an author, Brian Farberov writes extensively on diamond tool design, application engineering, return on investment strategies, and process optimization, combining technical depth with a strong understanding of customer needs and market dynamics.

author-avatar

About Brian Farberov

Brian is an experienced professional in the field of precision cutting tools, with over 27 years of experience in technical support. Over the years, he has helped engineers, manufacturers, researchers, and contractors find the right solutions for working with advanced and hard-to-cut materials. He’s passionate about bridging technical knowledge with real-world applications to improve efficiency and accuracy. As an author, Brian Farberov writes extensively on diamond tool design, application engineering, return on investment strategies, and process optimization, combining technical depth with a strong understanding of customer needs and market dynamics.

Download Checklist

Please fill in your details to download the Precision Diamond Saw Pre-Operation Checklist.