Skip to navigation Skip to main content
Home > Blog > Diamond Blade Cut Wander: Diagnosing Kerf Drift and Taper in Precision Sectioning
Diamond Blade Articles, blog

Diamond Blade Cut Wander: Diagnosing Kerf Drift and Taper in Precision Sectioning

Diamond Blade Cut Wander: Diagnosing Kerf Drift and Taper in Precision Sectioning

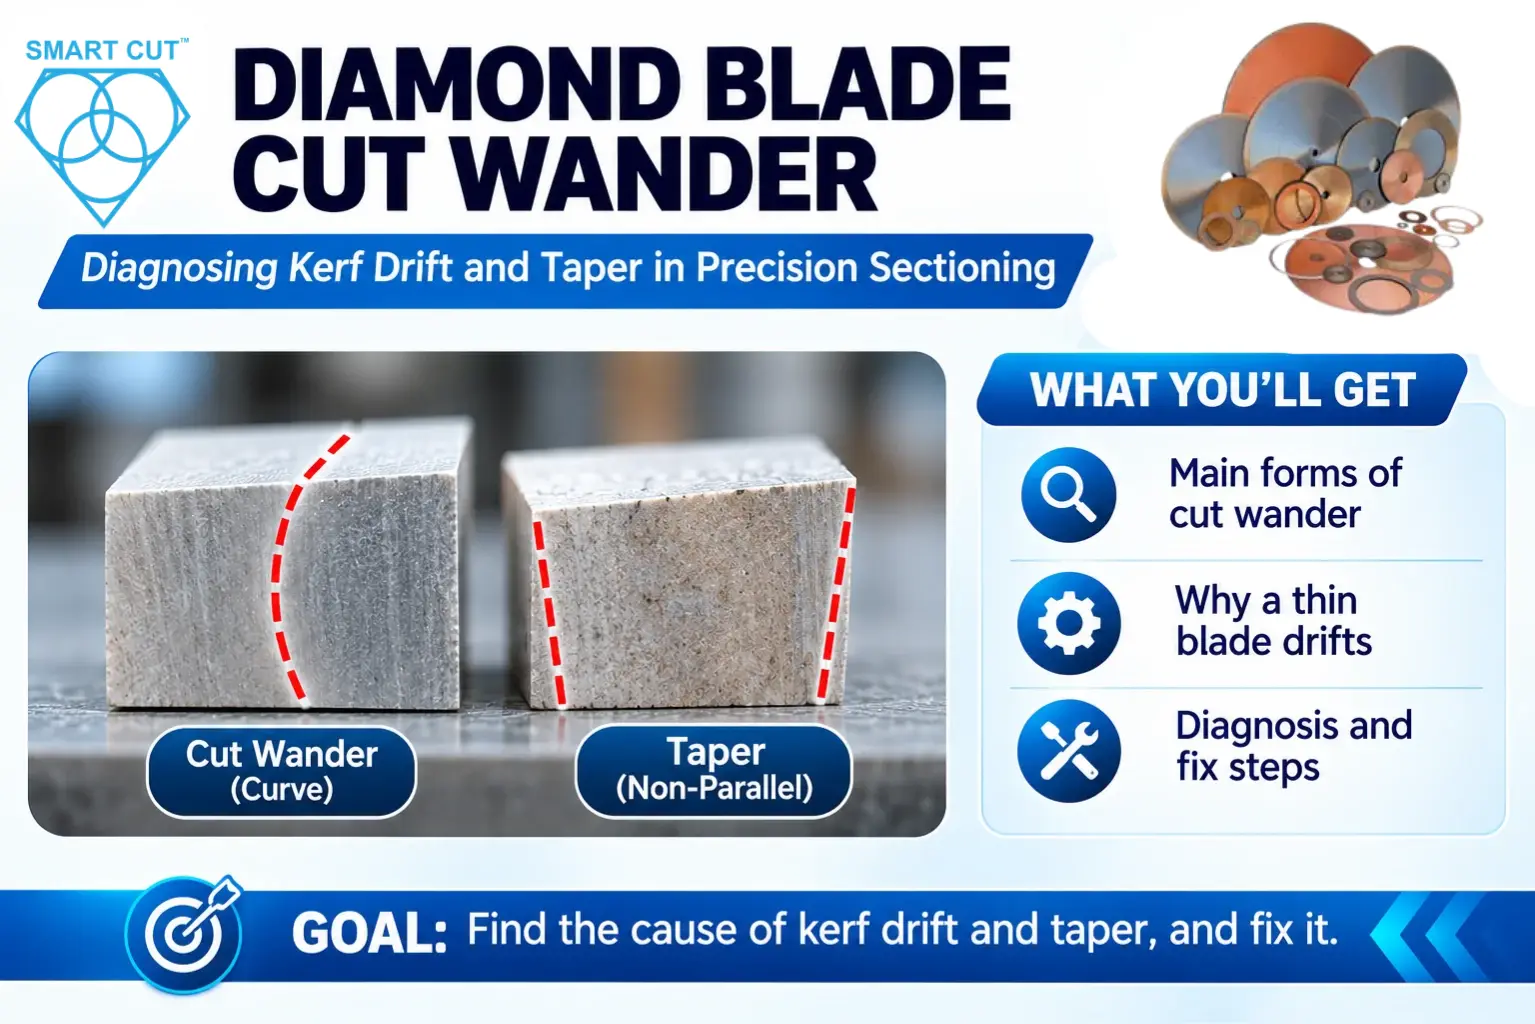
You set up the cut, start the saw, and the blade leaves the line. The cut curves. The two faces of the section are not parallel. The section is thicker at one end than the other. You cannot trust the position of the cut, and you may have ruined a valuable sample.

Diamond blade cut wander frustrates operators because the cause is rarely obvious. The blade looks fine. The settings look reasonable. Yet the cut drifts.

This article helps you diagnose it. It defines the main forms of cut wander, explains why a thin blade drifts, and links each pattern you see to its likely cause. It then gives a step-by-step method to find the source and fix it.

This article focuses on diagnosis. For mounting and setup detail, see our setup-mistakes article. For measuring runout, see our runout article. For the wear marks on the blade, see our guide on troubleshooting common diamond blade wear patterns.

Trusted by Tens of Thousands of Manufacturers, Laboratories Research Institutions Worldwide Since 1990

American Based Manufacturer

Established in 1990

Custom manufacturing

What "Cut Wander" Means

What "Cut Wander" Means

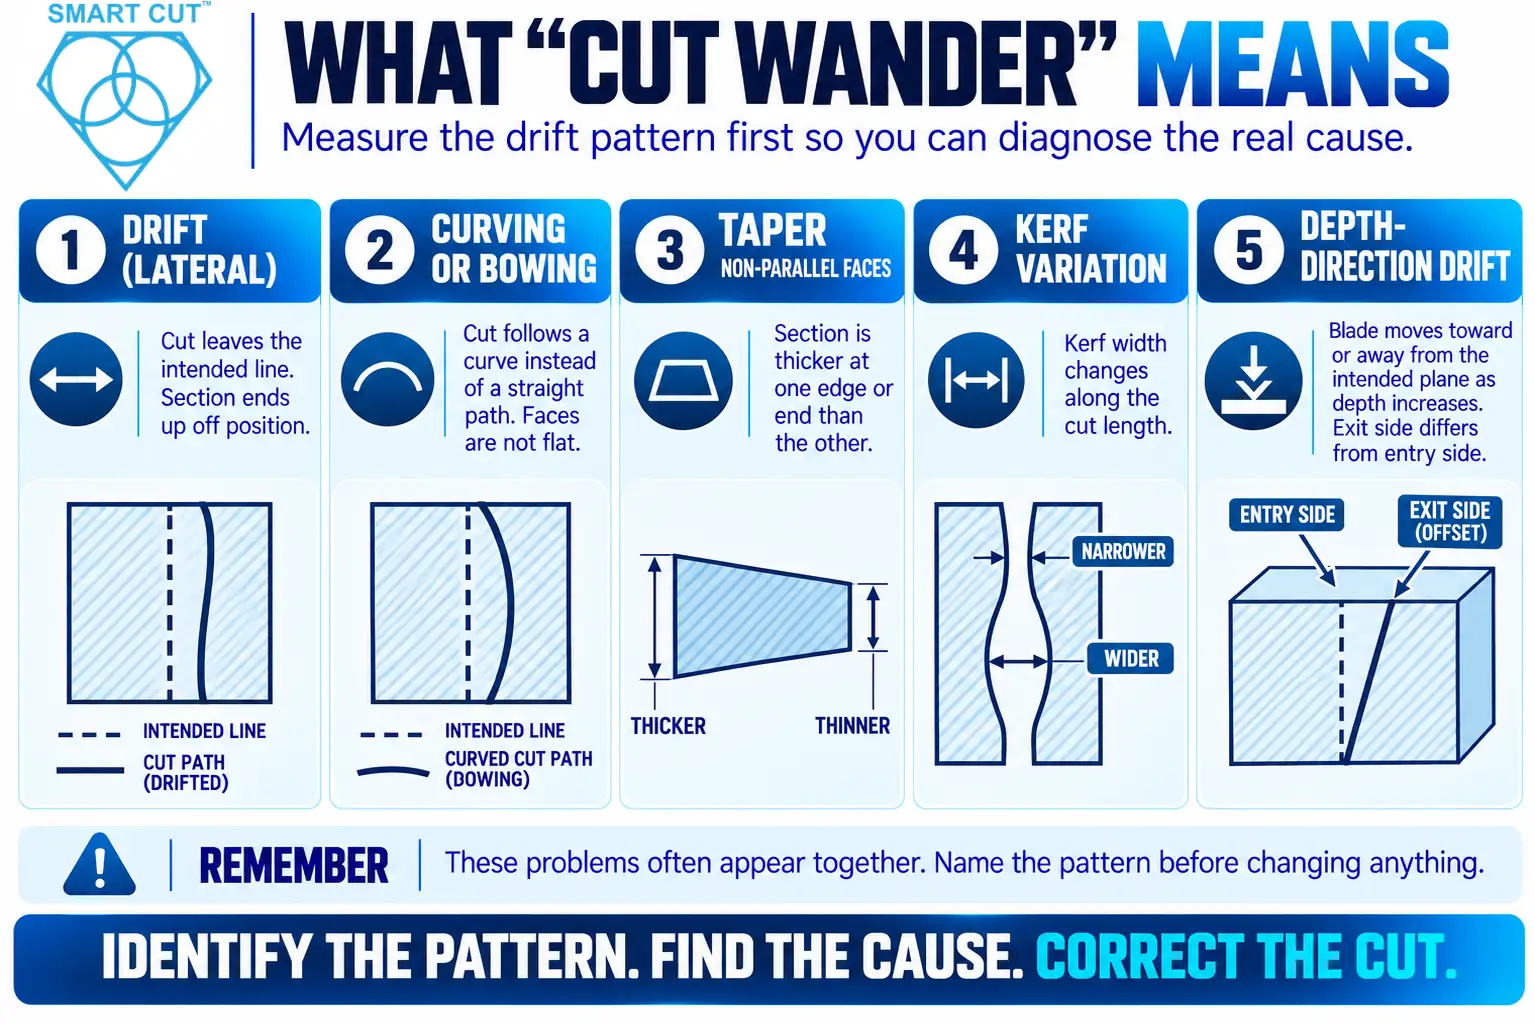
Cut wander is a general term. It covers several different problems. Naming the right one helps you find the cause.

Drift (lateral). The cut leaves the intended line and moves sideways. The section ends up in the wrong position.

Curving or bowing. The cut follows a curve instead of a straight line. The faces are not flat.

Taper (non-parallel faces). The two faces of the section are not parallel. The section is thicker at one edge or end than the other.

Kerf variation. The width of the cut changes along its length, so the kerf is wider in some places than others.

Depth-direction drift. The blade moves toward or away from the intended plane as it goes deeper, so the exit side differs from the entry side.

These problems often appear together. Still, each points to different causes, so measure which one you have before you change anything.

Why a Thin Blade Drifts and Causes Cut Wander

Why a Thin Blade Drifts and Causes Cut Wander

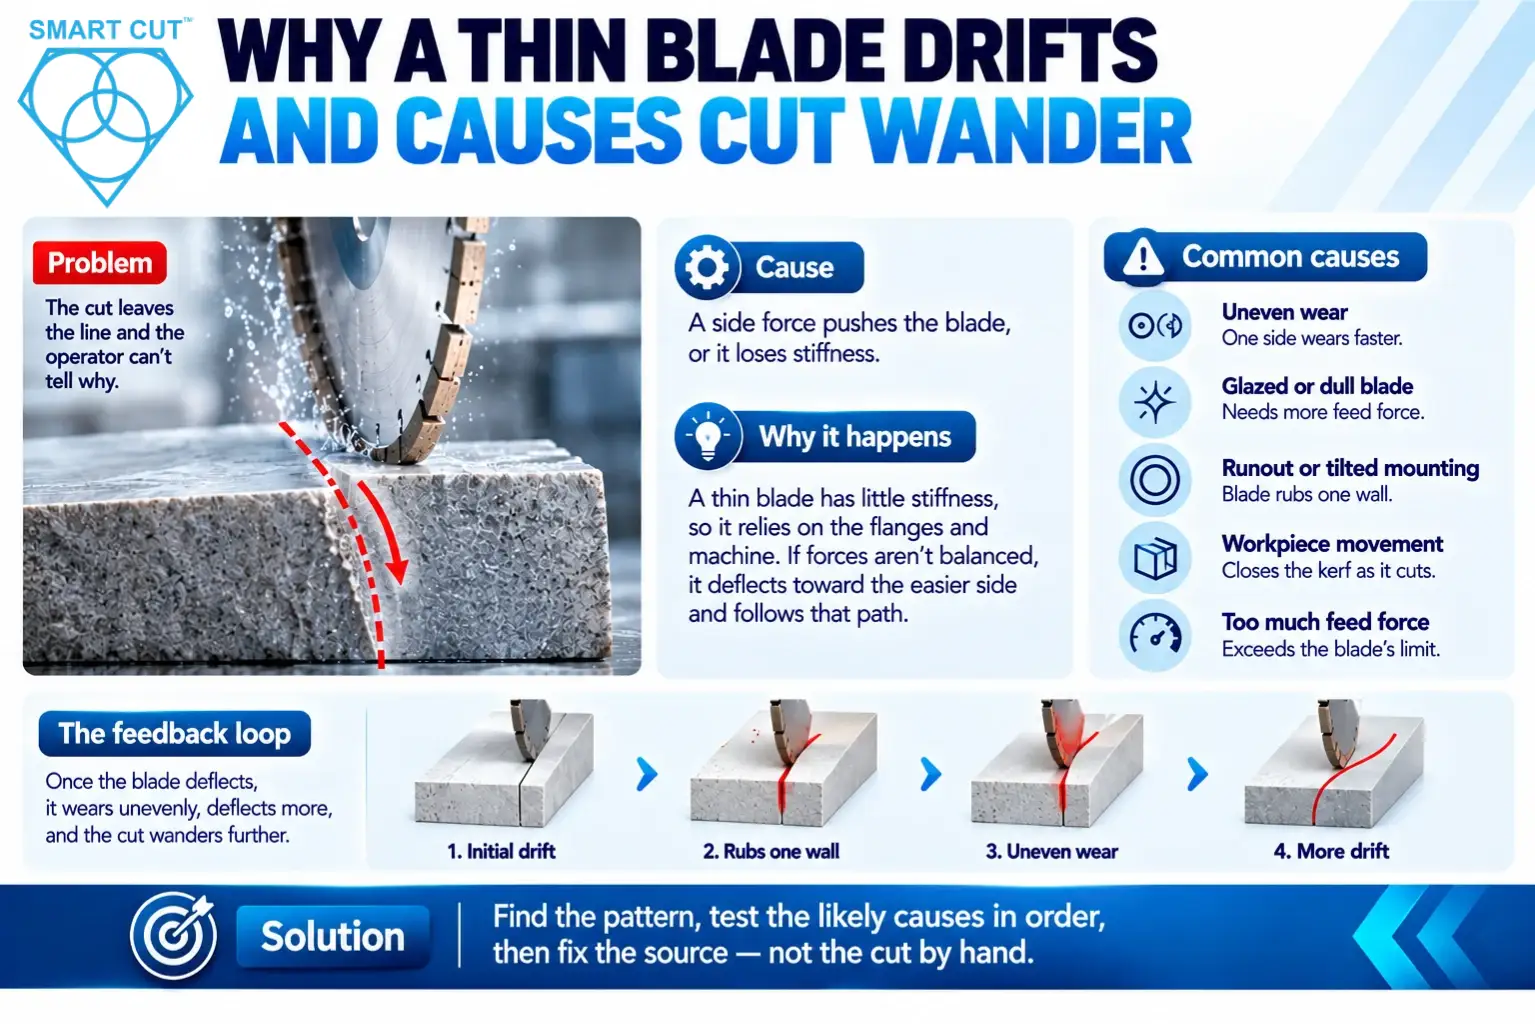
Problem: The cut leaves the line, and the operator cannot tell why.

Cause: Something pushed the blade sideways, or the blade lost the stiffness to resist the push.

Engineering logic: A precision blade is thin. It has little stiffness of its own, so it gets much of its rigidity from the flanges and the machine. When forces on the two sides of the rim are balanced, the blade cuts straight. When they are not, the blade deflects toward the side with less resistance. It then follows that path, and the cut wanders.

Several things unbalance those forces:

  • Uneven wear on one side of the rim.
  • A glazed or dull blade that needs more feed force.
  • Runout or a tilted mounting that makes the blade rub one wall.
  • A workpiece that moves or closes the kerf as it cuts.
  • Feed force that exceeds what the thin blade can carry.

Once the blade deflects, the problem tends to grow. The deflected blade rubs one wall, wears unevenly, and deflects more. That feedback loop explains why a small initial error can turn into a clearly curved cut.

UKAM’s usage guidance treats the blade, the machine, and the process as one system. For the broader context, see how to properly use precision diamond and CBN blades.

Solution: Identify the pattern, test the likely causes in order, and fix the source instead of adjusting the cut by hand.

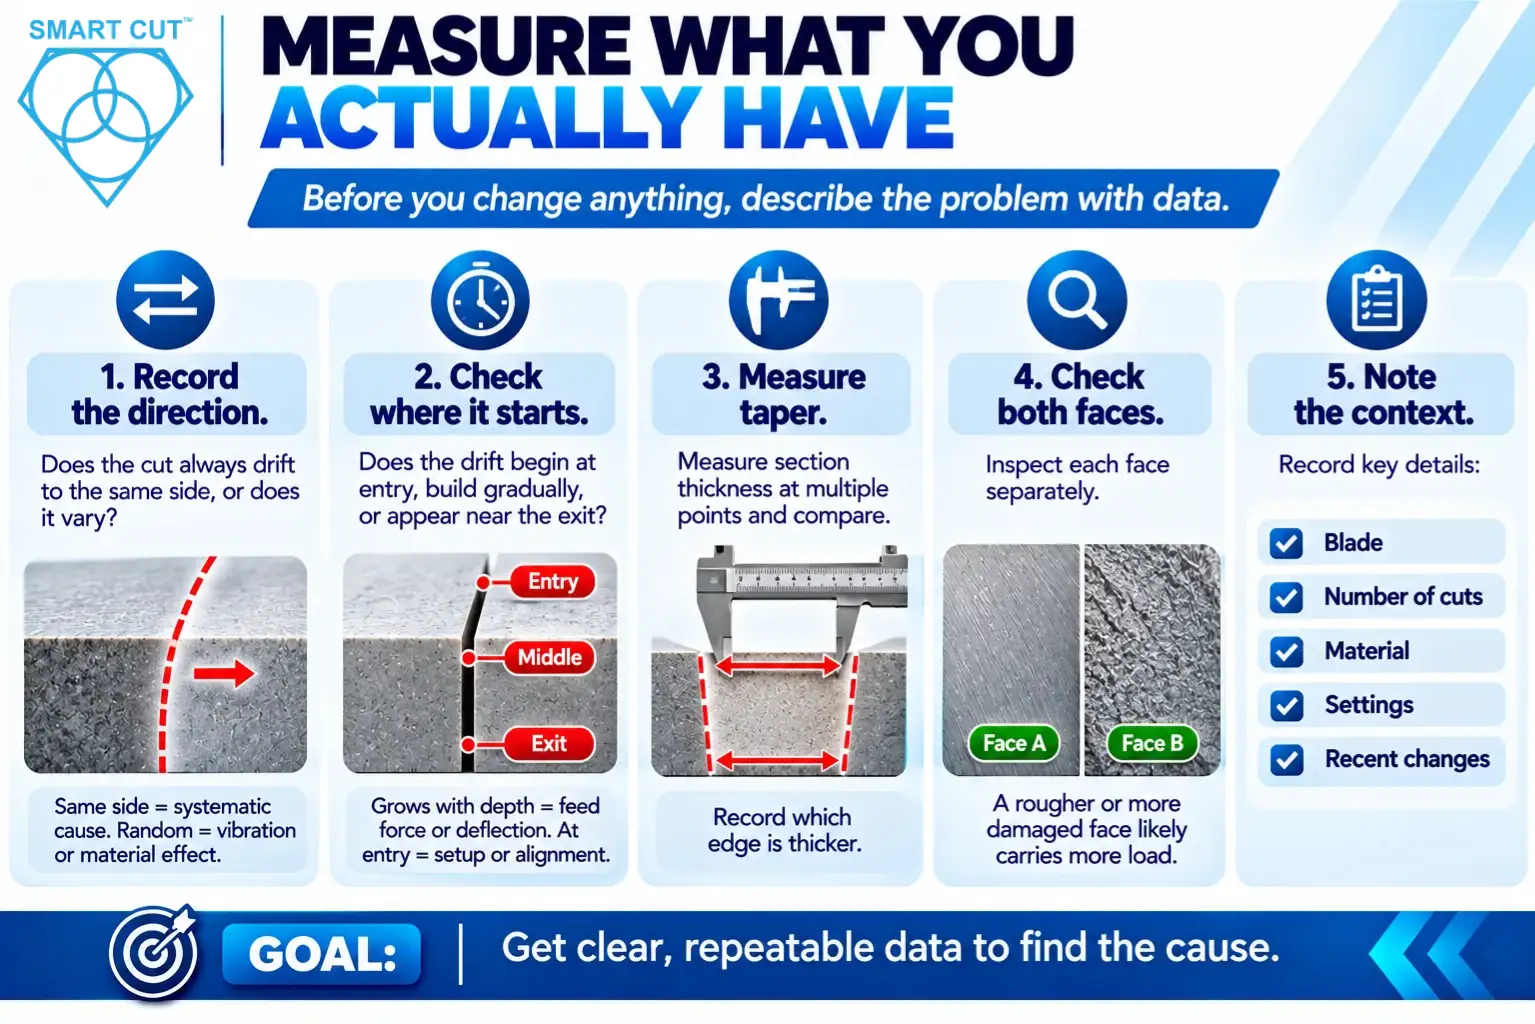
Measure What You Actually Have

Measure What You Actually Have

Before you change anything, describe the problem with data. This step often shows the cause by itself.

Record the direction. Does the cut always drift to the same side, or does it vary? Always the same side suggests a systematic cause. Random drift suggests vibration, looseness, or material effects.

Check where it starts. Does the drift begin at entry, build gradually, or appear near the exit? A drift that grows with depth points to feed force or deflection. A drift that starts at entry points to setup or alignment.

Measure taper. Measure the section thickness at several points along and across the cut, with the same instrument each time. Compare the readings. Record which edge is thicker.

Check both faces. Inspect each face separately. If one face is rougher or shows more damage, that side of the blade probably carries more load.

Note the context. Record the blade, the number of cuts it has made, the material, the settings, and whether anything changed recently.

For methods to assess the cut itself, see how to measure diamond blade cut quality.

Match the Pattern to the Likely Cause

The table below links what you see to the likely cause and the first thing to check. Treat it as a guide. Always confirm by testing.

What you see Likely cause First check
Drift always to the same side Misalignment, one-sided wear, flange tilt Alignment of part and fixture; blade rim wear pattern
Drift that changes direction randomly Vibration, looseness, play in the feed or fixture Fixture and slide play; spindle condition
Drift grows with depth Excess feed force or blade deflection Feed rate; blade exposure; blade condition
Drift began after a blade change Mounting problem or runout Flanges, seating, runout
Drift worsens as the blade wears Uneven wear or glazing Rim condition; dressing needed
Taper with one edge thicker Side loading or fixture misalignment Square alignment; clamp pressure
Curved cut near the exit Unsupported part, or kerf closing from stress release Support at the exit; clamping approach
Wander on one material only Blade-to-material mismatch or material inhomogeneity Blade specification; material consistency
Wander that appears across all blades on one machine Machine condition Spindle, slides, mounting

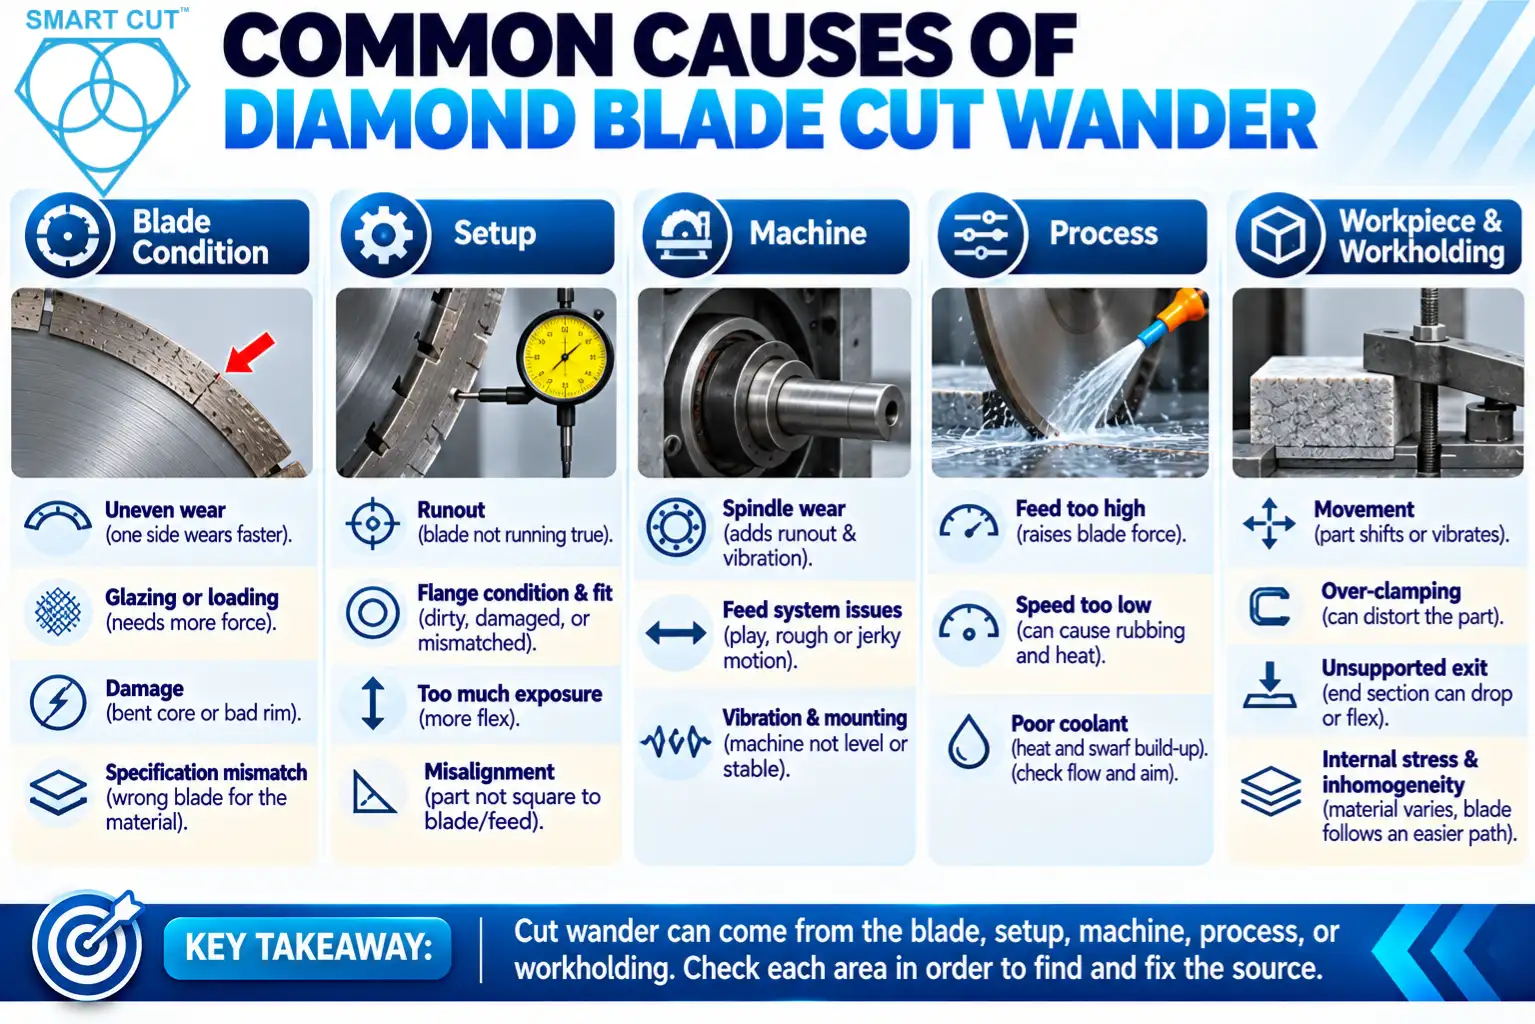
Common Causes of Diamond Blade Cut Wander

Common Causes of Diamond Blade Cut Wander

Blade Condition

Uneven wear. If one side of the rim wears faster, the blade becomes asymmetric. It then pushes toward the side with less resistance. Look for one-sided wear, side marks, or bands on the rim.

Glazing or loading. A blade that no longer cuts freely needs more force to advance. That extra force deflects a thin blade. Glazing may call for dressing, so see our guide on diamond and CBN blade dressing.

Damage. A bent core or damaged rim cannot cut straight. Remove a damaged blade from service.

Blade specification mismatch. A blade that suits one material may behave badly on another. If wander appears only with a specific material, review the blade choice. Our material guide helps with selection.

Setup

Runout. A blade that does not run true loads the rim unevenly and rubs the kerf walls. This is one of the most common causes of wander. Check runout after every mount.

Flange condition and fit. Dirty, damaged, or mismatched flanges tilt the blade. Poor arbor fit lets it sit off-center.

Too much blade exposure. More unsupported blade means more flex. Set exposure to what the cut needs and no more.

Misalignment. If the part is not square to the blade and the feed direction, the blade side-loads. It drifts toward the lighter side.

Machine

Spindle wear. A worn spindle adds runout and vibration that no flange can cancel.

Feed system problems. Play, roughness, or jerky motion in the feed makes the load jump. The thin blade responds with deflection.

Vibration and mounting. A machine that sits unevenly or vibrates will pass that motion on to the cut.

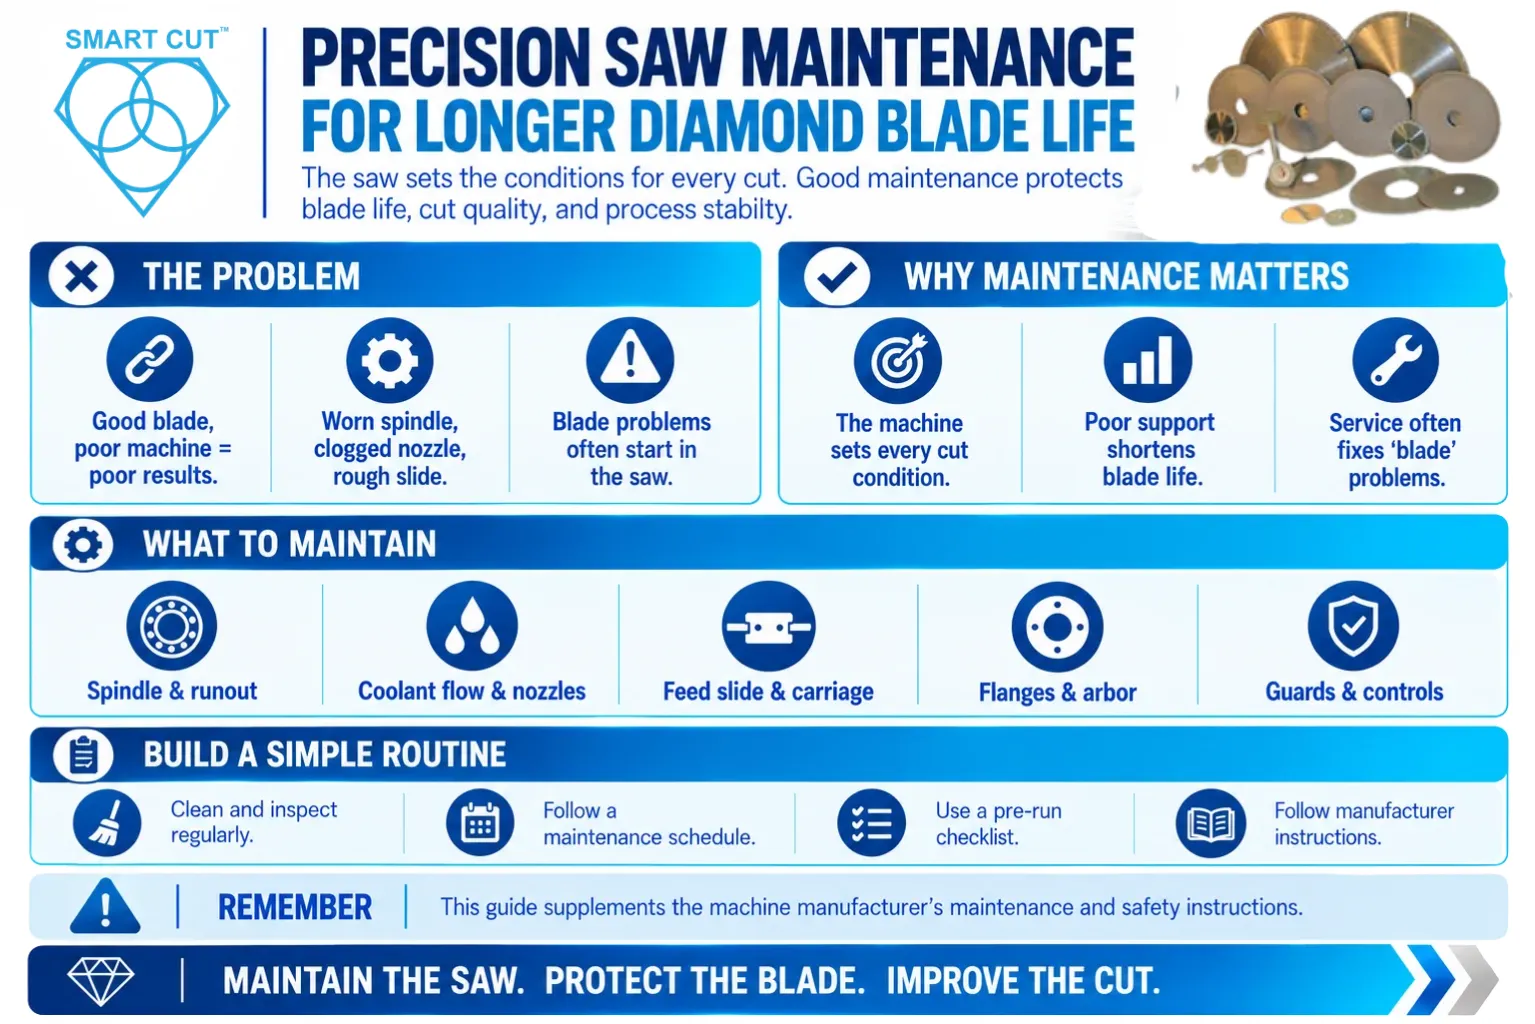
For machine upkeep, see our precision saw maintenance article.

Process

Feed too high. High feed raises force on the blade. A thin blade flexes under the force and wanders. Reduce the feed and see whether the drift drops. Our RPM and feed rate guide explains how feed and speed interact.

Speed too low for the blade. Conditions that do not suit the blade can lead to rubbing instead of cutting, with extra force and heat.

Poor coolant delivery. Heat and swarf build-up alter the cutting action and can degrade the blade quickly. Check flow and nozzle aim. See how coolant flow affects blade life and cut quality.

Workpiece and Workholding

Movement. If the part shifts or vibrates, the blade follows. Weak or poorly placed clamping causes this.

Over-clamping. Excess clamp pressure can distort the part. When the cut releases the stress, the kerf may close or shift and pinch the blade.

Unsupported exit. As the cut nears the end, an unsupported section can drop, tilt, or flex. It can then pinch the blade or leave a curved exit.

Internal stress and inhomogeneity. Some materials carry internal stress or vary in hardness across the section. The blade finds the softer path and drifts. Layered materials add more variation. See precision sectioning of coated, composite, and multilayer materials.

For a full look at fixturing, read our article on workholding for precision diamond sectioning and dicing.

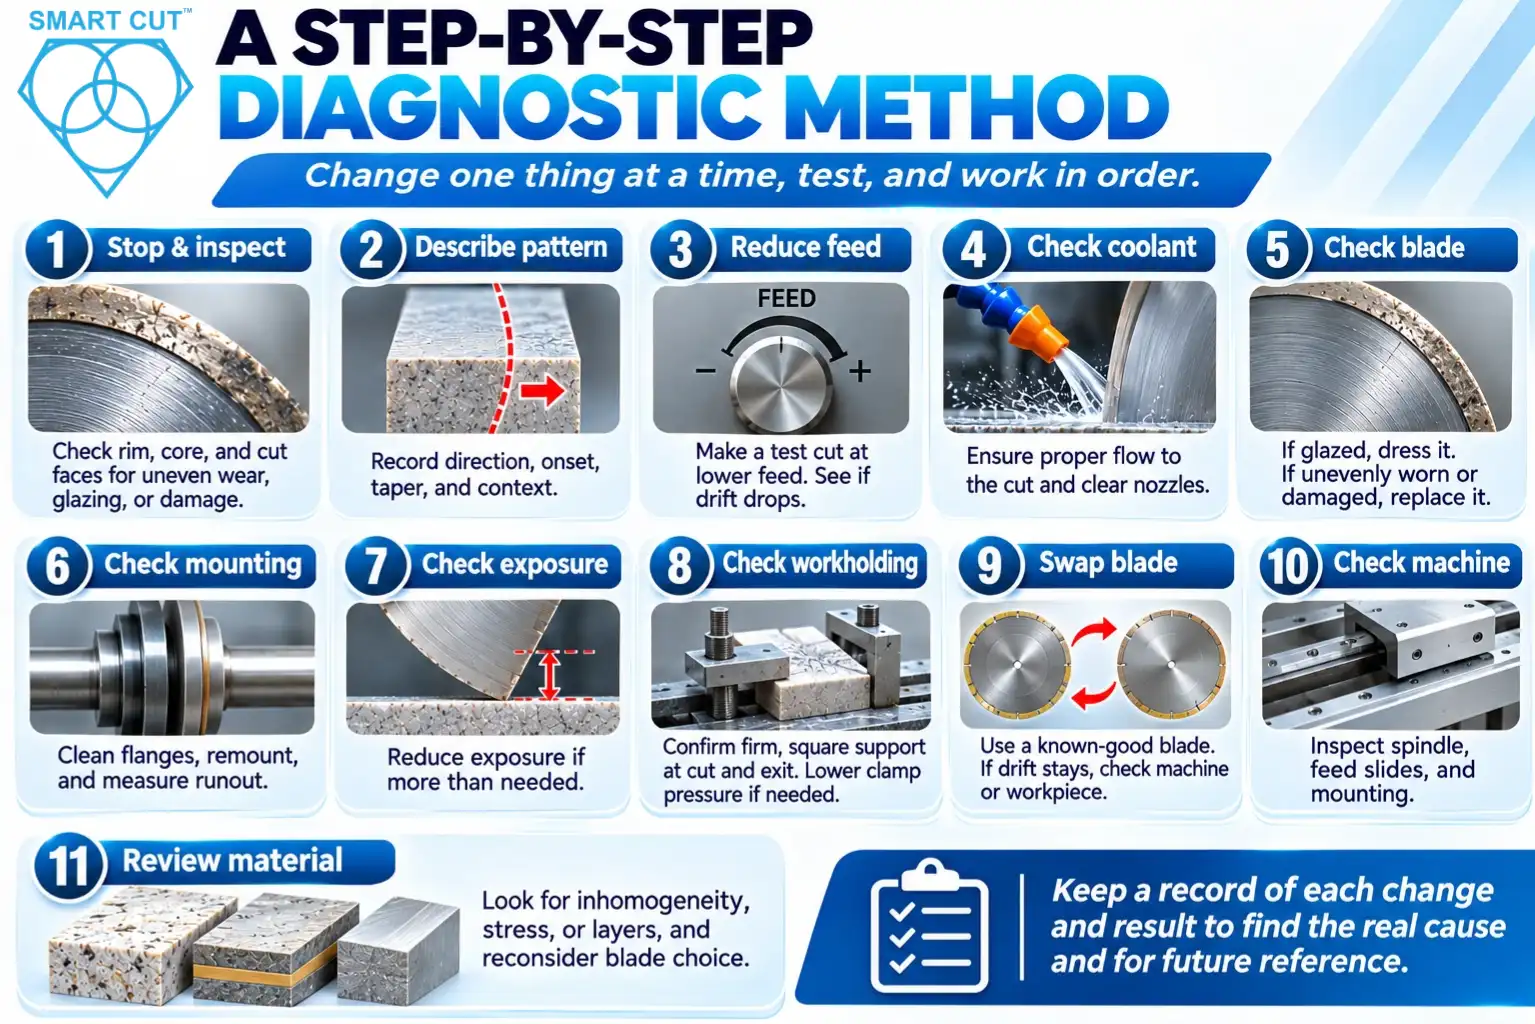
A Step-by-Step Diagnostic Method

A Step-by-Step Diagnostic Method

Change one thing at a time, and re-test after each change. Keep every other condition fixed. Work through the steps in order, because the early ones cost the least.

  1. Stop and inspect. Look at the blade rim, the core, and the cut faces. Look for one-sided wear, glazing, damage, or burn marks.
  2. Describe the pattern. Record direction, onset, taper, and context, as described above.
  3. Reduce the feed. Make a test cut at a lower feed. If the drift drops, feed force was a contributor.
  4. Check the coolant. Confirm that flow reaches the cut and that nozzles are clear.
  5. Check the blade condition. If the blade is glazed, dress it as your process allows. If it is worn unevenly or damaged, replace it.
  6. Check the mounting. Clean the flanges and spindle seat, remount, and measure runout.
  7. Check the exposure. Reduce exposure if it is larger than the cut needs.
  8. Check the workholding. Confirm that the part is fixed, square, and supported near the cut and at the exit. Reduce clamp pressure if you suspect distortion.
  9. Swap the blade. Use a known-good blade. If the wander stays, suspect the machine or workpiece. If it goes away, the first blade was the cause.
  10. Check the machine. Inspect the spindle, feed slides, and mounting.
  11. Review the material. Look for inhomogeneity, stress, or layered structure, and reconsider the blade choice.

Write down each change and its result. That record shows which factor mattered. It also gives you a starting point if the problem returns.

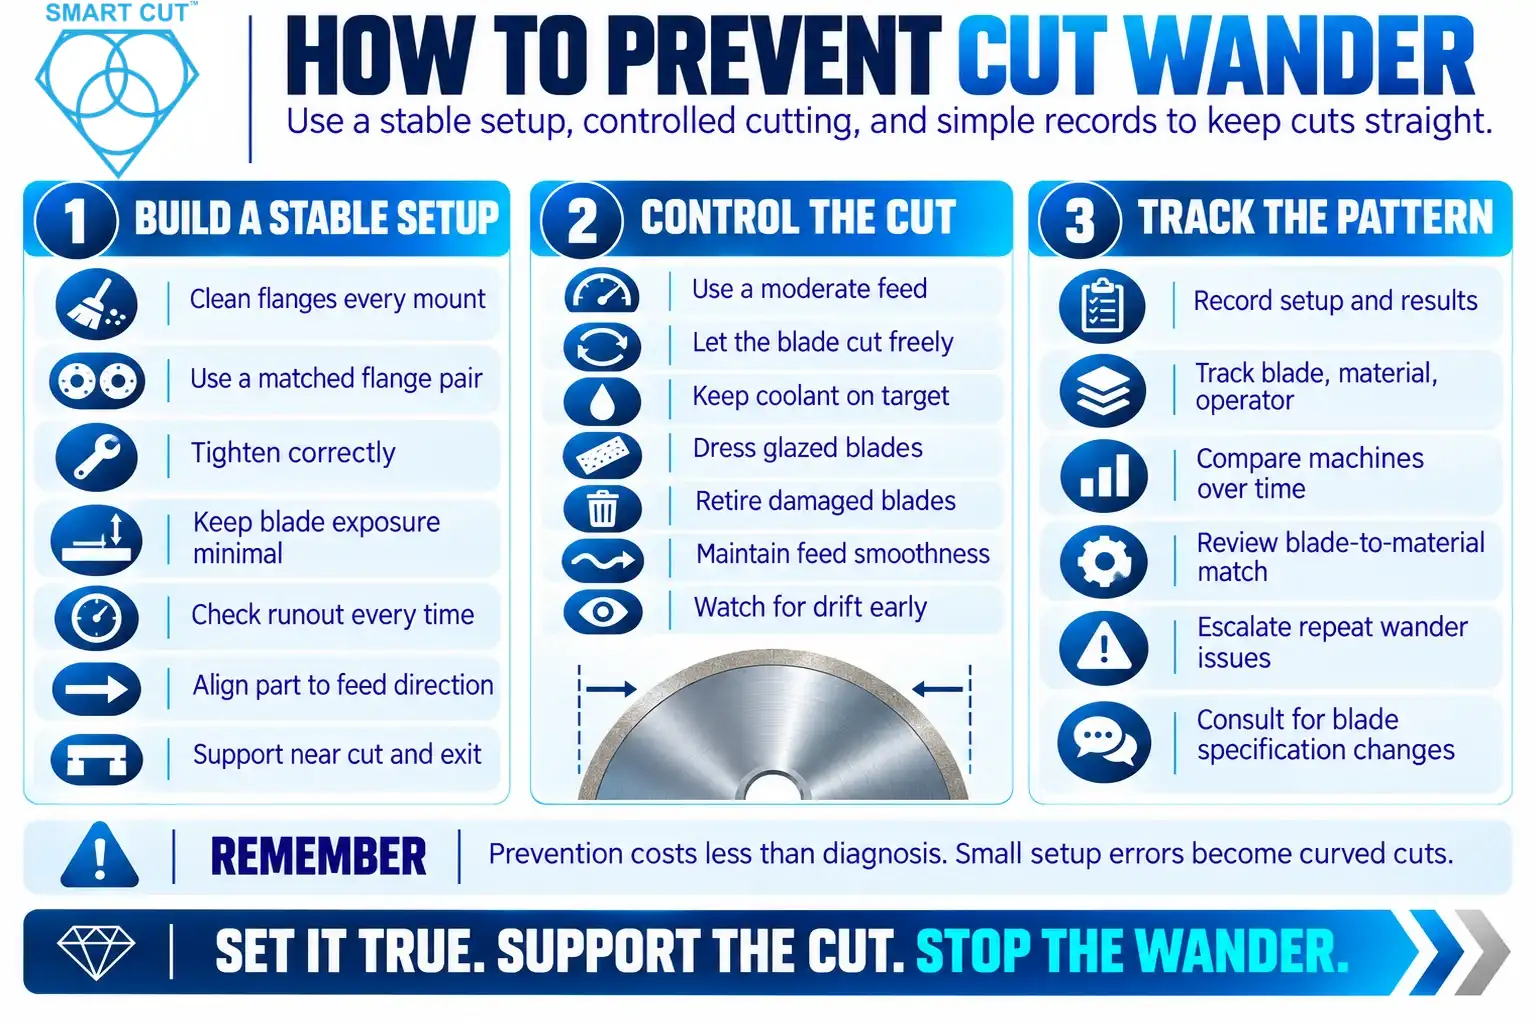
How to Prevent Cut Wander

Prevention costs less than diagnosis.

  • Use a repeatable setup. Clean flanges, a matched pair, proper tightening, minimal exposure, and a runout check every time.
  • Align the part to the feed direction. Use a repeatable reference.
  • Support the part near the cut and at the exit. Do not leave a section free to drop.
  • Choose a moderate feed. Let the blade cut instead of pushing it. A thin blade has limited ability to carry force.
  • Keep the coolant on target. Check flow before every cut.
  • Dress glazed blades and retire damaged ones. Do not push a poor blade through the cut.
  • Maintain the machine. Track runout and feed smoothness over time.
  • Match the blade to the material. If a material keeps causing wander, review the specification, and consult the UKAM team about a better match. You can explore the diamond and CBN wafering and cut-off blades or ask about custom manufacturing.

Also record your setup and results. A log shows whether wander follows a particular blade, material, operator, or machine.

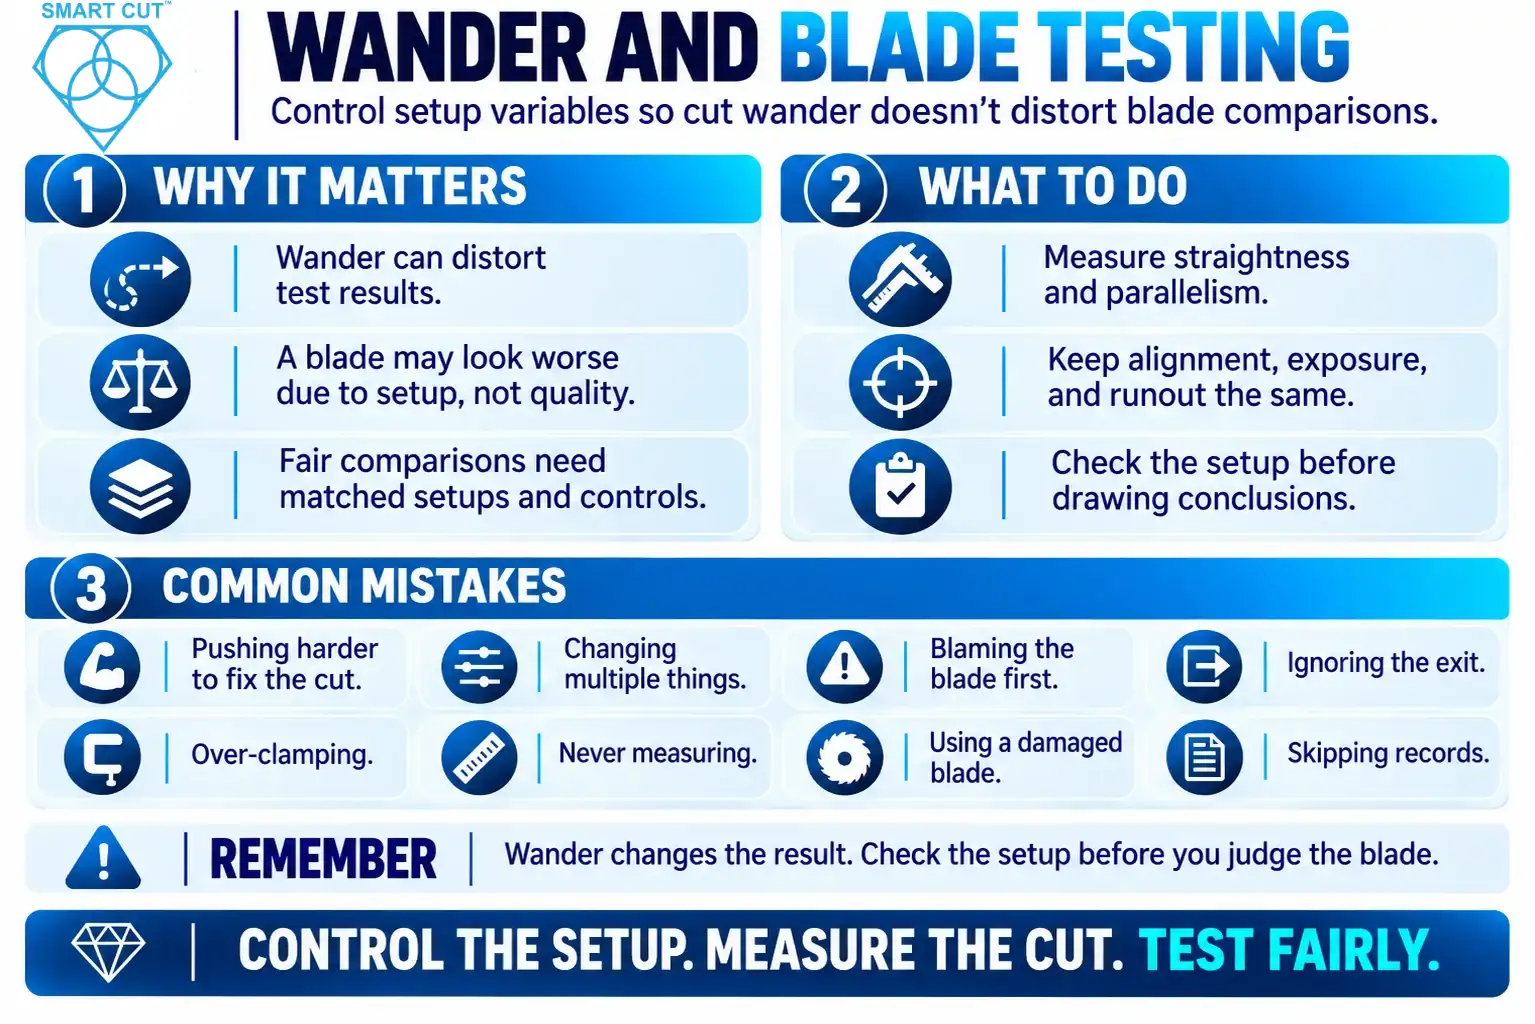
Wander and Blade Testing

Cut wander can distort test results. A blade that wanders may wear unevenly and look worse, even though the setup caused the problem. A fair comparison needs matched setups and controlled variables.

  • Measure straightness and parallelism as part of the cut quality data.
  • Keep alignment, exposure, and runout the same for every blade.
  • Treat unexplained wander as a reason to check the setup before you draw conclusions.

See how to compare two diamond blades fairly and how to design a repeatable diamond blade test for the full approach.

Common Mistakes When Dealing with Cut Wander

Pushing harder to correct the cut. Extra force deflects a thin blade further.

Changing several things at once. You then cannot tell what worked.

Blaming the blade first. Setup, machine, and workholding cause many cases.

Ignoring the exit. Unsupported parts often fail at the end of the cut.

Over-clamping. Excess clamp pressure distorts parts and closes the kerf.

Never measuring. Without measurements, you guess at the cause.

Continuing with a damaged blade. A bent or damaged blade cannot cut straight.

Skipping records. Without records, the problem repeats.

Applying This in Your Shop

Start by measuring. When a cut wanders, record the direction, onset, and taper. Then follow the diagnostic sequence, changing one factor at a time. Fix the source, record the result, and update your setup standard so the fix lasts.

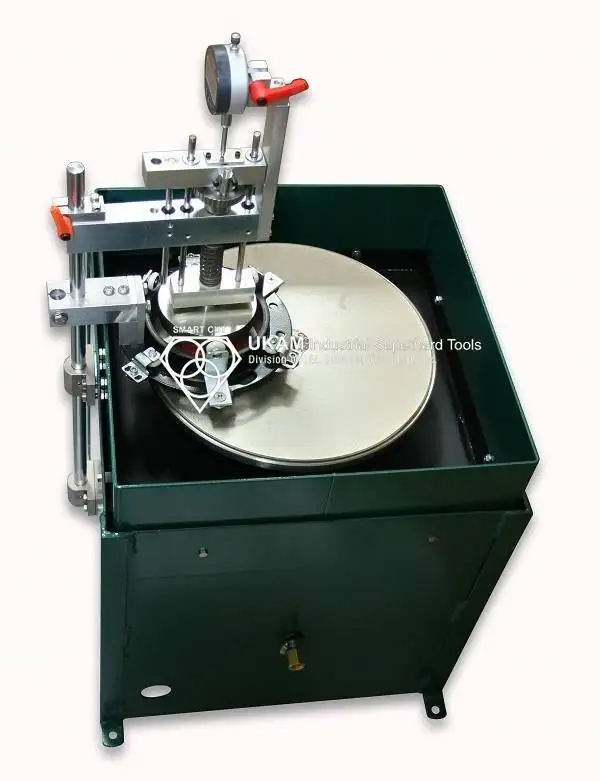
If wander happens repeatedly, review your routine. Check runout, flange condition, workholding, and feed. Equipment helps as well. A rigid, well-maintained precision cutting saw with controlled feed removes several sources of drift before the blade even starts.

Related UKAM Products and Resources

These UKAM products and guides help you prevent and diagnose wandering cuts.

Key Takeaways

  • Cut wander covers drift, curving, taper, and kerf variation. Name the one you have.
  • A thin blade deflects toward the side with less resistance, and the deflection tends to grow.
  • Measure direction, onset, and taper before changing anything.
  • Causes fall into blade condition, setup, machine, process, and workpiece or workholding.
  • Always-the-same-side drift points to systematic causes. Random drift points to vibration or play.
  • Drift that grows with depth points to feed force and deflection.
  • Diagnose one change at a time, starting with the cheapest checks.
  • Support the part at the exit, and avoid over-clamping.
  • Do not push harder to correct a wandering cut.

Frequently Asked Questions

Something unbalances the forces on the thin blade, so it deflects toward the side with less resistance.

It is a cut that leaves the intended line and moves sideways.

Side loading, misalignment, uneven blade wear, or fixture problems often cause it.

Yes, because high feed raises force and a thin blade flexes under it.

Yes, because runout loads the rim unevenly and makes the blade rub one wall.

Mount a known-good blade, and suspect the machine if the wander stays.

An unsupported section can drop or flex, or stress release can close the kerf.

Yes, because excess clamp pressure can distort the part and pinch the blade.

Often yes, because it needs more force to advance, and that force deflects a thin blade.

No, extra force usually makes the deflection worse.

Yes, because internal stress and hardness variation can pull the blade off line.

Measure the section thickness at several points with one instrument and compare the readings.

Yes, because more unsupported blade flexes more.

Use a repeatable setup, moderate feed, good coolant, firm support, and a healthy blade.

Conclusion

Diamond blade cut wander is a symptom, not a cause. A thin blade drifts whenever forces on its two sides become unbalanced, and many things can unbalance them: blade wear, runout, misalignment, feed force, machine condition, and a part that moves or closes the kerf.

Diagnose it with data. Describe the pattern, then check one factor at a time, starting with the cheapest. Fix the source instead of pushing the blade harder, and record what you learn. Over time, those records turn a recurring problem into a routine fix.

A wandering cut is a symptom, so find the cause and fix it. To match a blade and setup to your material, request a consultation with the UKAM team, or browse our diamond wafering blades.

Trusted by Tens of Thousands of Manufacturers, Laboratories,
Research Institutions Worldwide Since 1990

American Based Manufacturer

Established in 1990

Custom manufacturing

RELATED ARTICLES

Brian is an experienced professional in the field of precision cutting tools, with over 27 years of experience in technical support. Over the years, he has helped engineers, manufacturers, researchers, and contractors find the right solutions for working with advanced and hard-to-cut materials. He’s passionate about bridging technical knowledge with real-world applications to improve efficiency and accuracy.

As an author, Brian Farberov writes extensively on diamond tool design, application engineering, return on investment strategies, and process optimization, combining technical depth with a strong understanding of customer needs and market dynamics.

author-avatar

About Brian Farberov

Brian is an experienced professional in the field of precision cutting tools, with over 27 years of experience in technical support. Over the years, he has helped engineers, manufacturers, researchers, and contractors find the right solutions for working with advanced and hard-to-cut materials. He’s passionate about bridging technical knowledge with real-world applications to improve efficiency and accuracy. As an author, Brian Farberov writes extensively on diamond tool design, application engineering, return on investment strategies, and process optimization, combining technical depth with a strong understanding of customer needs and market dynamics.

Download Checklist

Please fill in your details to download the Precision Diamond Saw Pre-Operation Checklist.