




















10 Common Diamond Blade Testing Mistakes and How to Avoid Them

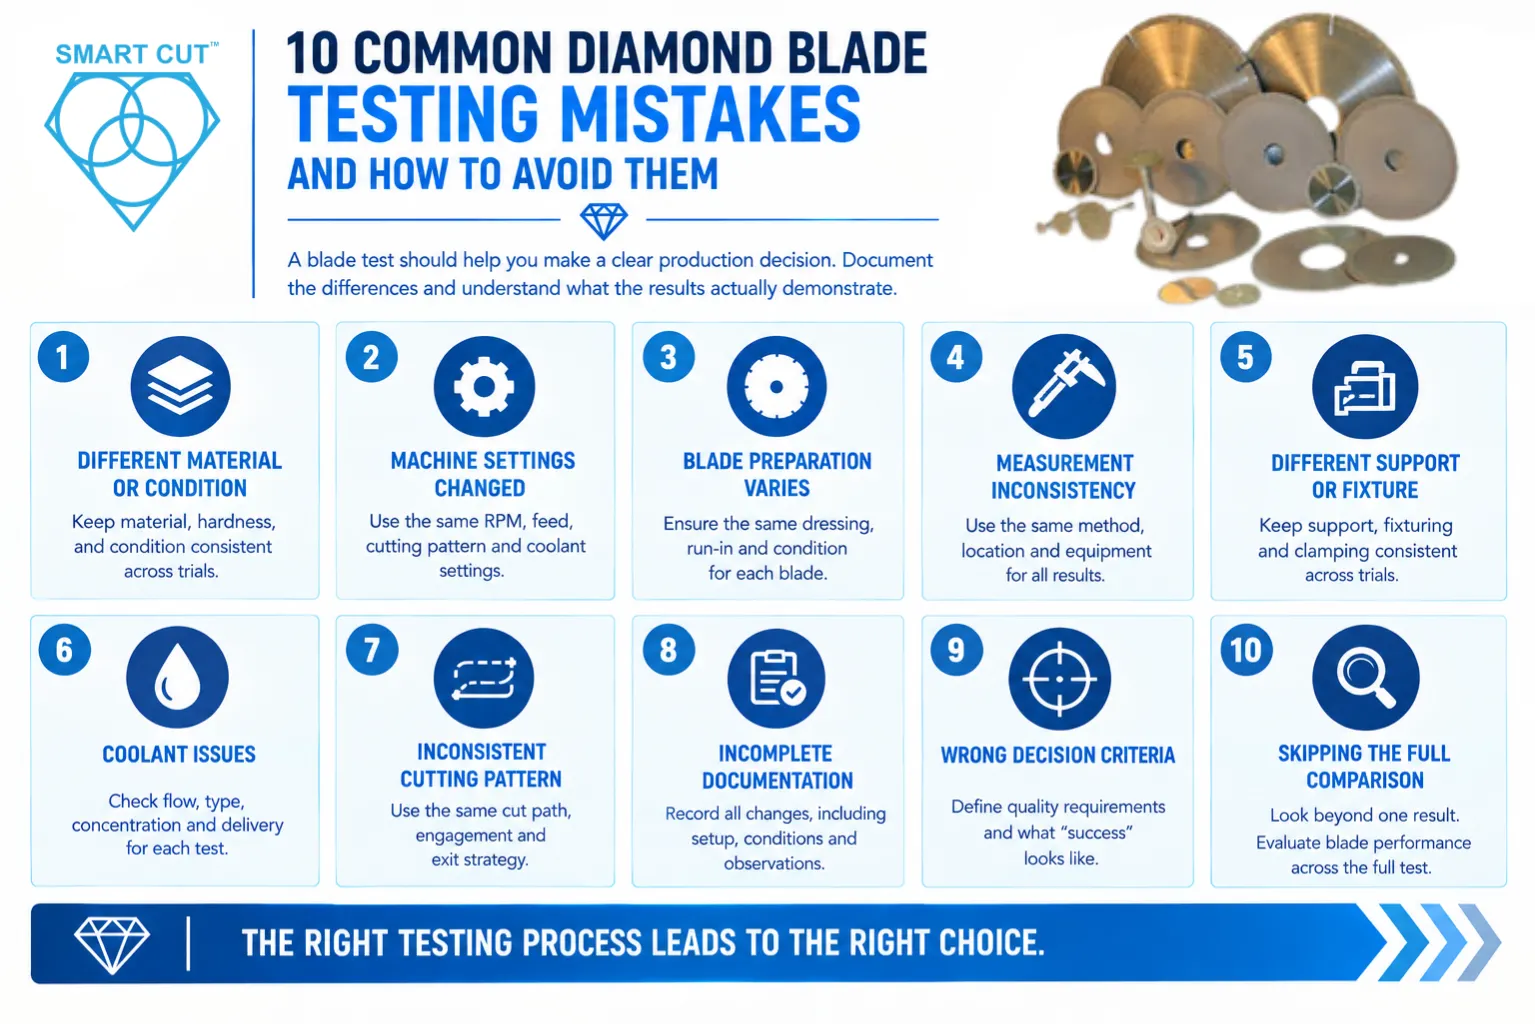
Table of Contents
ToggleA diamond blade test should help you make a clear production decision. You may need longer blade life, less chipping, a narrower cut, or lower cost per acceptable part. However, changes in material, machine condition, blade preparation, or measurement can make a comparison misleading.
A blade that performs poorly in one trial may need different operating conditions. A blade that appears superior may have cut easier material or received better support. Reliable testing requires you to document these differences and understand what the results actually demonstrate.
Before testing, define your quality requirements and the decision you need to make. Then use the ten checks below to prevent common errors. For the complete methodology and comparison calculator, see UKAM’s guide to evaluating and comparing diamond blades.
Trusted by Tens of Thousands of Manufacturers, Laboratories Research Institutions Worldwide Since 1990

American Based Manufacturer

Established in 1990


Custom manufacturing


Mistake 1: Comparing Blades Without Defining a Fair Test
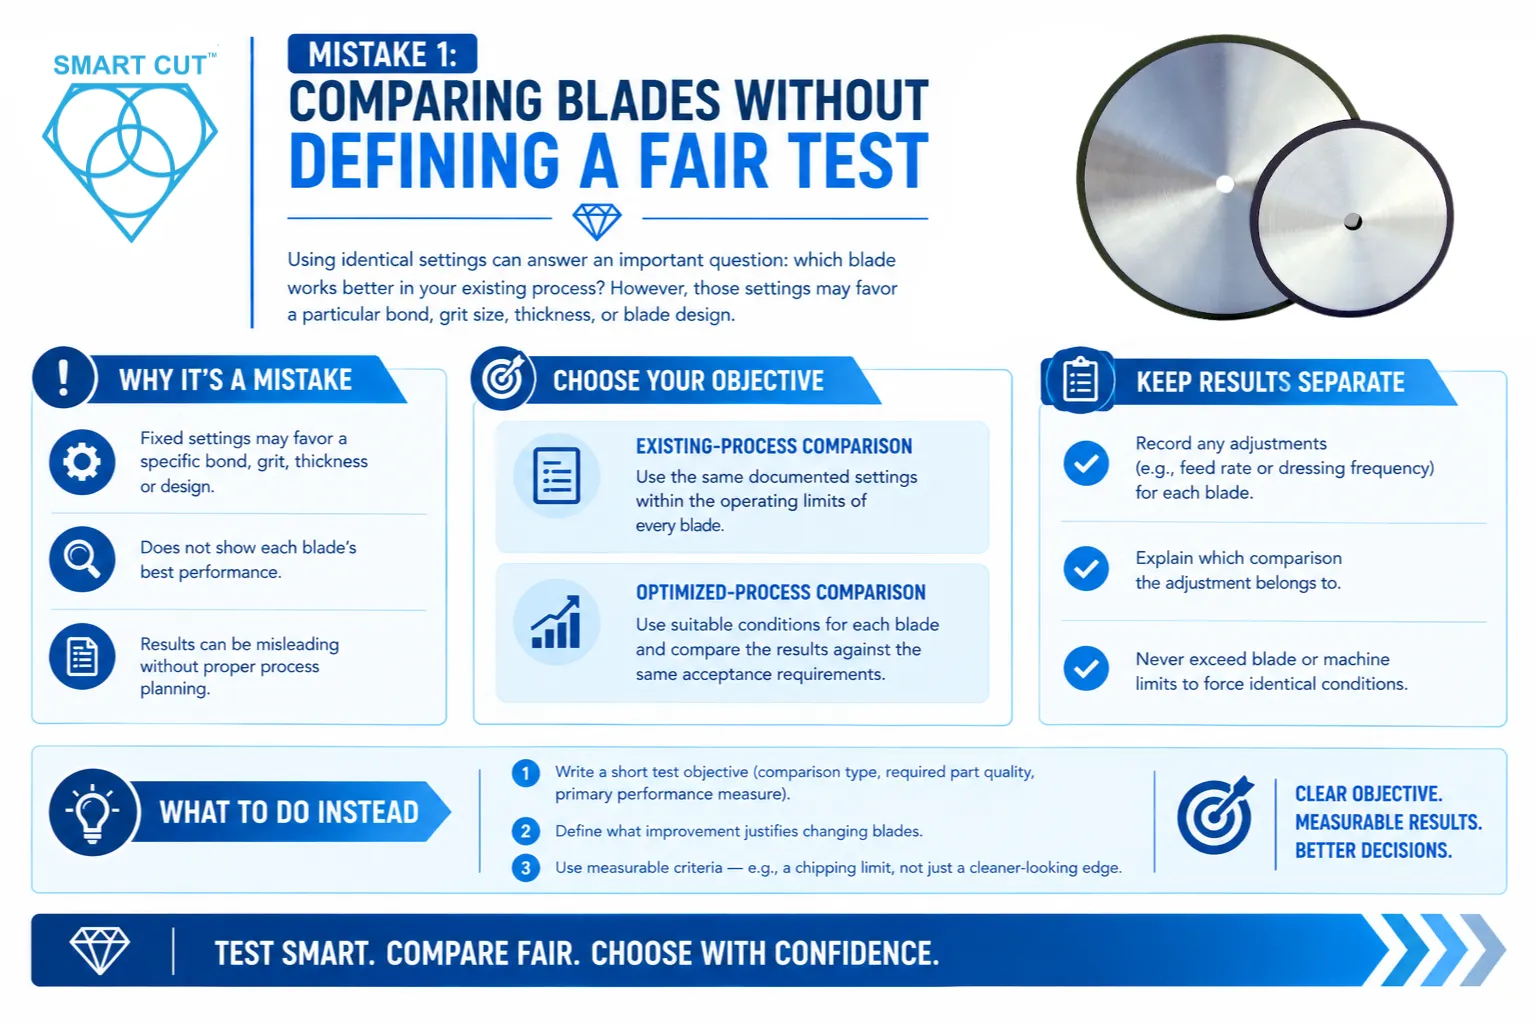
Using identical settings can answer an important question: which blade works better in your existing process? However, those settings may favor a particular bond, grit size, thickness, or blade design. A fixed-settings trial does not automatically identify the best performance each blade can achieve.
Choose your objective before testing. For an existing-process comparison, use the same documented conditions within the operating limits of every blade. For an optimized-process comparison, develop suitable conditions for each blade and compare the resulting quality, productivity, and cost against the same acceptance requirements.
Keep the two sets of results separate. If you adjust feed rate or dressing frequency for one blade, record the adjustment and explain which comparison it belongs to. Never exceed blade or machine limits to force identical conditions.
What to do instead: Write a short test objective that identifies the comparison type, required part quality, and primary performance measure. Define what improvement would justify changing blades. A trial intended to reduce chipping needs a measurable chipping limit, not simply a preference for a cleaner-looking edge.
Mistake 2: Using Inconsistent or Nonrepresentative Material
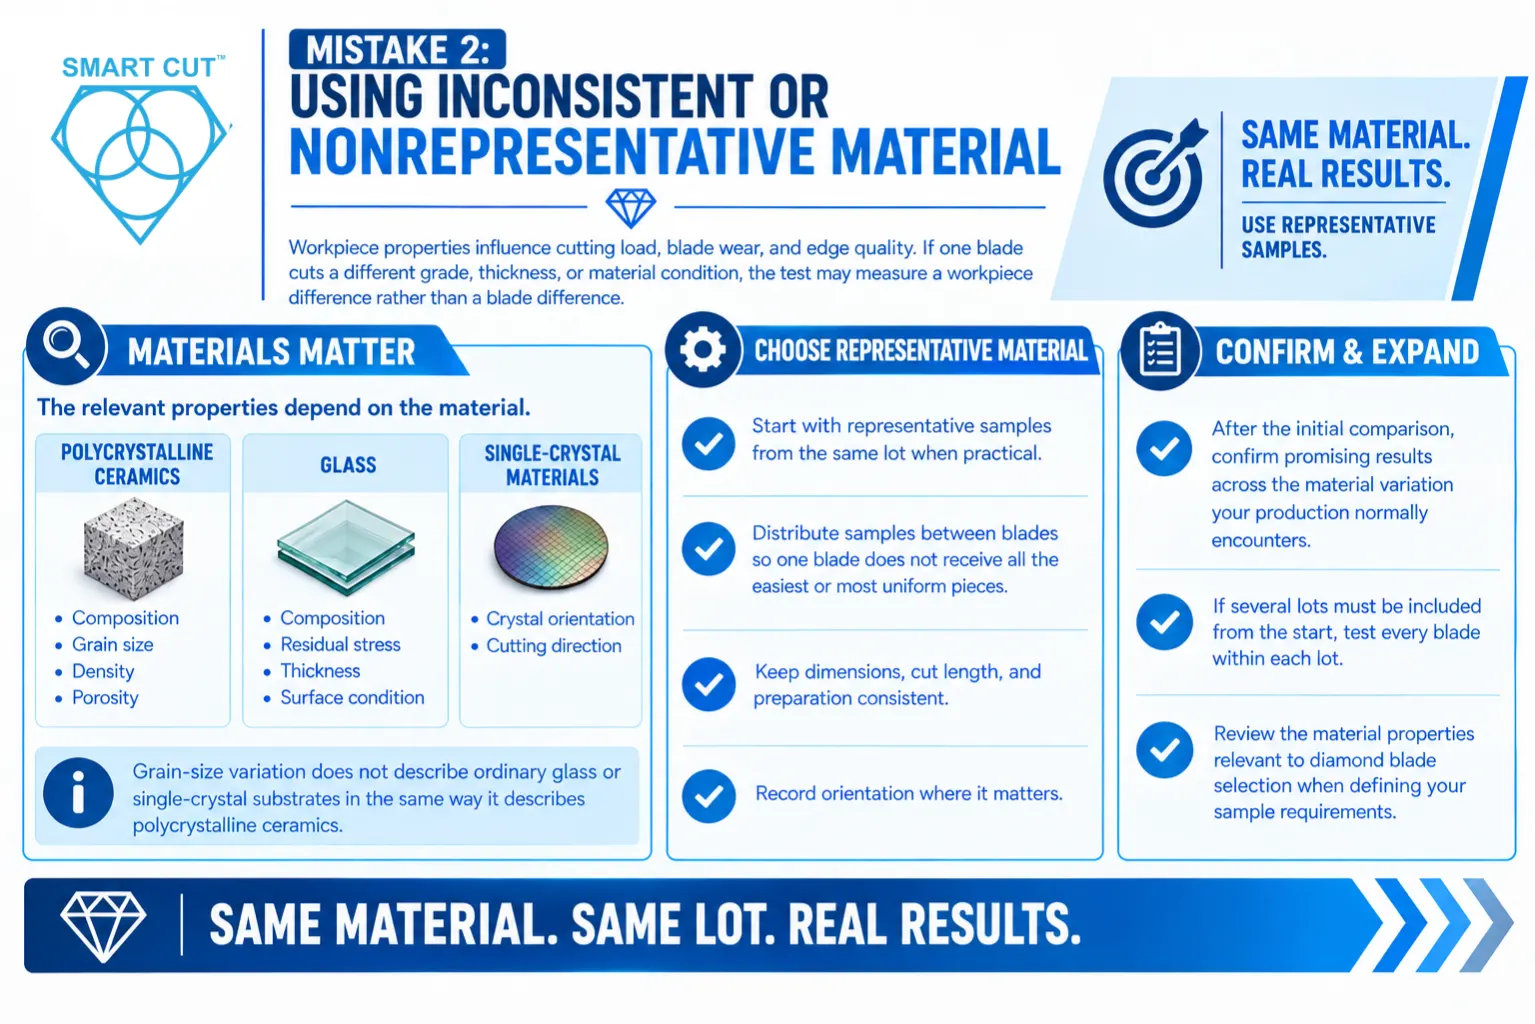
Workpiece properties influence cutting load, blade wear, and edge quality. If one blade cuts a different grade, thickness, or material condition, the test may measure a workpiece difference rather than a blade difference.
The relevant properties depend on the material. For polycrystalline ceramics, consider composition, grain size, density, and porosity. For glass, consider composition, residual stress, thickness, and surface condition. For single-crystal materials, record crystal orientation and cutting direction. Grain-size variation does not describe ordinary glass or single-crystal substrates in the same way it describes polycrystalline ceramics.
What to do instead: Start with representative samples from the same lot when practical. Distribute samples between blades so that one blade does not receive all the easiest or most uniform pieces. Keep dimensions, cut length, and preparation consistent. Record orientation where it matters.
After the initial comparison, confirm promising results across the material variation your production normally encounters. If several lots must be included from the start, test every blade within each lot. Review the material properties relevant to diamond blade selection when defining your sample requirements.
Mistake 3: Changing Operating Conditions Without a Test Plan
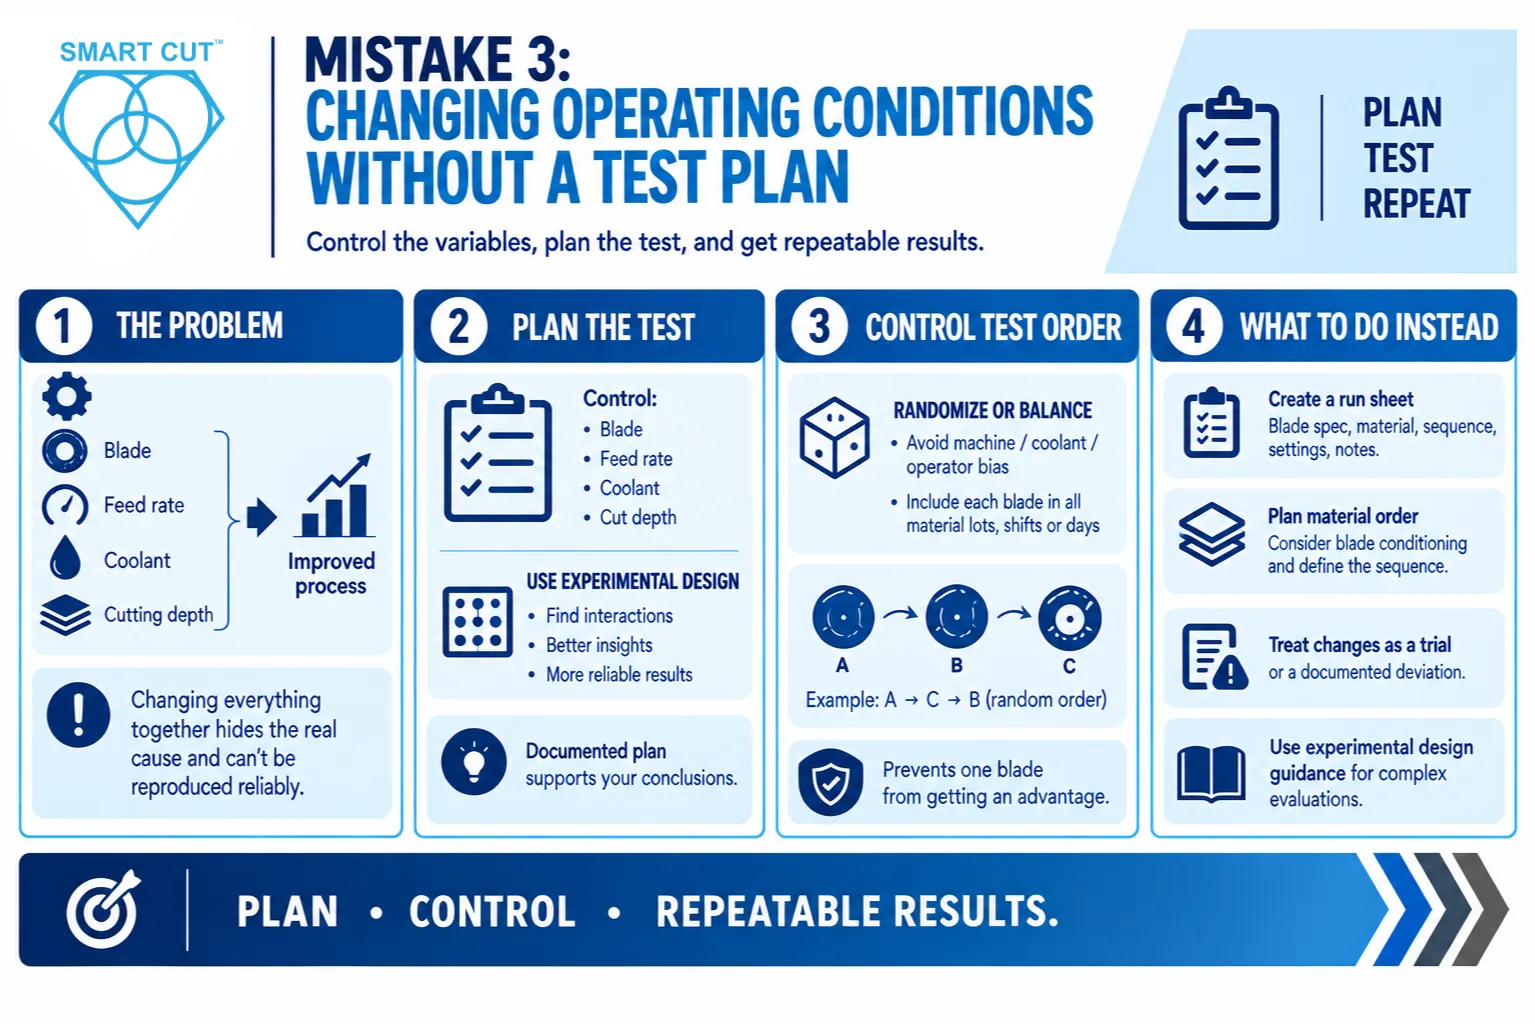
Changing the blade, feed rate, coolant, and cutting depth together can improve a process, but an unplanned trial cannot reliably identify which change caused the improvement. It also makes the result difficult to reproduce.
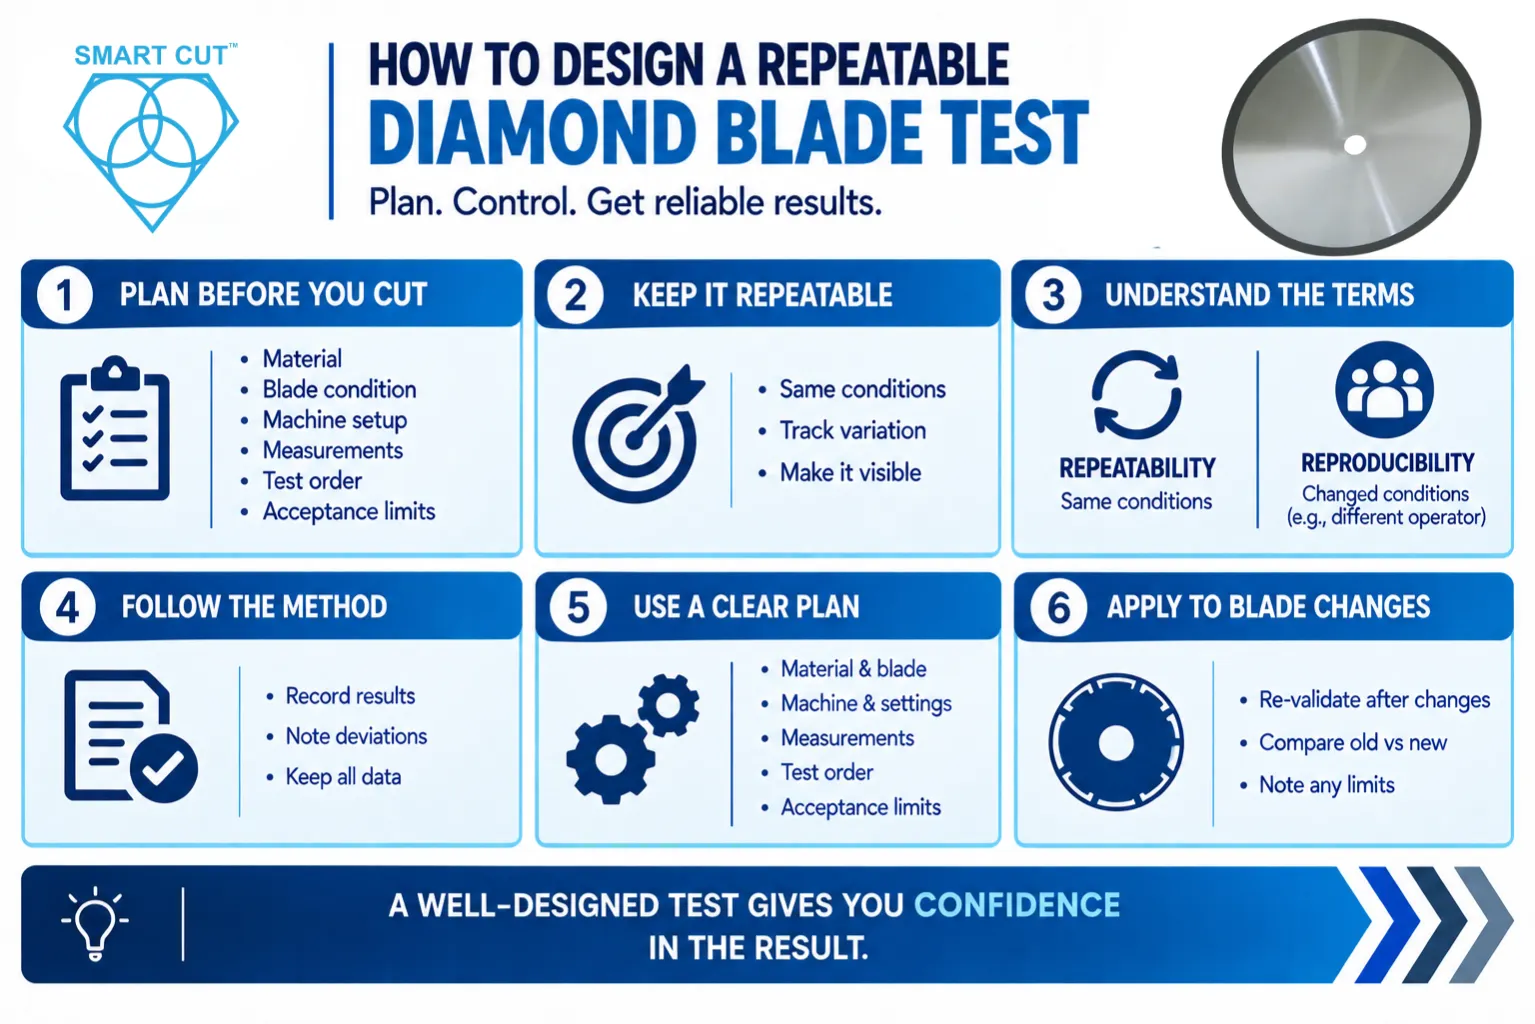
For a straightforward blade comparison, control the other important conditions. If you need to study several factors, use a structured experimental design. Planned combinations of speed and feed can reveal interactions that separate one-variable trials may miss. The essential requirement is a documented plan that supports the conclusions you intend to draw.
Control test order as well. Always running one blade first may favor it because the machine, coolant, or operator condition changes over time. Randomize or balance the order where practical. Include each blade within the relevant material lots, shifts, or test days.
What to do instead: Create a run sheet before cutting. Record the blade specification, material sample, sequence, settings, and any interruption or adjustment. Where material order can change blade conditioning, define that sequence deliberately. Treat unplanned changes as a separate trial or a documented deviation. Established experimental design guidance can help with more complex evaluations.
Mistake 4: Overlooking Feed Rate, Surface Speed, and Cutting Geometry
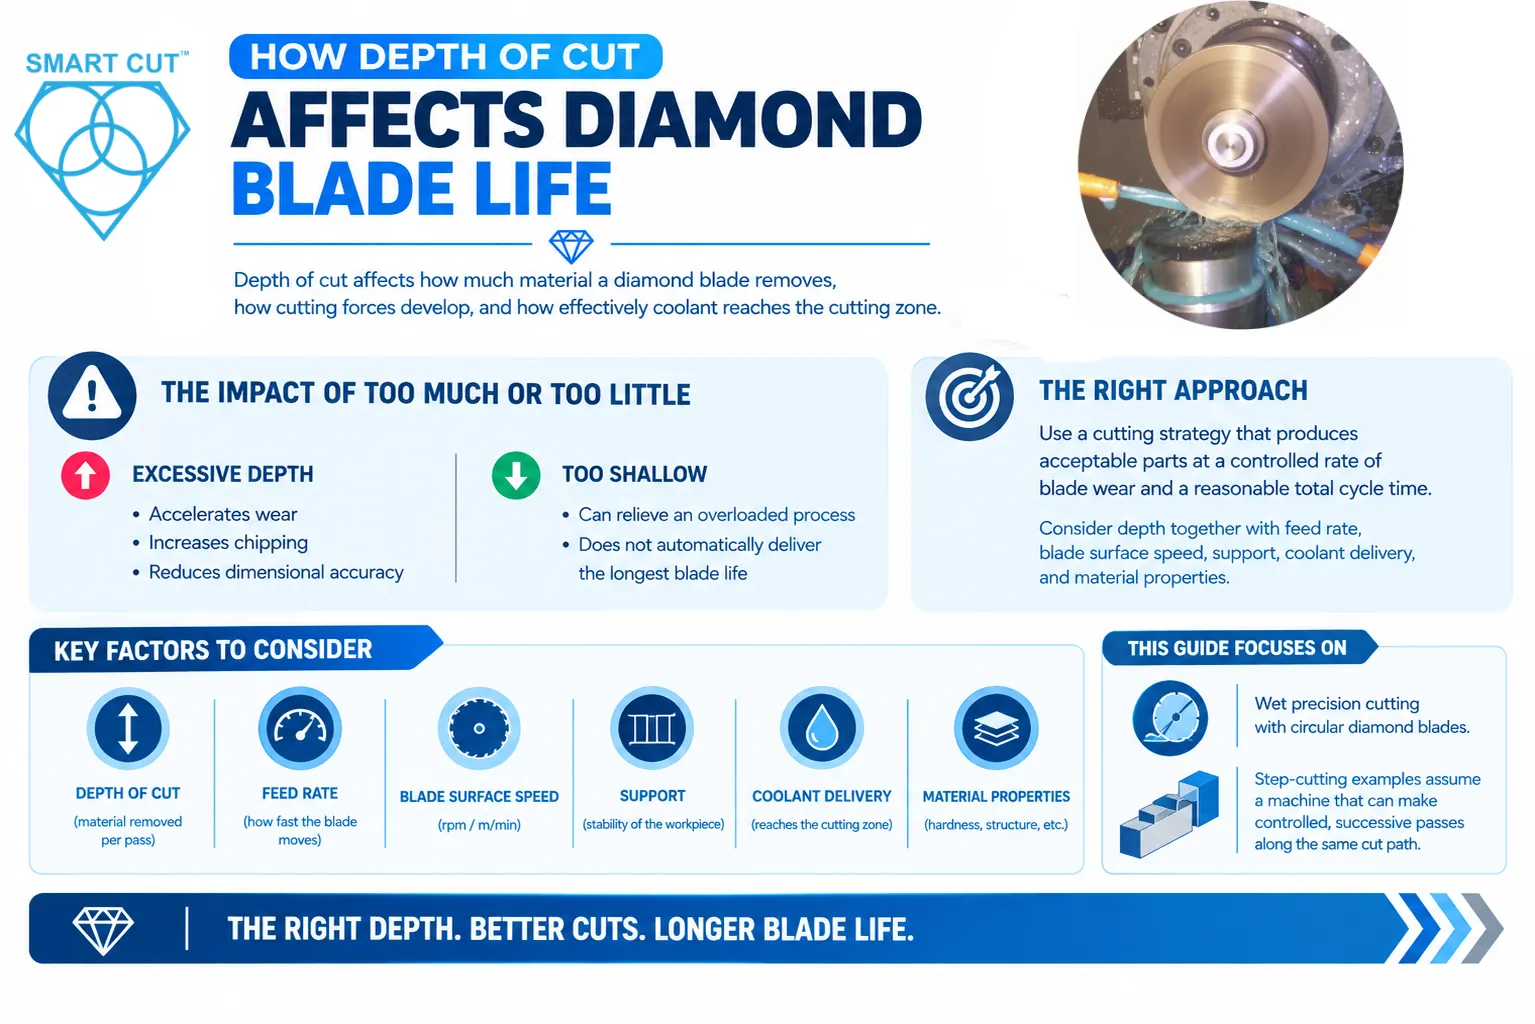
Feed rate, peripheral speed, and cutting depth work together. Excessive feed can increase cutting load, deflection, chipping, and wear. A very low feed can also be unsuitable if the cutting action does not maintain an effective abrasive surface. There is no single speed or feed that suits every blade and material.
Record both RPM and blade diameter. The same RPM produces different peripheral speeds on different diameters. Matching peripheral speed can improve a comparison, but different blade diameters still change contact geometry and other conditions. Do not describe such a test as changing only one variable.
Blade thickness and cut depth also matter. A thicker blade generally removes more material for the same cut path. Greater cutting depth changes engagement and may require different support or operating conditions. Compare useful output under stated requirements rather than assuming equal cut counts mean equal work.
What to do instead: Verify actual feed and RPM, then record diameter, thickness, cutting depth, cut length, and pass strategy. Confirm suitable blade exposure and flange clearance. Use UKAM’s RPM and feed-rate reference to support your setup calculations.
Mistake 5: Preparing or Dressing Blades Inappropriately
A new blade may need conditioning before it reaches stable cutting performance. However, preparation depends on blade construction and application. Applying the same dressing procedure to every blade can create an unfair comparison or damage the abrasive surface.
Use the preparation method specified for the blade. Some blades require a suitable dressing board or stick. Others need little preparation. Do not assume a procedure intended for a multilayer bonded blade is appropriate for a single-layer plated blade. Distinguish cleaning, dressing, and truing, because each addresses a different condition.
During the trial, distinguish glazing from loading. Glazing involves worn cutting points without sufficient exposure of effective abrasive edges. Loading occurs when workpiece material or debris obstructs the abrasive surface. Investigate both the blade specification and operating conditions when either develops.
What to do instead: Document preparation, dressing material, settings, and dressing triggers for each specification. Define how you will recognize stable cutting before collecting steady-state measurements. Keep startup and dressing records separately, including time, material consumption, and blade wear. These costs still belong in a production comparison even when you exclude preparation cuts from steady-state results.
Mistake 6: Allowing Workholding or Blade Support to Change
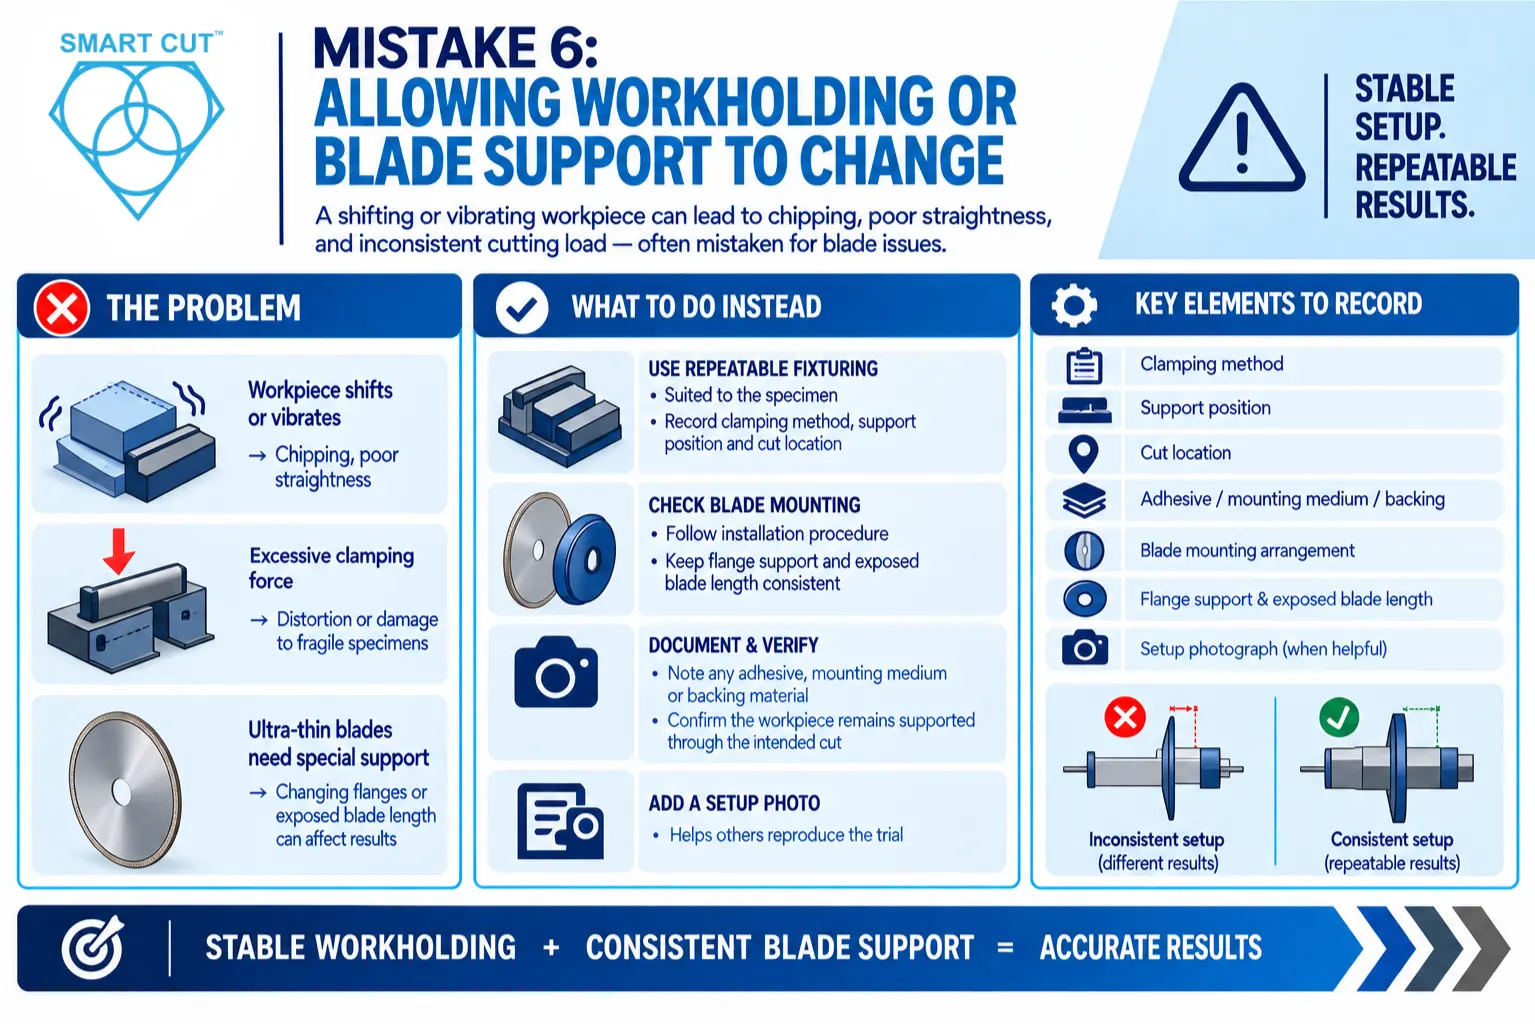
A workpiece that shifts or vibrates can produce chipping, poor straightness, and inconsistent cutting load. These effects can be mistaken for blade performance problems. Excessive clamping force can also distort or damage a fragile specimen.
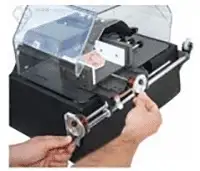
Ultra-thin blades require particular attention to mounting and support. Changing flange diameter or the exposed blade length changes the cutting setup. Two runs with the same blade specification may therefore produce different results even when RPM and feed remain unchanged.
What to do instead: Use repeatable fixturing suited to the specimen. Record clamping method, support position, cut location, and any adhesive, mounting medium, or backing material. Confirm that the workpiece remains supported through the intended cut.
Record the blade mounting arrangement and follow the specified installation procedure. Keep flange support and exposed blade length consistent when comparing equivalent configurations. If a different blade requires different support, document it as part of that configuration. Include a setup photograph when it helps another operator reproduce the trial.
Mistake 7: Assuming Coolant Presence Means Effective Delivery
Coolant must reach the cutting zone and remove debris effectively. A visible stream near the blade does not prove that the blade and workpiece receive adequate cooling and flushing throughout the cut.
Nozzle position, flow, concentration, temperature, and filtration can change during testing. A coolant stream may reach the entry point but fail to serve a deeper cut. Increasing pressure alone does not guarantee improvement, particularly where the blade, specimen, or fixture is sensitive to fluid forces.
What to do instead: Verify delivery under the actual cutting conditions. Keep the relevant coolant variables within documented ranges and record nozzle position. Monitor the reservoir and filters during longer trials. Use coolant compatible with the blade, workpiece, and equipment.
For a dry-cutting application, use a blade and machine suitable for that operation. Document dust extraction, duty cycle, and cooling intervals where applicable. Clearly identify dry-cutting results. Review UKAM’s coolant application guidance when establishing a wet-cutting procedure.
Mistake 8: Ignoring Machine Condition and Actual Settings
Spindle runout, worn bearings, carriage play, contaminated flanges, and alignment errors can degrade cut quality. A machine display may also differ from actual operating speed or feed. Without checking these conditions, you may assign a machine problem to the blade.
What to do instead: Inspect the equipment before testing. Clean and inspect the mounting surfaces. Check runout at the specified locations, verify alignment, and address mechanical play. Verify speed and feed against an appropriate reference, with calibration where required. Set suitable acceptance limits for the machine and the intended cutting task.
Keep the warm-up procedure and machine condition consistent. Record maintenance or adjustments made during testing. If a change materially affects the setup, repeat the relevant baseline before comparing later results.
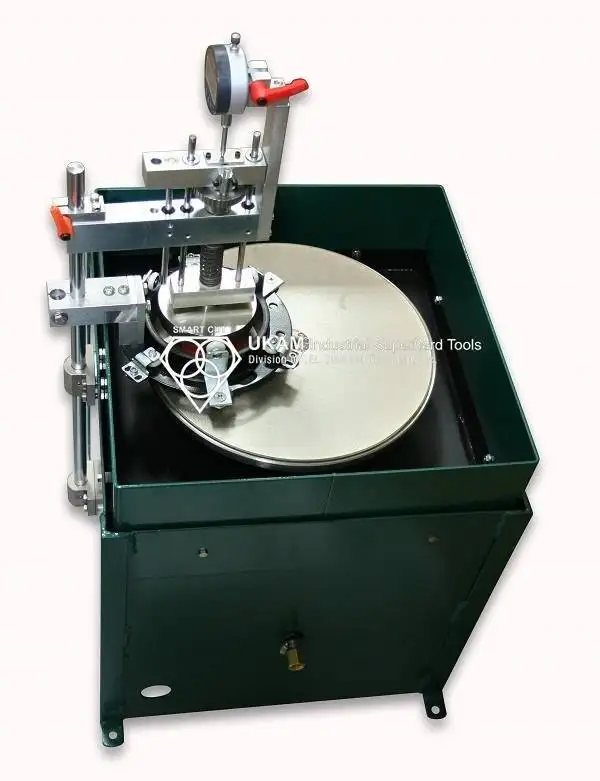
Use equipment capable of controlling the variables that matter to your application. A precision cutting saw can support repeatable testing, but the installed condition, setup, and measurement procedure still require verification.
Mistake 9: Using Too Few Samples or Inadequate Measurements
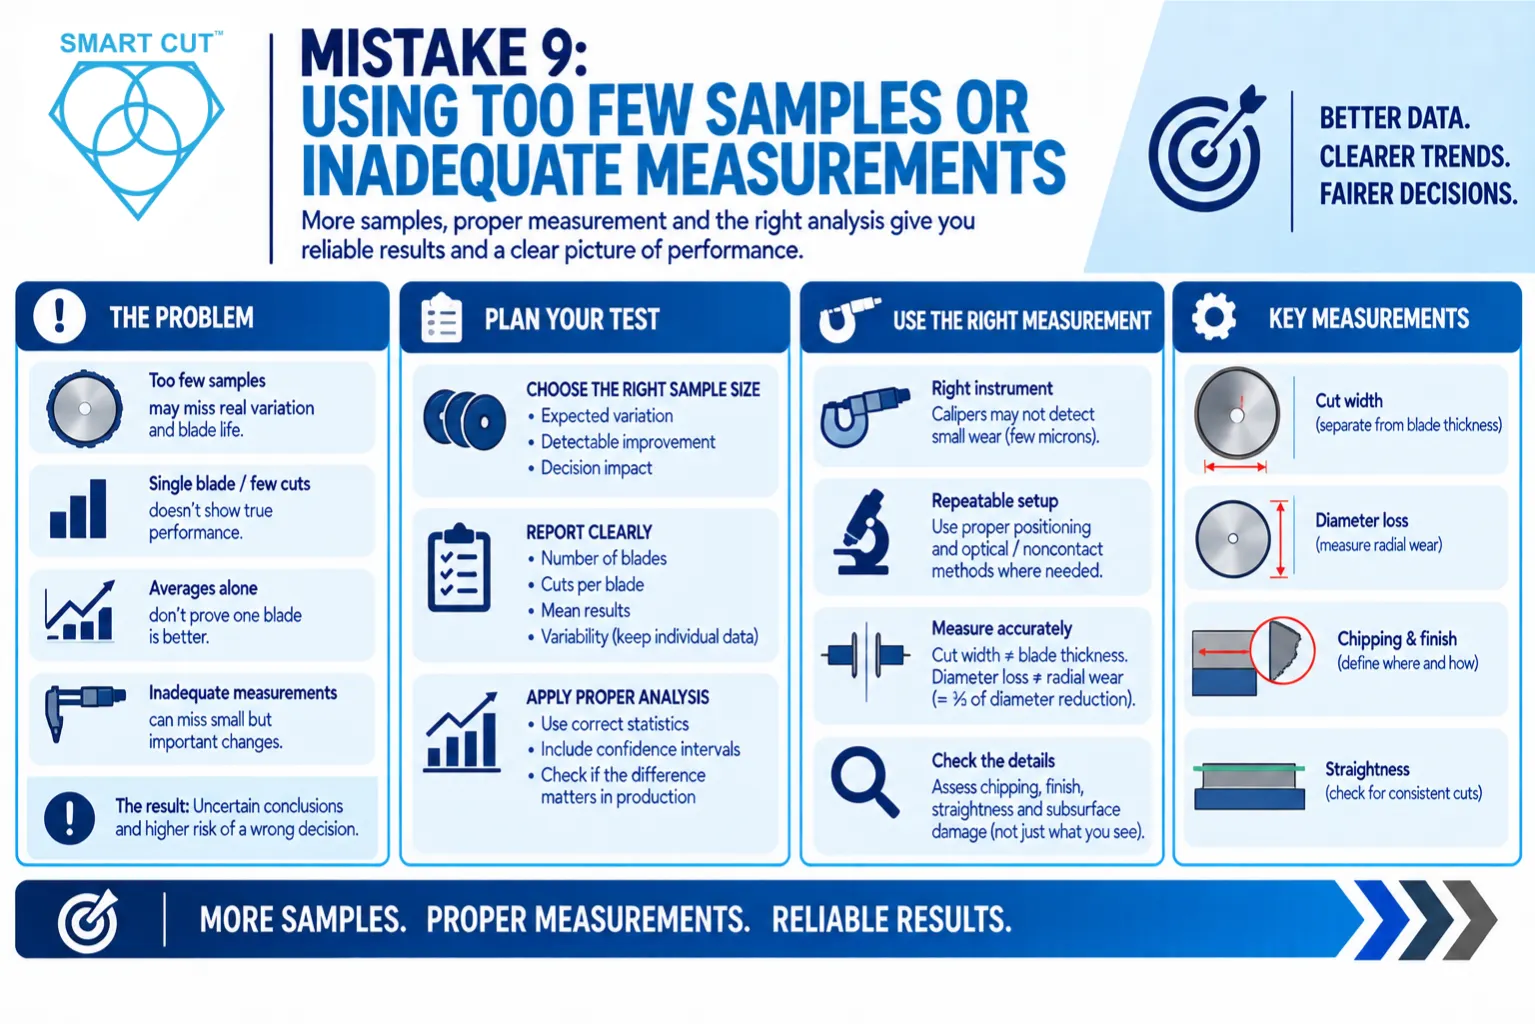
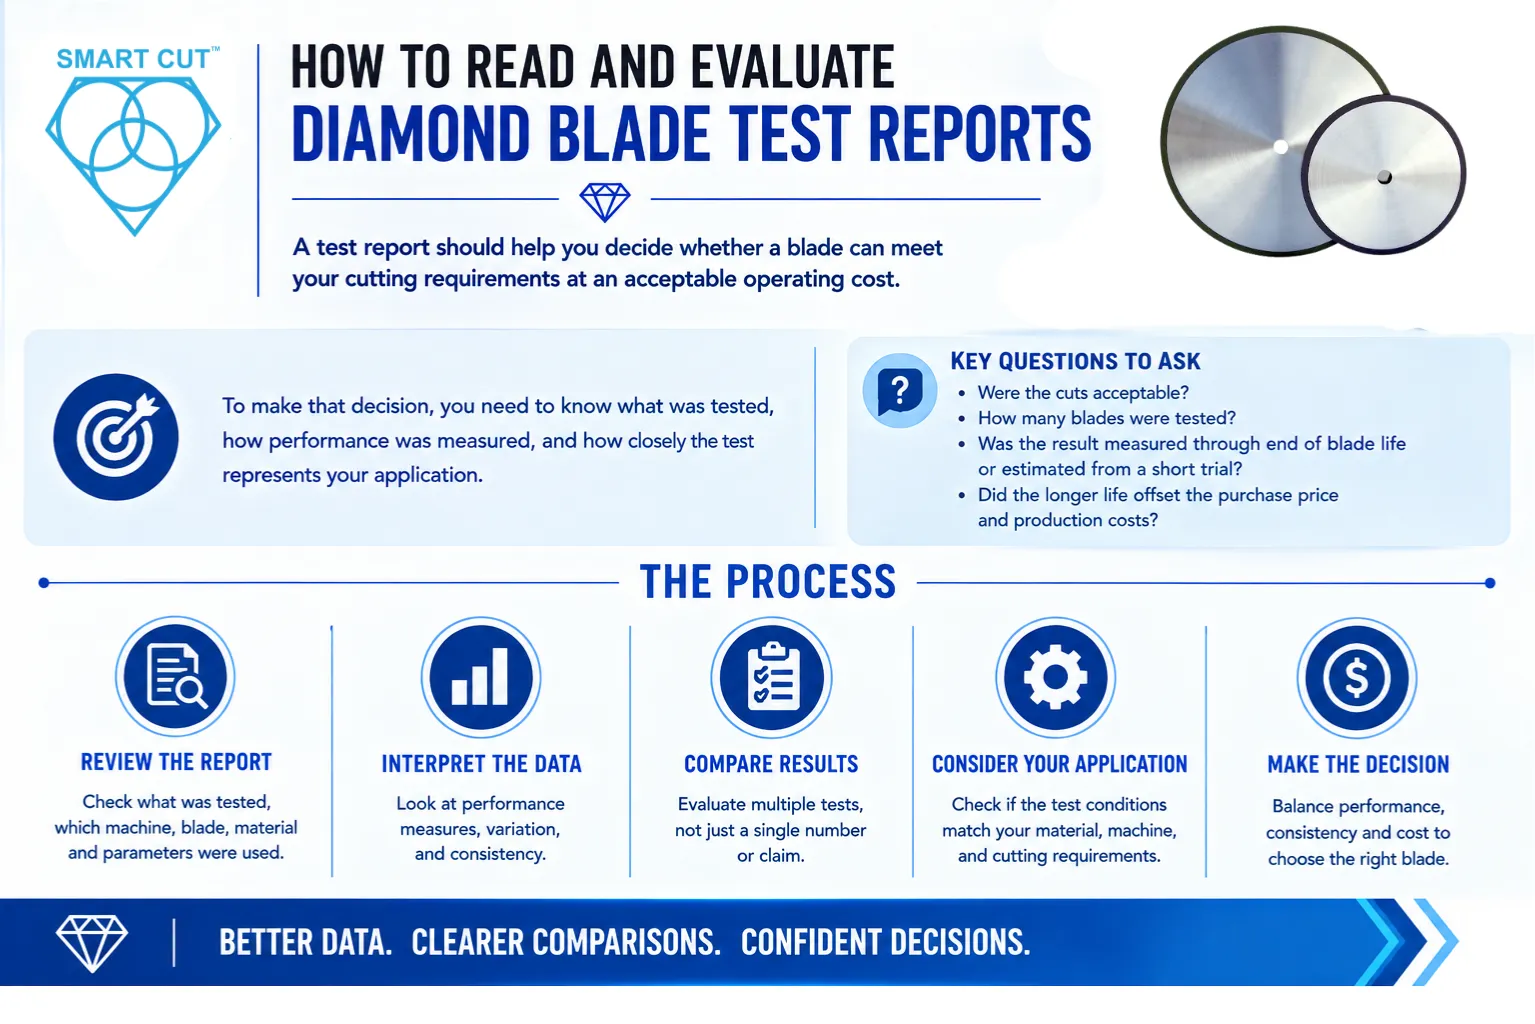
A short trial can identify an obvious problem or provide preliminary information. It does not necessarily establish typical blade life or performance. Repeated cuts on one blade show how that blade behaves. Multiple blades of the same specification are needed to evaluate variation between blades.
Choose the sample size according to expected variation, the improvement you need to detect, and the consequences of the decision. Report the number of blades, cuts per blade, mean results, and variability. Preserve the individual results so that trends and unusual events remain visible.
Averages and standard deviations alone do not prove that one blade is better. Appropriate statistical analysis should account for the test design and sample size. Confidence intervals help express uncertainty. Also ask whether the measured difference is large enough to matter in production.
What to do instead: Match the measurement method to the expected change. Ordinary calipers may not resolve wear of only a few microns. Use suitable instruments, repeatable positioning, and optical or other noncontact measurement where appropriate. Record instrument accuracy and repeatability, not just displayed resolution.
Measure actual cut width separately from blade thickness. Distinguish diameter loss from radial wear, which equals half the diameter reduction. Define where and how you assess chipping, finish, and straightness. Visible edge quality does not by itself establish subsurface damage. UKAM’s blade performance metrics guide outlines the main outcomes to consider.
Mistake 10: Comparing Blade Life Without Acceptance Limits or Complete Costs
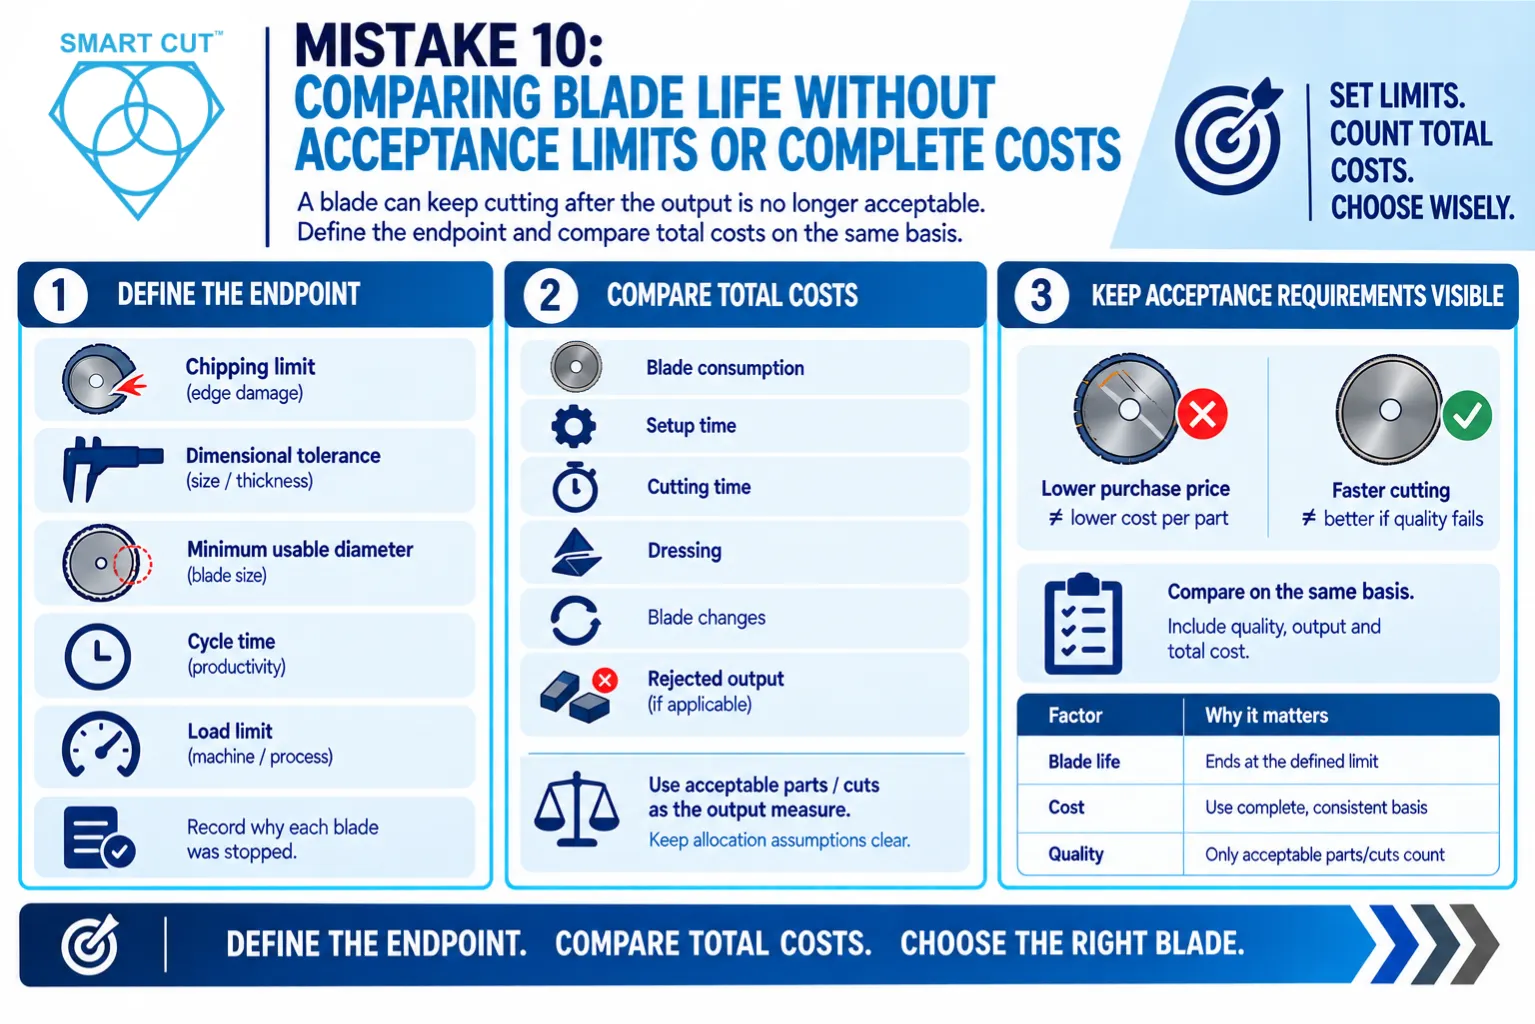
A blade can continue cutting after its output becomes unacceptable. Another may retain usable abrasive but require frequent dressing or a feed reduction that makes production uneconomical. Blade life needs a defined endpoint.
What to do instead: Establish stopping criteria before the trial. These may include a chipping limit, dimensional tolerance, minimum usable diameter, acceptable cycle time, or specified load limit. Record why each blade was stopped. If a test ends before a blade reaches the endpoint, report the observed duration without presenting it as total blade life.
Compare costs over a consistent basis. Include blade consumption, setup, cutting time, dressing, blade changes, and rejected output where they affect the decision. Use acceptable parts or acceptable cuts as the output measure, and define any allocation assumptions. Do not compare full-life cost for one blade with a short-trial purchase-cost calculation for another.
A lower blade purchase price does not necessarily produce a lower cost per acceptable part. Likewise, faster cutting is valuable only when the output meets the required quality. Keep acceptance requirements visible when selecting the preferred blade.
A Practical Check Before Your Next Blade Test
Use this check before starting. It brings the test objective, setup, and records together without requiring a complicated procedure.
Objective and limits: Define the comparison type, required quality, main performance measure, and stopping criteria.
Samples and sequence: Identify material lots, dimensions, orientation, blade quantities, and planned run order.
Blade and machine setup: Record blade specifications, mounting, support, exposure, actual speed, feed, and cutting depth.
Preparation and coolant: Define conditioning, dressing triggers, coolant delivery, and any relevant dry-cutting conditions.
Measurements and records: Select suitable instruments, reference locations, inspection methods, and a consistent results sheet.
Decision and confirmation: Compare acceptable output, variability, and cost. Confirm promising results under representative production conditions.
Frequently Asked Questions
Use consistent settings for an existing-process comparison when they are suitable for all blades. For an optimized-process comparison, use documented conditions appropriate to each blade. Apply the same finished-part acceptance requirements and identify which comparison the results represent.
There is no universal sample size. Begin with a trial that reveals practical variation, then plan enough independent blade tests to support your decision. Many cuts on one blade do not establish consistency between blades. Increase testing where variability or the consequences of an incorrect decision justify it.
It may indicate a mismatch between the blade specification and the application, or a problem with operating conditions or preparation. Check bond selection, cutting action, dressing, coolant, and debris removal. Use the findings to determine whether to adjust the process or evaluate a different specification.
Follow the preparation instructions for that blade. Some constructions need dressing or conditioning, while others need little preparation. Record the method and resulting stable cutting condition. Include preparation time and consumption when comparing production costs.
Yes. Longer life may come with slower cutting, more dressing, or higher rejection rates. Compare the cost of producing acceptable output under equivalent requirements. Record the costs and assumptions included so another person can reproduce the calculation.
Provide the material, blade dimensions and specification, machine, mounting arrangement, RPM, feed rate, cutting depth, coolant, and preparation method. Include measured results, sample counts, acceptance limits, and clear images where useful. Describe the production problem you want to solve.
UKAM’s applications engineering team can help you review your test setup, interpret the results, and identify suitable diamond or CBN blade specifications for your application. Share your operating conditions and quality requirements through our blade test review and applications assistance request.
Trusted by Tens of Thousands of Manufacturers, Laboratories,
Research Institutions Worldwide Since 1990
American Based Manufacturer
Established in 1990
Custom manufacturing
RELATED ARTICLES