SMART CUT Diamond Counter Sinks Multi Layered Electroplated
SMART CUT® Diamond Counter Sinks are precision-engineered tools designed for creating countersink holes, expanding existing holes, breaking sharp corners, chamfering edges, and polishing pre-existing holes across a wide range of materials. These high-performance tools deliver exceptional accuracy and consistency, making them ideal for a variety of precise hole modification tasks.
Available in a range of standard specifications, SMART CUT® Diamond Counter Sinks can also be custom-manufactured to meet almost any unique application or requirement. The multi-layered electroplated diamond coating provides superior wear resistance, enhancing both tool life and cutting efficiency.
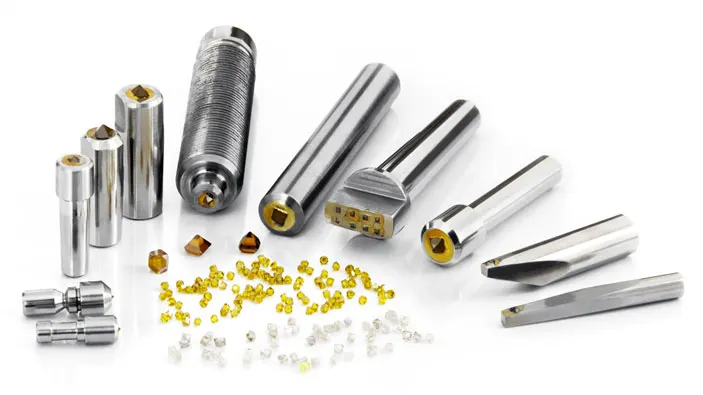
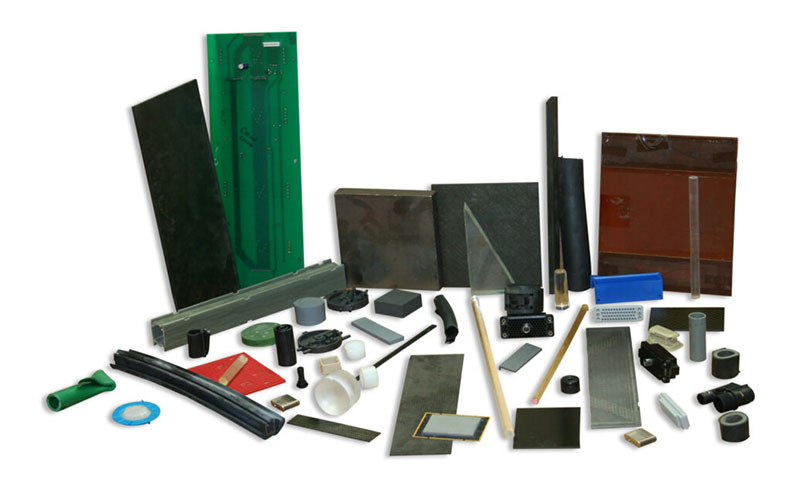
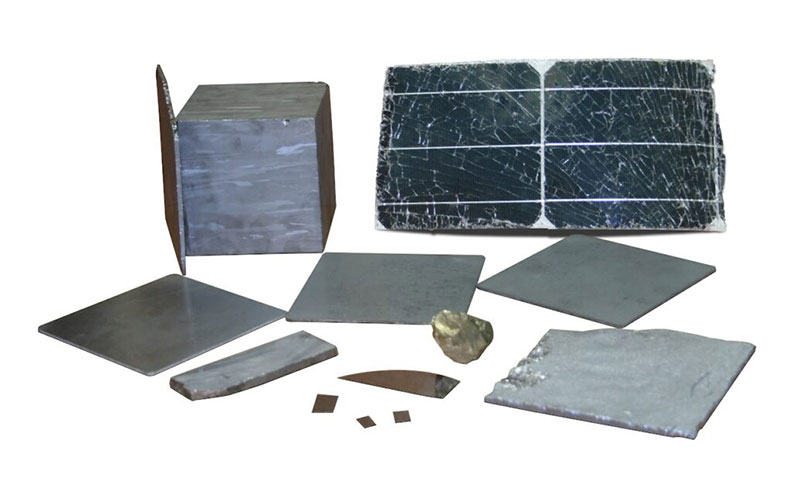
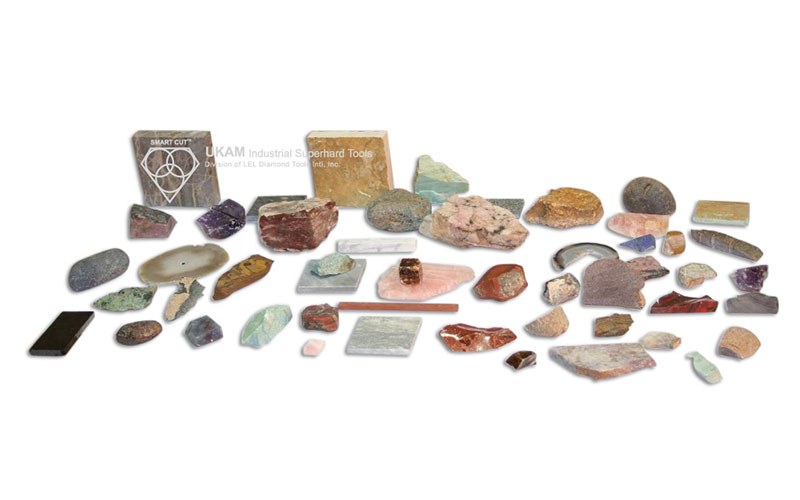
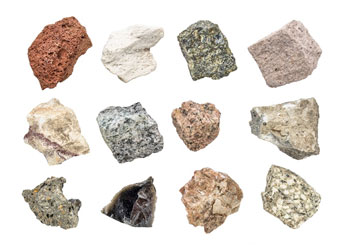
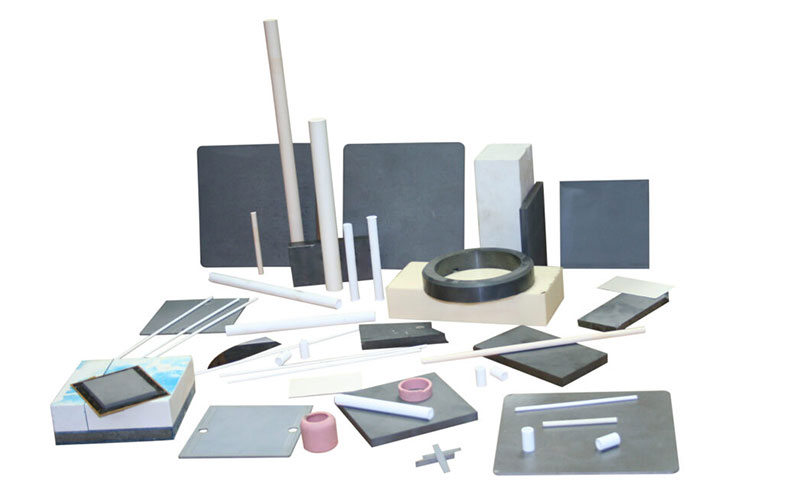
These countersinks are compatible with materials such as Glass, Quartz, Composites, Graphite Epoxy, Carbon, Boron, Fiberglass, Marble, and many other tough materials. Designed for precision, they offer excellent cutting power, ensuring smooth, clean finishes for even the most demanding countersinking operations.
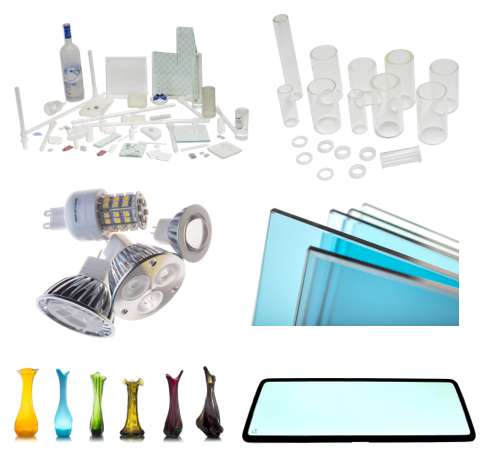
In addition, SMART CUT® offers a Diamond Countersink for Sink Drains, which is specifically designed for creating a countersunk lip around the drain hole in glass sinks. This tool allows you to set the drain below the surface of the bowl, ensuring adequate drainage.
Diamond Countersink is also widely used glass sink manufacturing, where creating a smooth, professional finish around the drain is crucial for both functional and aesthetic purposes. The countersunk lip allows the drain to sit flush with the surface of the sink, creating a seamless and clean look. By setting the drain below the surface, it also ensures that any water around the drain is effectively directed toward the hole, preventing potential water buildup and drainage issues.
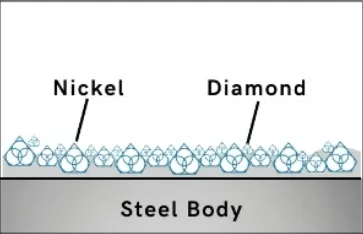
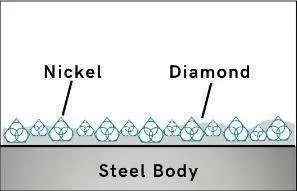
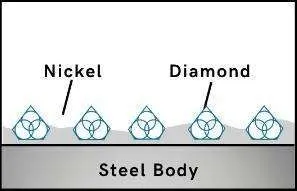
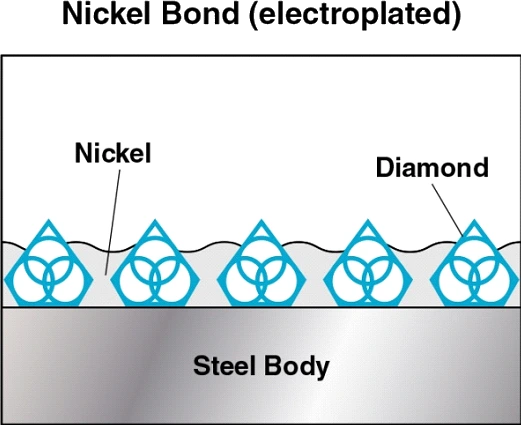
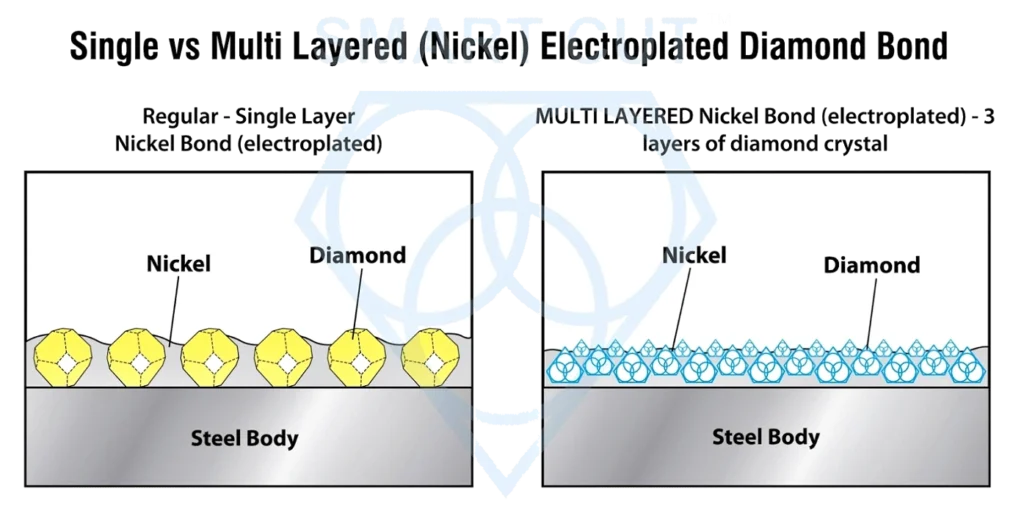
Bond Type: Nickel Bond (Plated) Multi Layered Edge Type: diamond countersink
Diamond Grit Size: Medium Fine
Transition Angle
Overall Length
Shank Diameter:
Recommended Operating Speed: 500 to 4,000 (depending on diameter)
Maximum Operating Speed: 4,000.
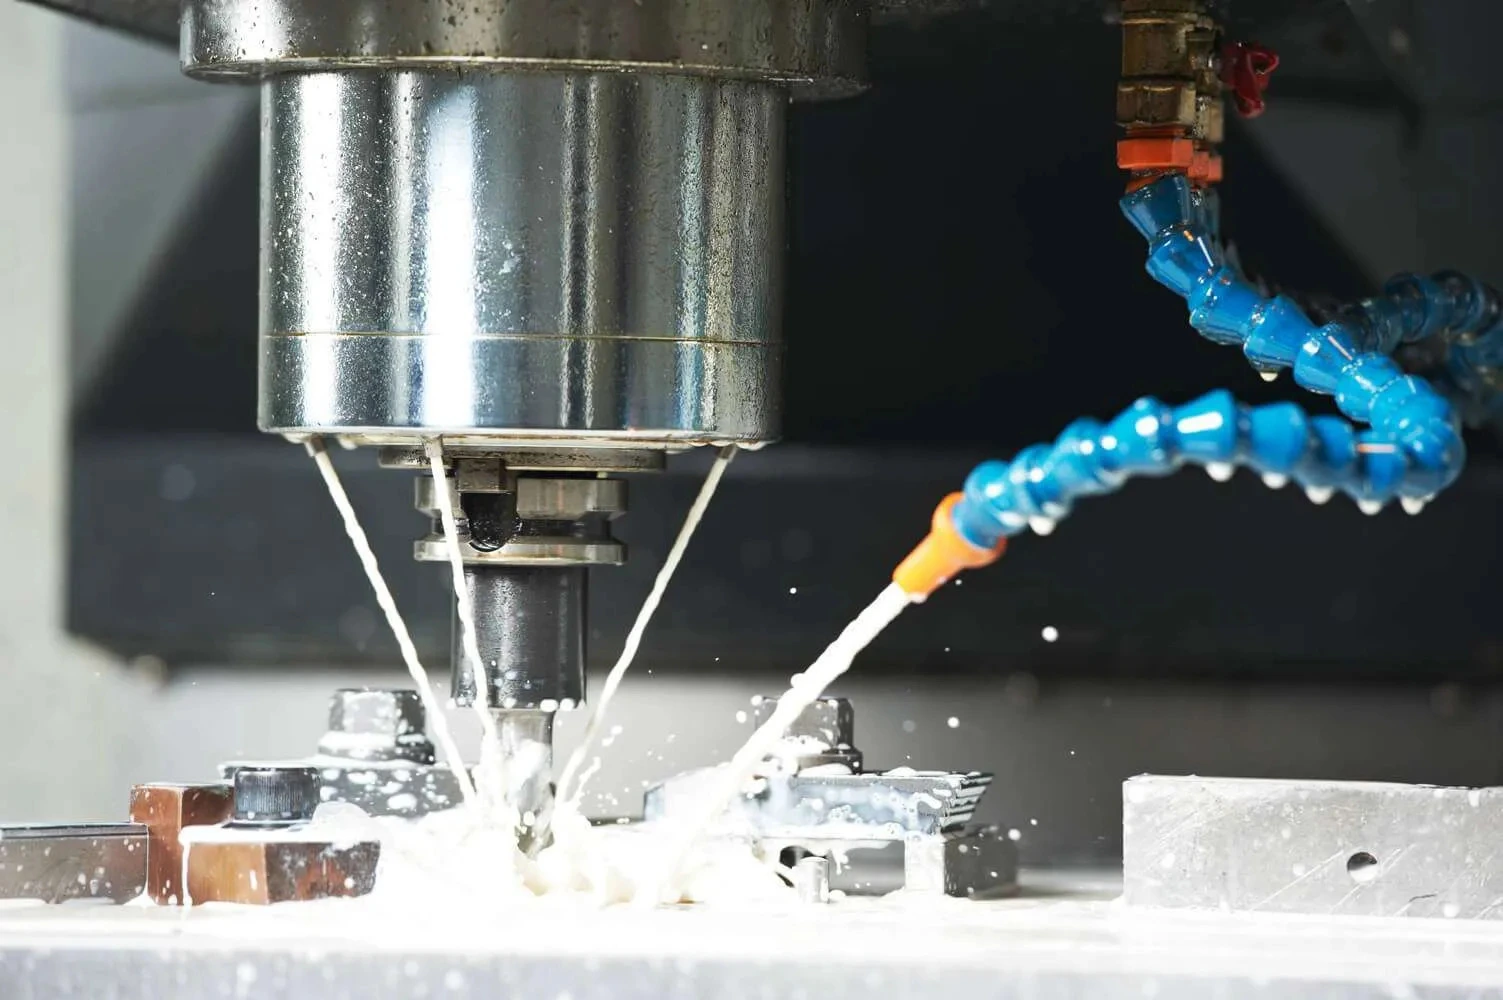
Always drill with a coolant and use submerged-pressure sensitive feed.
Recommended Coolant: water, for ultra hard materials best results will be achieved with mineral oil or synthetic water soluble coolant.
Tab Content

Composites

Gem Stones

Sapphire

Silicon

Glass Materials

Lapidary

Stone

Advanced Ceramics

Photonics
Image | Name | COMPATIBILITY WITH DRILL SERIES | Price | Quantity | Add to cart |
|---|---|---|---|---|---|
Recommended for use in Diamond Tools 150 Grit Size (mesh… | $15.39 | Max: Min: 1 Step: 1 | |||
Recommended for coarser grits found in segment wheels, core drills… | $15.99 | Max: Min: 1 Step: 1 | |||
5/8″-11″ thread. Fits into drill press chuck. Shank adapter threads… | $22.46 | Max: Min: 1 Step: 1 | |||
5/8″-11″ thread. Fits into drill press chuck. Shank adapter threads… | $26.72 | Max: Min: 1 Step: 1 | |||
SMART CUT® General Materials Formula Synthetic Water Soluble Coolant | $34.81 | Max: Min: 1 Step: 1 | |||
Recommended for use in Diamond Tools 150 Grit Size (mesh… | $39.47 | Max: Min: 1 Step: 1 | |||
Recommended for coarser grits found in segment wheels, core drills… | $39.47 | Max: Min: 1 Step: 1 | |||
SMART CUT® General Materials Formula Synthetic Water Soluble Coolant | $99.81 | Max: Min: 1 Step: 1 | |||
105DE, 135DB, 115DM, 125DM, 130DMN, 140DM (up to 1-5/8″ OD) | $154.87 | Max: Min: 1 Step: 1 | |||
105DE, 135DB, 115DM, 125DM, 130DMN, 140DM (up to 1-5/8″ OD) | $235.00 | Max: Min: 1 Step: 1 | |||
SMART CUT® General Materials Formula Synthetic Water Soluble Coolant | $317.41 | Max: Min: 1 Step: 1 | |||
SMART CUT® General Materials Formula Synthetic Water Soluble Coolant | $1,745.00 | Max: Min: 1 Step: 1 |
1. Select the Right Diamond Countersink
- Choose the appropriate diamond countersink based on the material you will be working with, the desired countersink angle, and the hole size.
2. Secure Your Workpiece
- Ensure your workpiece is securely clamped or held in place to prevent movement during the countersinking process.
3. Proper Alignment
- Ensure that the diamond countersink is properly aligned with the workpiece before starting the countersinking process. Misalignment can result in uneven or incorrect countersink angles.
4. Depth Control
- Use depth stops or markings on your machine to control the depth of the countersink hole accurately. This is especially important when creating countersinks of specific depths.
5. Prepare the Tool and Machine
- If using a power tool (such as a drill press or milling machine), ensure it is in good working condition and properly set up.
- Install the diamond countersink securely in the tool’s chuck or collet, following the manufacturer’s instructions.
6. Cooling and Lubrication
- If working with metal or other heat-sensitive materials, use a suitable coolant or cutting oil to provide lubrication and cooling during the cutting process. This helps reduce heat buildup and extends tool life.
- Apply the coolant or cutting oil as needed, following manufacturer recommendations.
7. Set the Speed and Feed Rate
- Refer to the manufacturer’s recommendations for the appropriate cutting speed and feed rate for the specific material and countersink type you are using.
- Adjust the machine’s speed and feed rate settings accordingly.
8. Begin Countersinking
- Position the diamond countersink at the location where you want the countersink hole to be.
- Gently lower the tool onto the workpiece while it is running at the specified speed.
- Apply steady and consistent pressure as the tool cuts into the material.
- Be cautious not to force the tool or create excessive heat, as this can lead to premature tool wear or damage.
9. Tool Pressure
- Apply consistent and moderate pressure on the tool while countersinking. Avoid excessive force, as it can cause tool wear and reduce the quality of the countersink.
10. Multiple Passes
- For deep countersinks or when working with exceptionally hard materials, consider making multiple passes to achieve the desired depth gradually. This can help prevent overheating and tool damage.
11. Tool Speed
- Pay attention to the recommended tool speed and adjust it based on the diameter of the countersink and the material being machined. Smaller diameters typically require higher speeds, while larger diameters may require lower speeds.
12. Chip Removal
- Ensure efficient chip removal during the countersinking process to prevent chips from clogging the tool or interfering with the cutting action. Proper chip evacuation is essential for maintaining tool effectiveness.
13. Monitor Progress
- Continuously monitor the countersinking process to ensure it is proceeding smoothly and producing the desired results.
- Check for any signs of overheating, excessive vibration, or tool wear.
14. Complete the Countersink
- Once the countersink hole reaches the desired depth and angle, lift the tool out of the workpiece while it is still running to prevent any burrs or rough edges.
- Turn off the machine when the countersinking is complete.
15. Clean and Inspect
- Remove any chips or debris from the workpiece and the tool.
- Inspect the countersink hole for cleanliness and accuracy. If necessary, use a deburring tool or file to smooth any rough edges.
Tool Care
- After each use, clean the diamond countersink thoroughly to remove any residual material, coolant, or cutting oil. This helps prolong the life of the tool and maintains cutting efficiency.
Image | A | B | C | D | E | L | Price | Quantity | Add to cart |
|---|---|---|---|---|---|---|---|---|---|
3/26" | 47/64" | 5/16" | 1/4" | 42 degrees | 2" | $65.70 | Max: Min: 1 Step: 1 | ||
1/4" | 51/64" | 5/16" | 1/4" | 42 degrees | 2" | $78.41 | Max: Min: 1 Step: 1 | ||
1/2" | 59/64" | 1/4" | 3/8" | 42 degrees | 2" | $97.58 | Max: Min: 1 Step: 1 | ||
3/4" | 1-3/16" | 1/4" | 3/8" | 42 degrees | 2" | $116.35 | Max: Min: 1 Step: 1 | ||
1 | 1-5/8" | 3/8" | 3/8" | 42 degrees | 2" | $128.12 | Max: Min: 1 Step: 1 | ||
1-1/8" | 2" | 12" | 3/8" | 42 degrees | 2" | $144.30 | Max: Min: 1 Step: 1 | ||
1-1/2" | 2.490" | 0.526" | 3/8" | 42 degrees | 4.5" | $163.42 | Max: Min: 1 Step: 1 |
Equipment Used On:
- Drilling Press
- Hend Held Drill
- Milling Machine
How SMART CUT ® Bond Works?

Sharpest And Finest Quality Diamonds
Diamonds or CBN Crystals are activated only at the exposed layer. As Bond Matrix layer begin to wear out, diamonds in a new Bond Matrix layer are immediately activated, substituting the already used up diamond layer. The SMART CUT® Bond Diamond Bond makes sure every diamond is in the right place. and at the right time, working where you need it most.

Diamonds or CBN Crystals
The newly exposed diamonds don’t effect diamonds already working on the material. Unlike many other diamond bonds, diamonds in a SMART CUT® remains sharp and grow sharper with each cut, prolonging product life and consistent performance.

Advanced Formulated Open Diamond Bond Design
This advanced formulated open diamond bond design insures minimal chipping, fast
cut, constant speed of cut, minimal cutting noise, and most important of all, consistent performance.

Faster Grinding Action
Diamond drills made utilizing SMART CUT technology are much more aggressive than your conventional Tools. They can cut faster, while still leaving behind a smooth finish free of material deformation.
Longer Life
In most cases tools manufactured utilizing SMART CUT technology, will outlast other conventional nickel bonded diamond CBN drills. SMART CUT diamond CBN tools are more sturdy than tools manufactured with conventional technologies. They are capable to retain their form and bond configuration all the way through the tools life.


More Consistent Performance
SMART CUT Multi Layered Electroplated Diamond Drills have three diamond layers impregnated inside the bond matrix. Unlike Many Other drill Types, they wear evenly, and are known for their consistency. You will get consistent cutting speed, and overall consistent performance, with minimum amount of dressing even on the hardest to cut materials
Manufactured Using The Highest Quality Raw Materials
Only the highest quality synthetic diamonds and raw materials are used in the manufacturing process. The highest quality standards and product consistency is maintained, using sophisticated inspection and measurement equipment.


Best Performance & Value on the Market
SMART CUT Multi Layered Electroplated Diamond Drills are the best investment you can make! Although they may cost more than electroplated (nickel bond), Diamond Drills. They will more than pay for themselves in terms of overall performance and provide best Return on Investment.
About Nickel Bond (Electroplated) Tools
Electroplated (nickel bond) diamond products usually have a single layer of diamonds, held by a tough durable nickel alloy. Nickel is frequently used as a base for plating diamond. Because of its excellent strength, toughness and flexibility during the plating process. Electroplated diamond products are able to retain their original shape and dimensions thought their working life. Unlike sintered (meal bond) or resin bond diamond products, where diamond particles are buried in bond and held together by metal or resin binder deep inside. Electroplating allows diamond particles to protrude from the bond matrix, providing a free, faster cutting action with minimum heat generation.

Electroplated Diamond Products Manufactured by UKAM Industrial are Multi Layered. They have 3 layers of diamonds, not just 1 layer of diamonds like conventional electroplated diamond tools.

Multi Layered Electroplated Diamond & CBN Coatings
they have several layers of diamonds, held by a tough durable nickel alloy. Providing high diamond concentration, better diamond crystal retention and maximum diamond particle (grit) exposure/protrusion ratio. This provides freer, faster cutting action with minimum heat generation. Advantages of this type of technology include: longer tool life, more uniformity in performance, less stress to material being worked on, minimum material deformation, and better preservation of true material micro structure. This is specially important for more delicate, sensitive applications such as: glass, crystals, silicon wafers, carbon composites, sapphire, etc.
Make sure your Diamond Countersink will run true
Take a scrap piece of material. Make sure it is firmly held together in place and does not move. Take the counter sink and lower it to piece of material until its sharp point barely touches material surface. Using your drilling machine slowly rotate counter sink (very slowly). If the counter sink produces a straight point (dot) than you countersinking operation will not have any problems. If its starts to wobble even just slightly produce scratches of slightly eclipse circle (not perfect dot). This means the diamond counter sink is not properly centered (installed) in your drilling machine chuck. Adjust and center your counter sink until you are able to produce perfect dot.
Another very important concept in using your diamond counter sink is finding a perfect center in your hole. Make sure that your counter sink is perfectly centered in your drilling machine chuck. Bring up your material until the counter sink sharp point touches the center of your hole. Make sure their are no gaps in hole between material and countersink (that countersink) absorbs in entire diameter of your hole. Make sure the material will not wobble while the countersink is in use.
Related Products
SMART CUT Diamond Counter Sinks Multi Layered Electroplated
-
SMART CUT® 005DME MCDU
-
SMART CUT® 015DSE
-
115DE SMART CUT® Series Thin Wall Diamond Core Drills, Sintered (Metal Bond)
-


Recommended RPM’s
These RPM ranges are approximate and may need to be adjusted based on the specific characteristics of the material you are working with and the performance of your diamond countersink. Always start at a lower RPM and gradually increase the speed while monitoring the tool's performance and the quality of the countersink being created.