


-
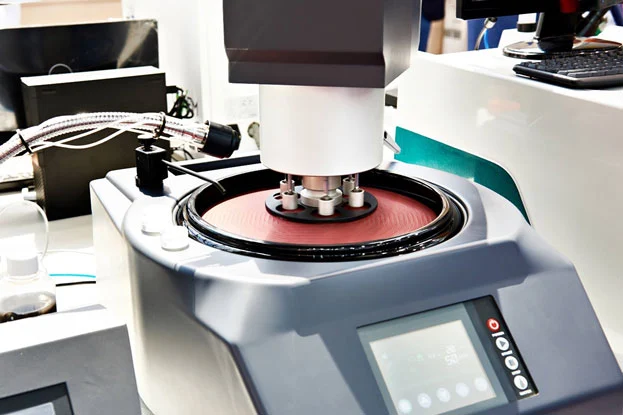
 Steady, Gentle Pressure: Apply consistent, light pressure throughout the grinding process. Excessive pressure can deform the specimen and introduce new surface defects, counterproductive to achieving a smooth finish.
 -
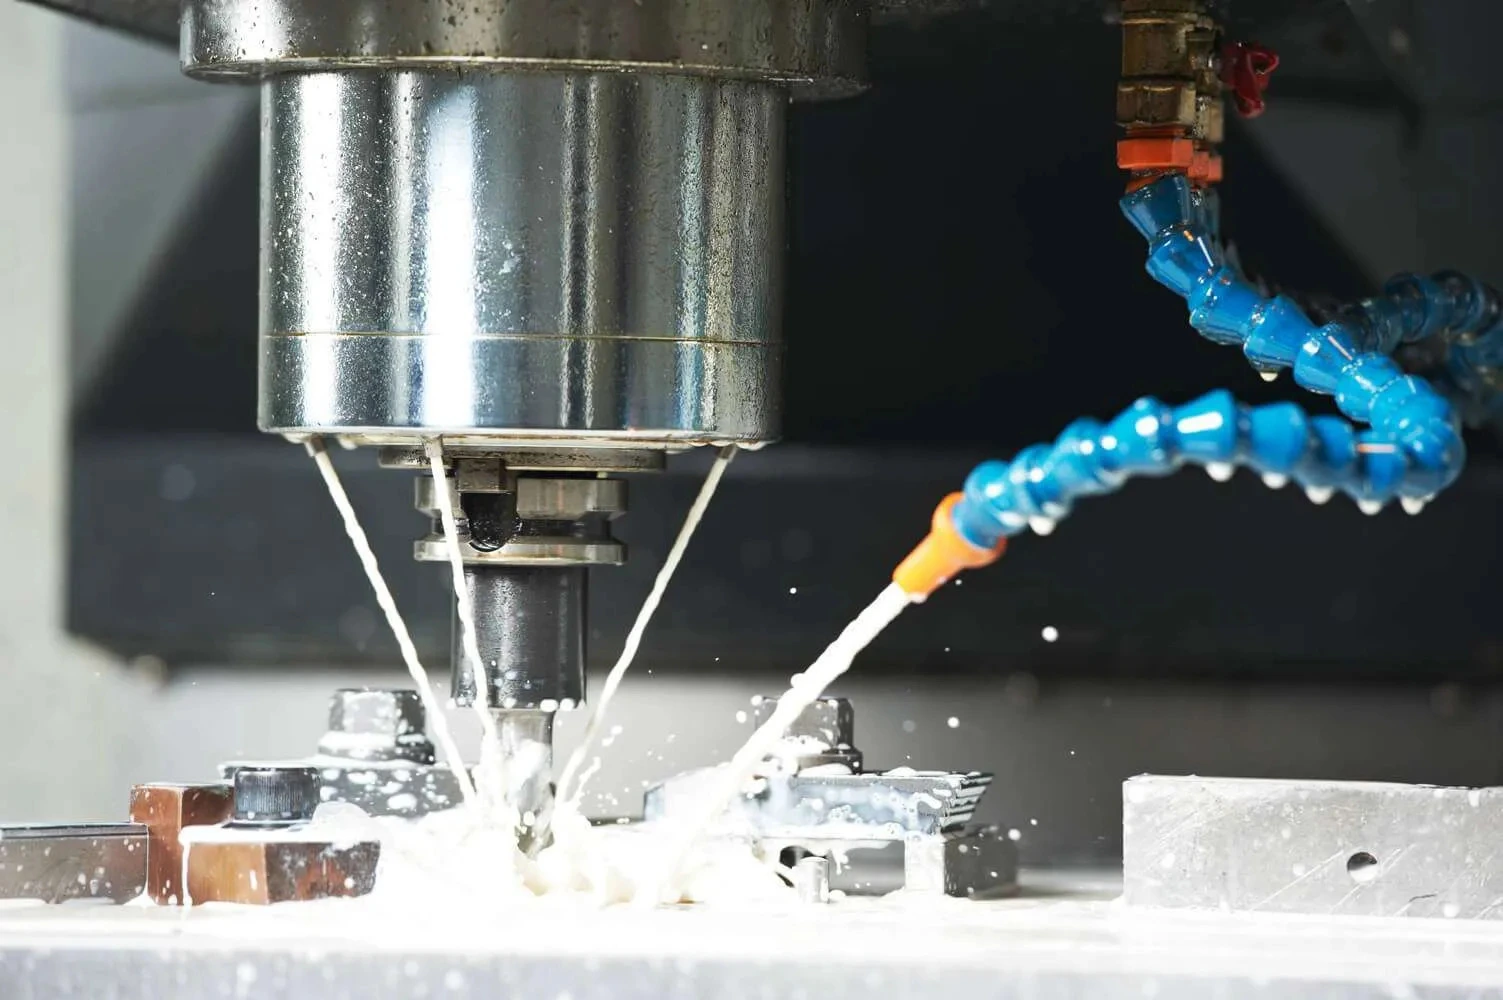
Use of Clean Water or Lubricant: Use clean water or appropriate lubricant to cool the specimen and grinding surface, minimizing heat generation and preventing thermal damage. This also helps in removing debris that could scratch the specimen.
-
Regular Rotation of Specimen: Regularly rotate the specimen during grinding to ensure uniform wear and prevent grooves or patterns that could affect subsequent polishing stages.
-
Clean Equipment and Abrasives: Keep grinding equipment and abrasives clean to avoid contamination. Contaminants can scratch the specimen surface and compromise the fine grinding quality.
-
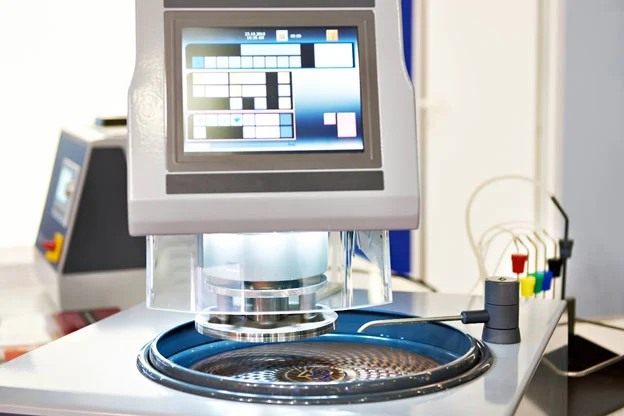
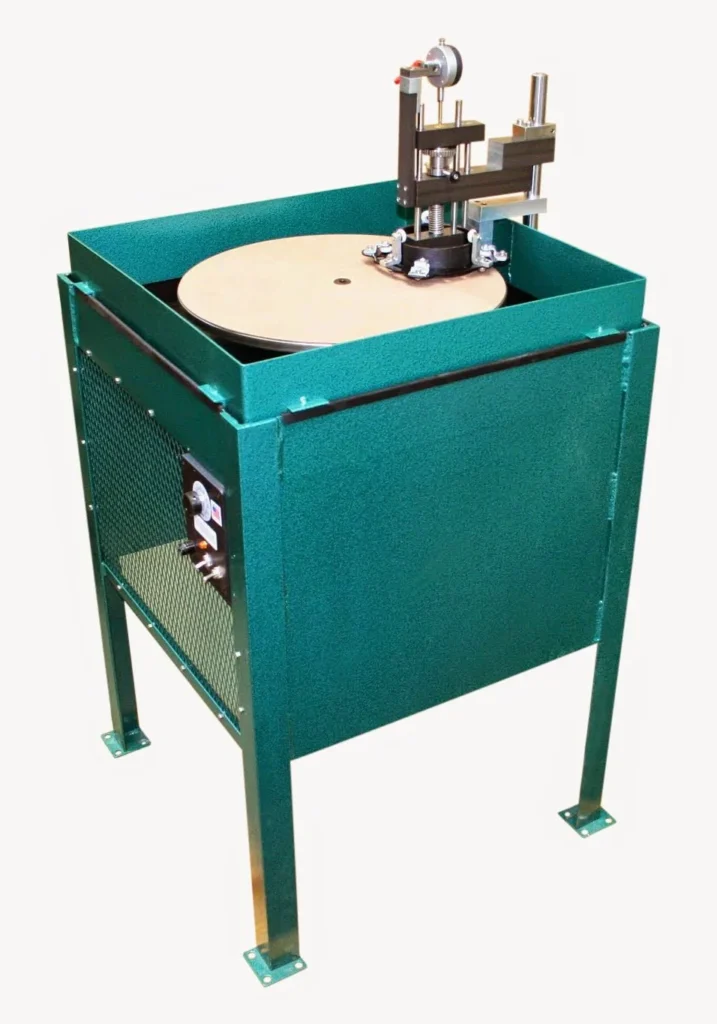
Monitor Grinding Time: Carefully monitor grinding time to avoid overgrinding or undergrinding. Overgrinding can cause excessive material removal and damage, while undergrinding might leave deep scratches that are hard to polish out. Balancing grinding time ensures the surface is adequately prepared without compromising structural integrity.
-
Gradual Transition in Abrasive Sizes: Ensure smooth transitions between abrasive sizes. Clean the specimen and cloth thoroughly after each step to remove residual particles that could cause scratches in the next step.
-
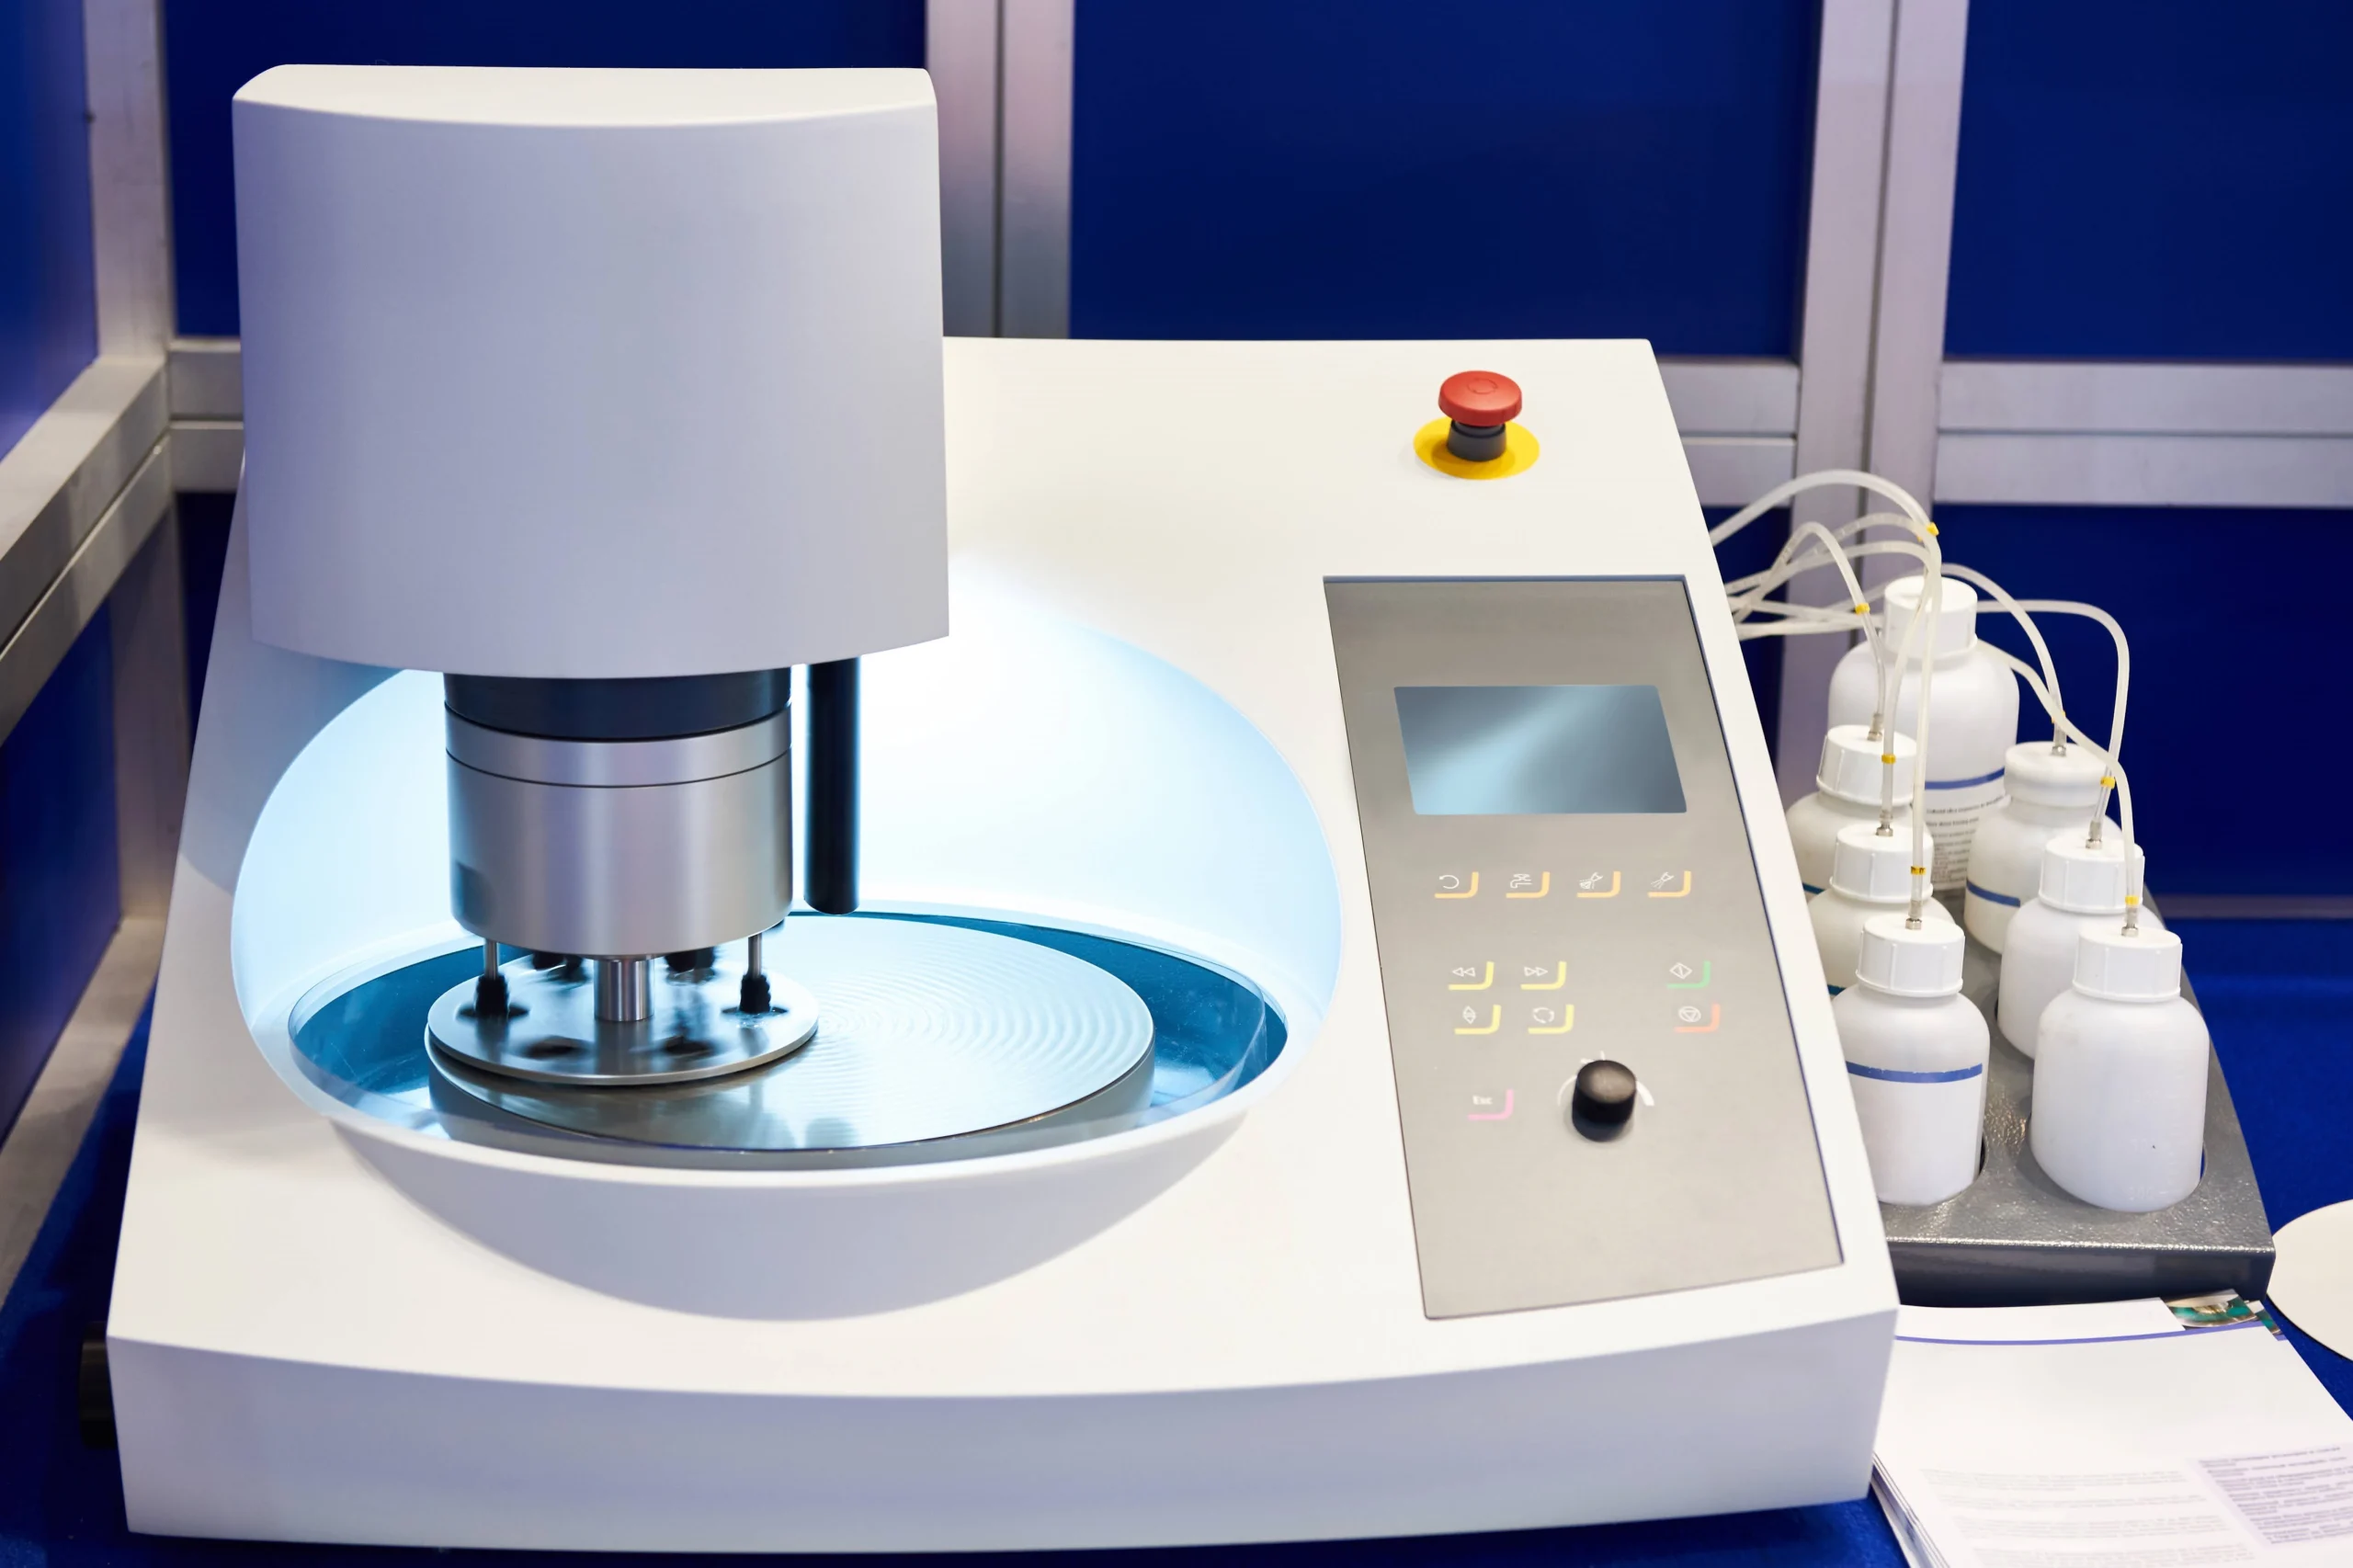
Consistent and Light Pressure: Apply consistent, light pressure to avoid new scratches or deformation. Excessive pressure can cause abrasive particles to dig into the surface, creating unwanted marks.
-
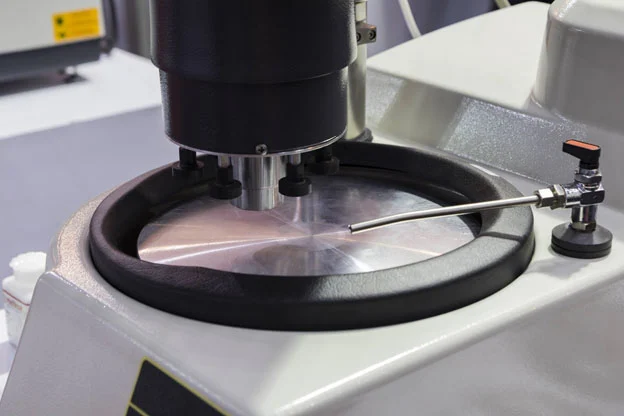
Proper Use of Lubricants: Use appropriate lubricants to keep the surface cool and reduce friction. This maintains a smooth polishing action and prevents heat damage. Regularly check and replenish the lubricant for continuous, effective polishing.
-
Rotating and Changing Directions: Periodically rotate the specimen and change polishing directions. This helps uniformly polish the surface and avoid directional scratches. Each step should leave the surface smoother than the previous one, with finer scratch patterns.
-
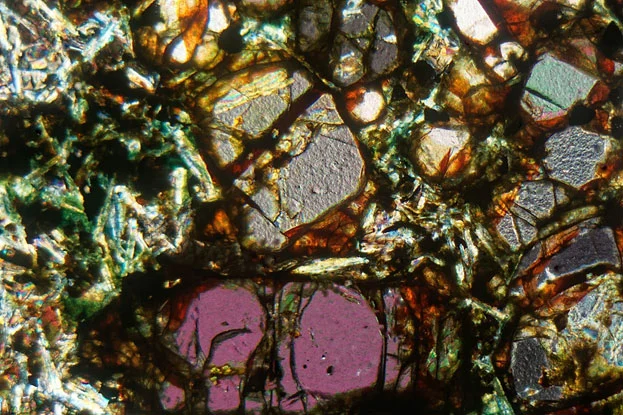
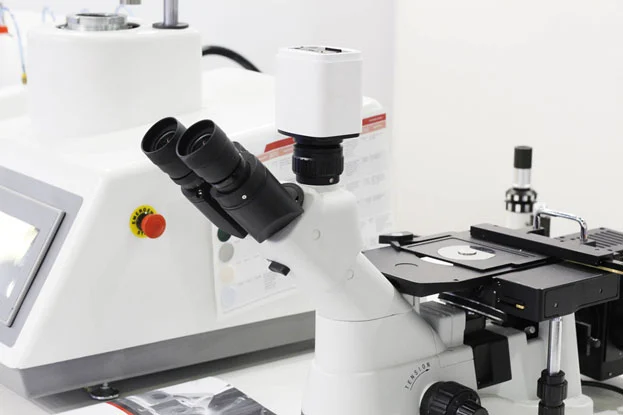
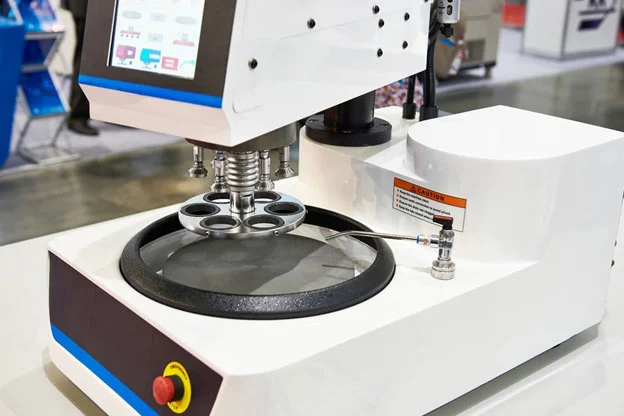
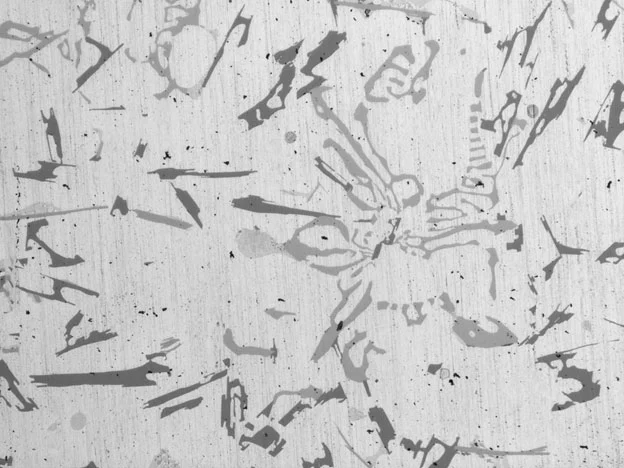
Inspection and Adjustment: Regularly inspect the specimen under a microscope to monitor progress. If scratches or imperfections are found, adjust the technique or repeat the previous step to ensure they are removed before proceeding.
-
Cleanliness and Contamination Control: Maintain a clean environment to prevent contamination. Contaminants on the cloth or surface can introduce new scratches, undermining the polishing process. Use clean tools and materials at each stage to ensure a pristine surface finish.
-
Consistent Pressure and Speed: Apply light, consistent pressure and maintain uniform speed to avoid new scratches.
-
Regular Cleaning: Clean the specimen and polishing cloth between steps to remove abrasive particles and contaminants.
-
Proper Lubrication: Use the right amount of lubricant to keep the cloth and specimen cool and reduce friction.
-
Inspection and Monitoring: Regularly inspect the specimen under a microscope. Adjust techniques or repeat steps if artifacts are detected.
-
Avoiding Overpolishing: Balance sufficient polishing to remove imperfections with avoiding excessive polishing that could damage the specimen.
-
Using High-Quality Materials: Select high-quality polishing cloths and suspensions appropriate for the material to reduce the risk of defects.

Alexander Schneider is a senior applications engineer with over 35 years of hands on experience in industrial diamond tooling. He specializes in the development, application, and optimization of ultra-thin and high-precision diamond blades, diamond core drills, and diamond and CBN grinding wheels for advanced materials.
His work spans ceramics, glass, composites, semiconductors, and high-performance metals. He supports research laboratories and manufacturing environments by optimizing tool design and cutting parameters to achieve high cut quality, long tool life, material integrity, and consistent process results.

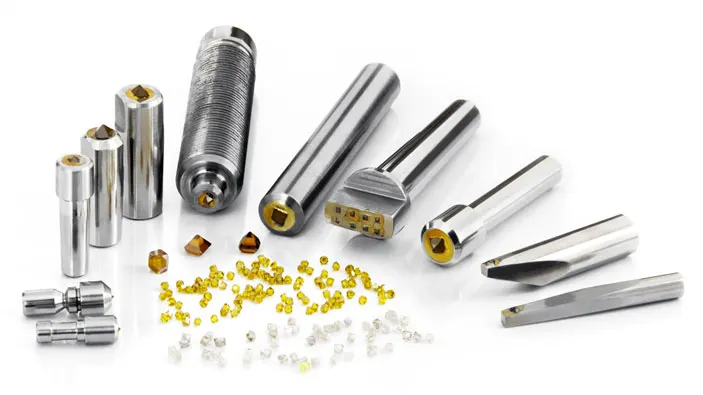
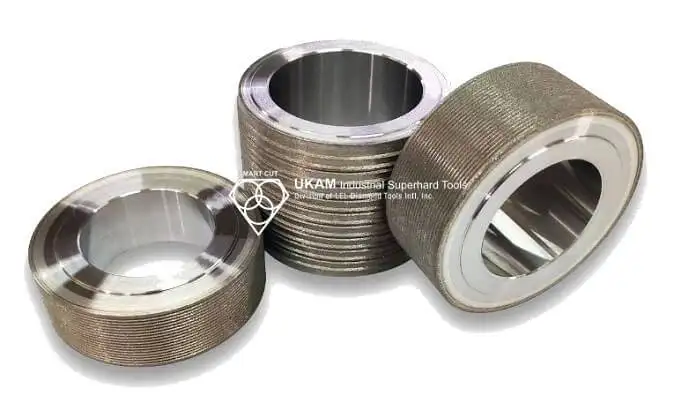
How to Selecting Right Diamond Tools for your application

How to properly use Diamond Tools

Why use diamond
Diamond is the hardest material known to man kind. When used on diamond/tools, diamond grinds away material on micro (nano) level. Due to its hardness Diamond will work all types of materials from hardness of 40 on Rockwell scale and up. Diamond will machine hardest material, including those materials that other conventional types of abrasives, carbide and high speed steel will not.

Diamond vs CBN (cubic boron nitride) Tools
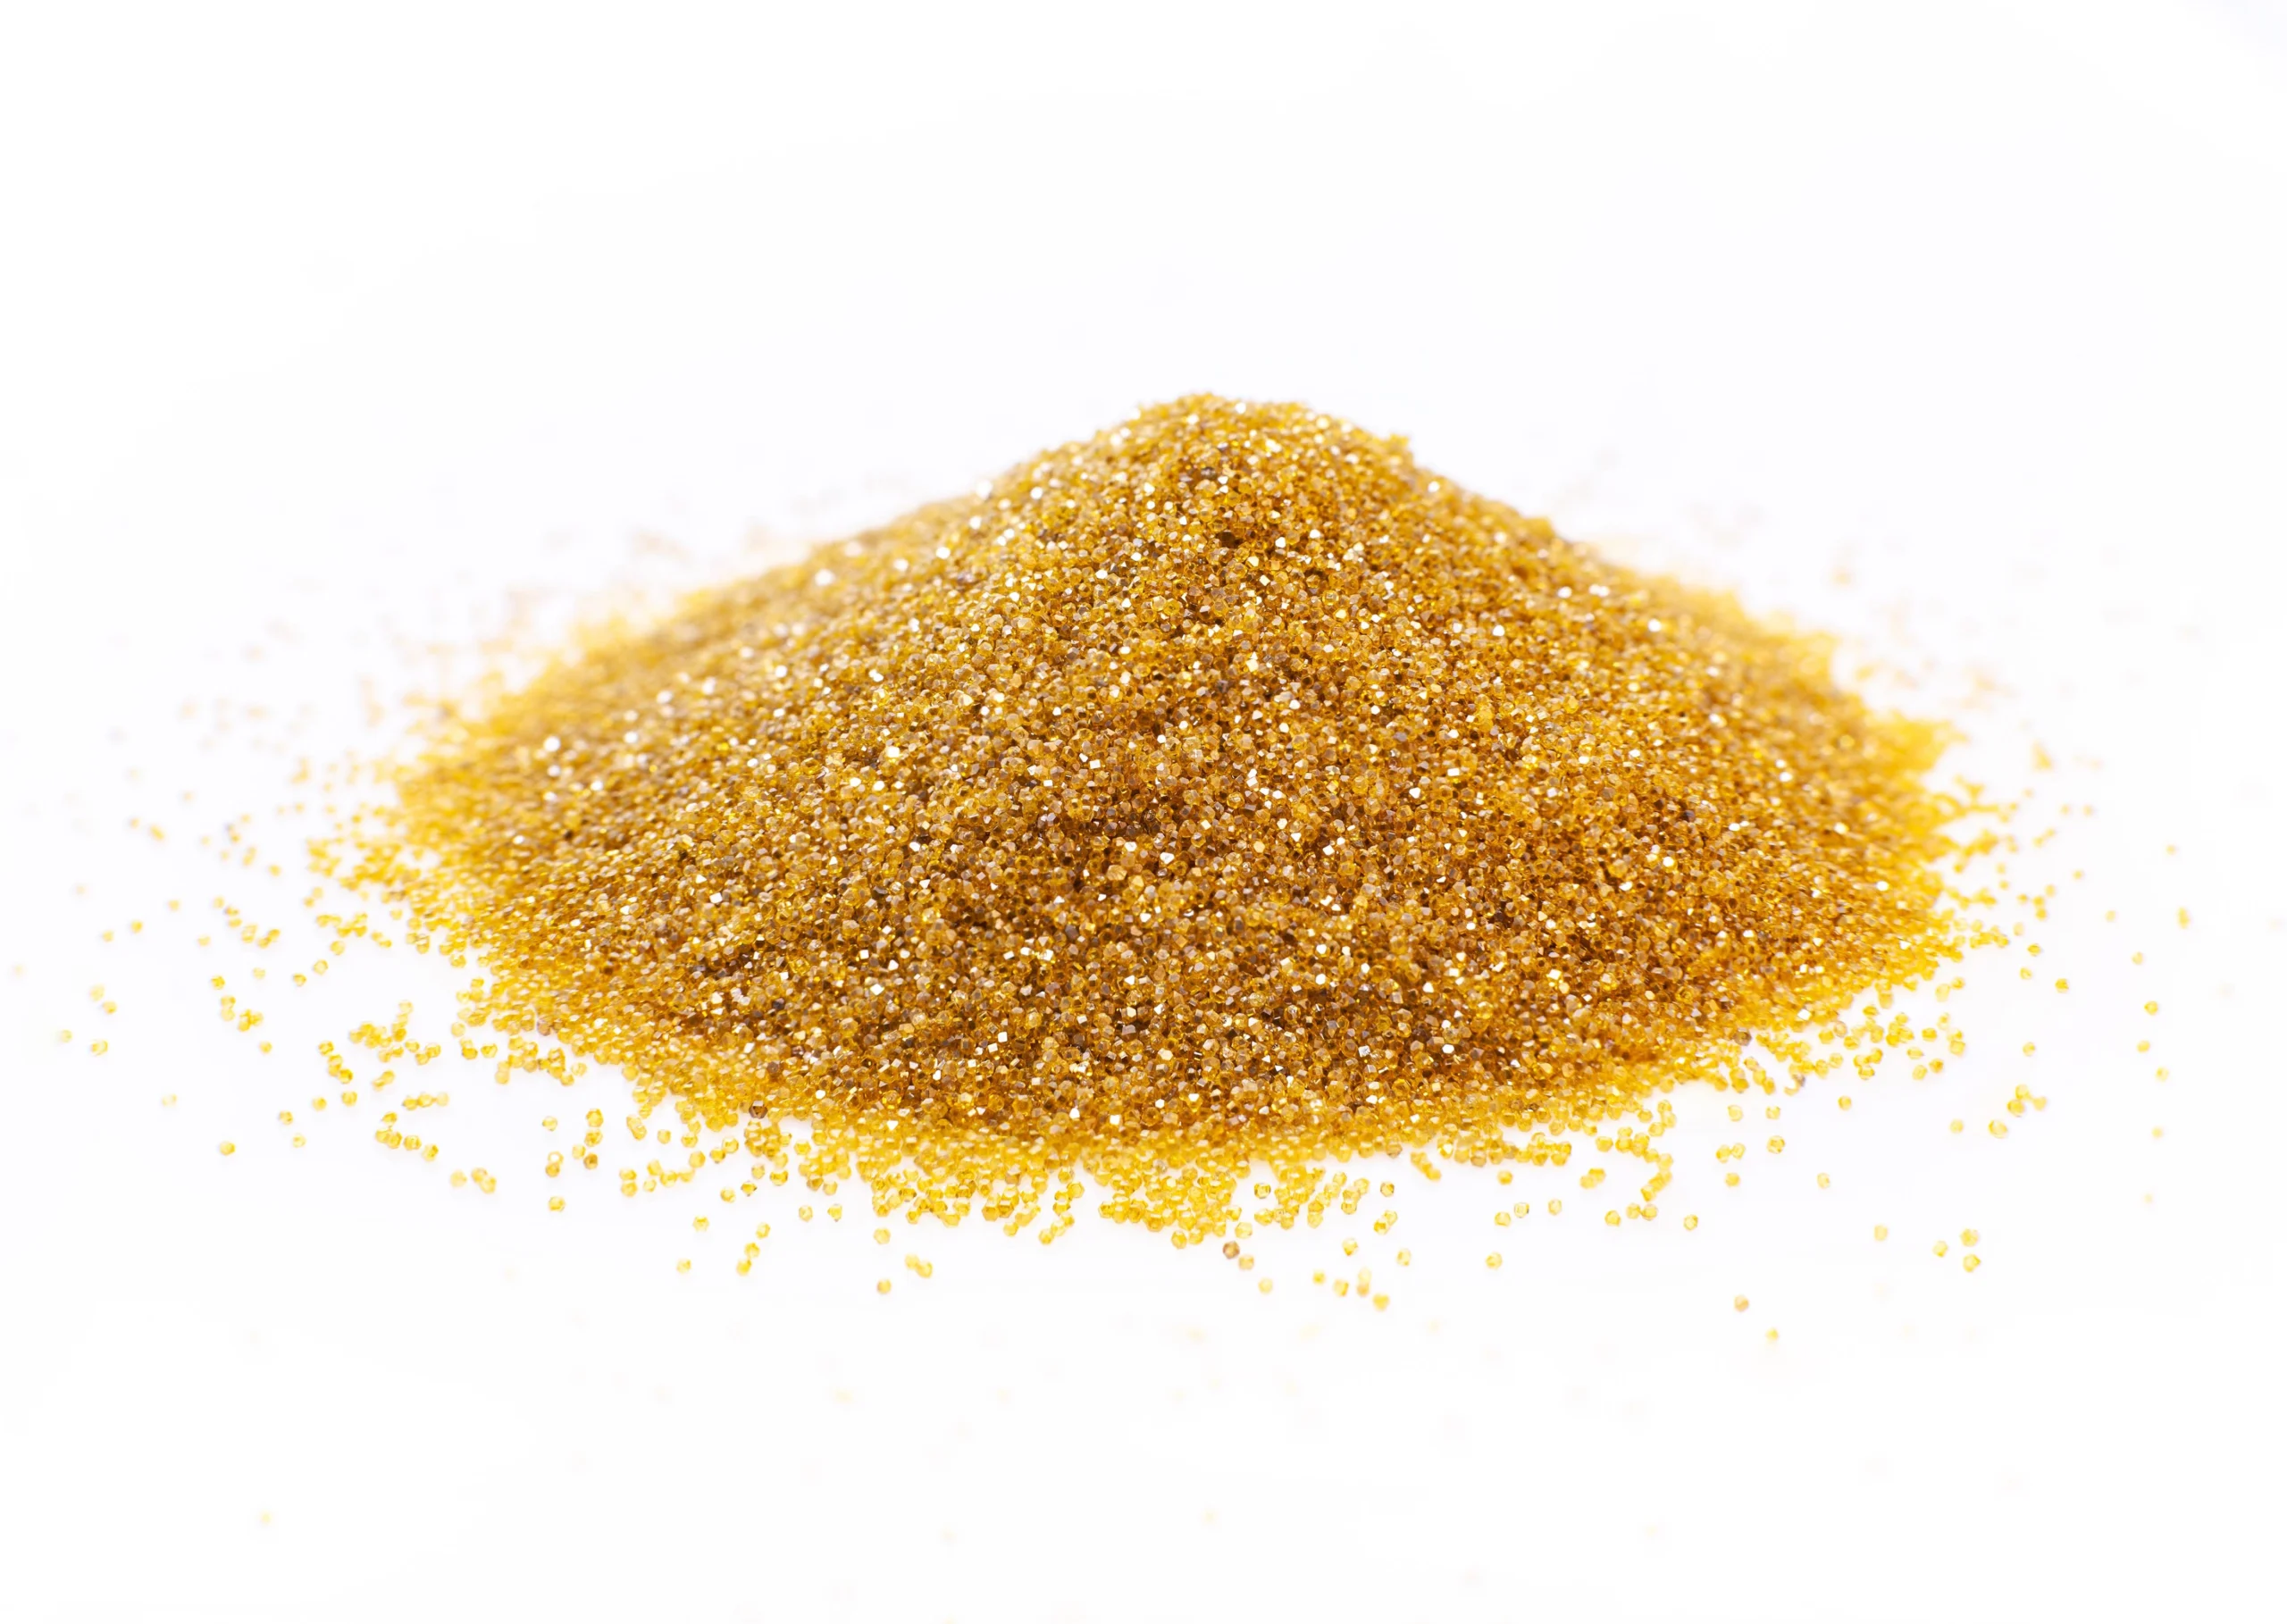
Discover the Right Diamond Powder for Your Application: Choosing Between Monocrystalline and Polycrystalline Diamonds
Diamond shape plays a significant role in the effectiveness of polishing solutions, affecting both the polishing rate and the quality of the final finish. Understanding the differences between monocrystalline and polycrystalline diamond shapes can help you choose the best solution for your specific application.
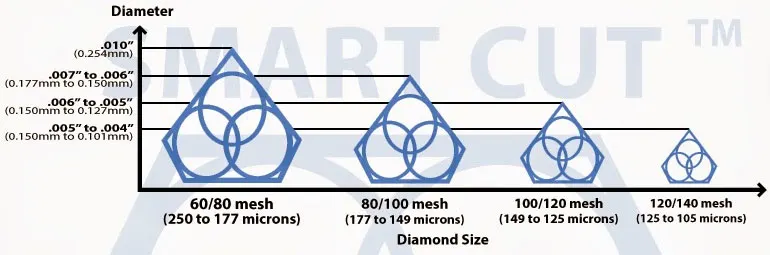
What is Diamond Mesh Size and how to select best one for your application

What is Diamond Concentration and which to use for your application

Selecting the Right Diamond Suspension for your Application – Monocrystalline or Polycrystalline?
Improve Sample Quality & Optimize your Polishing Operating for Metallography & Sample Preparation
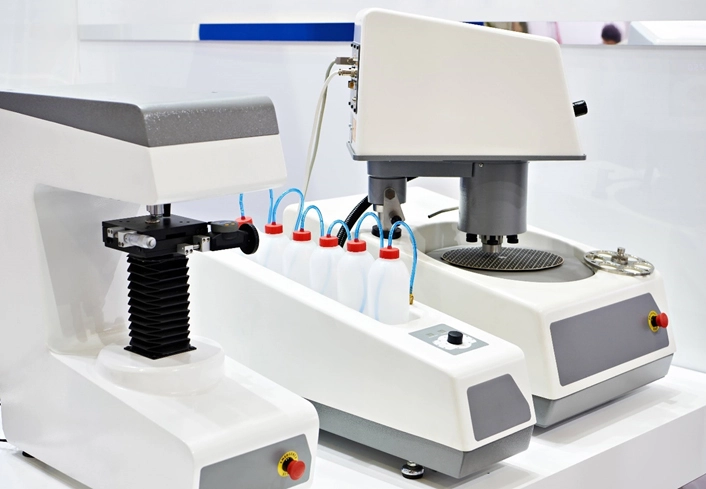
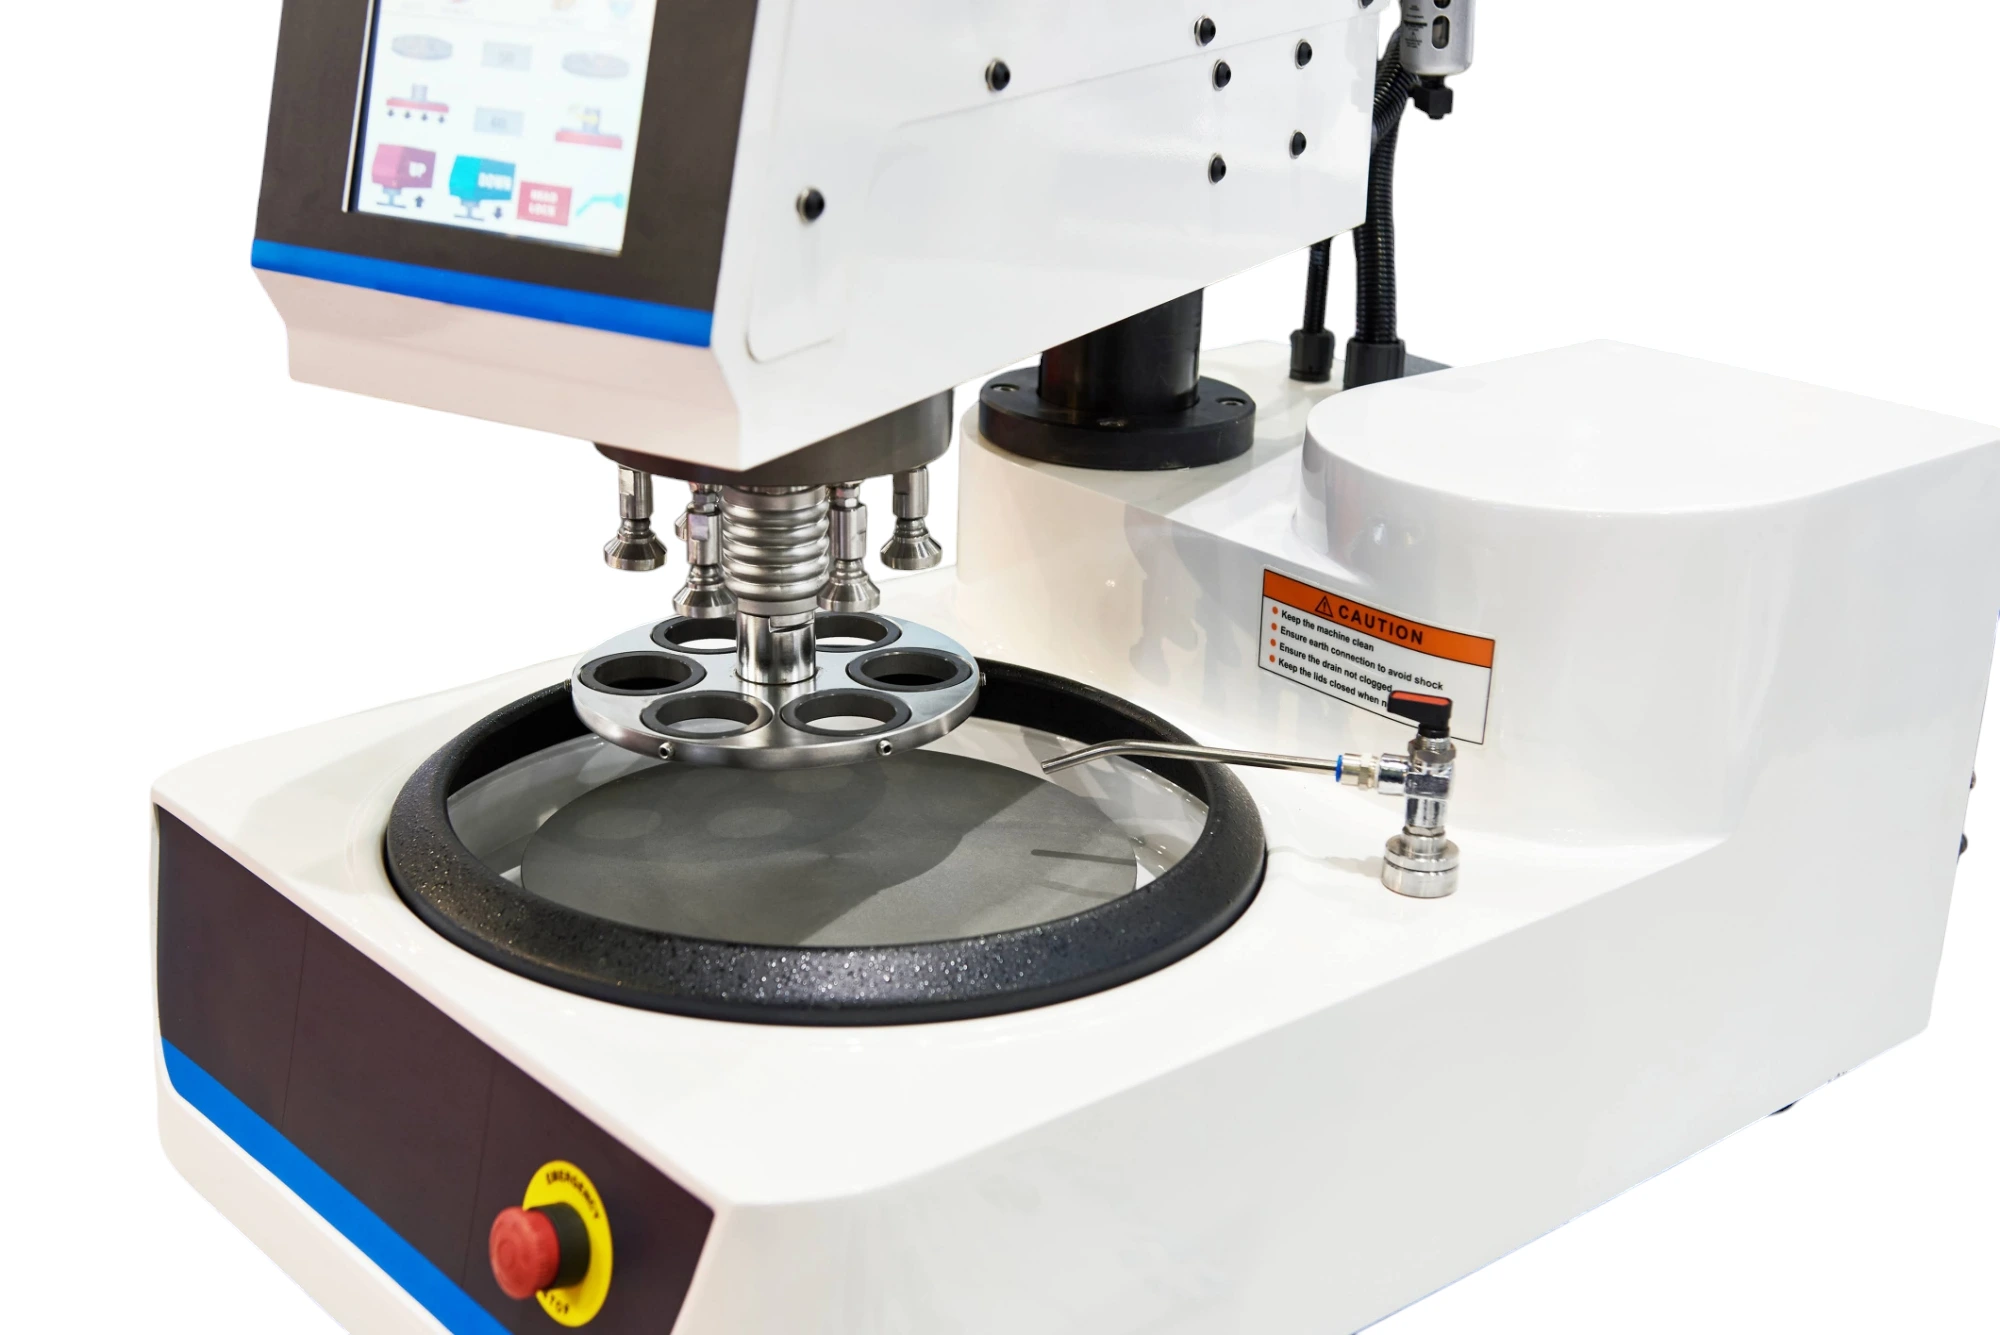
Optimize your Grinding Operation for Metallography & Sample Preparation

What is the difference between Lapping, Grinding, & Polishing

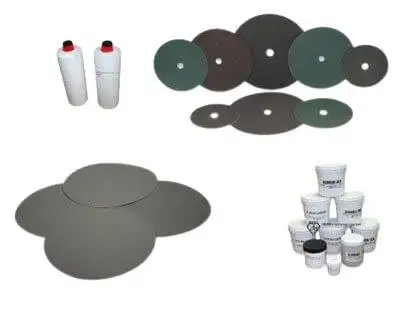
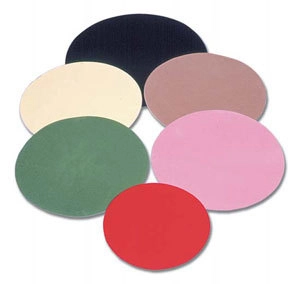
Guide to Selecting the Right SMART CUT® Metallographic / Metallurgical Polishing Cloth & Pads for Your Application
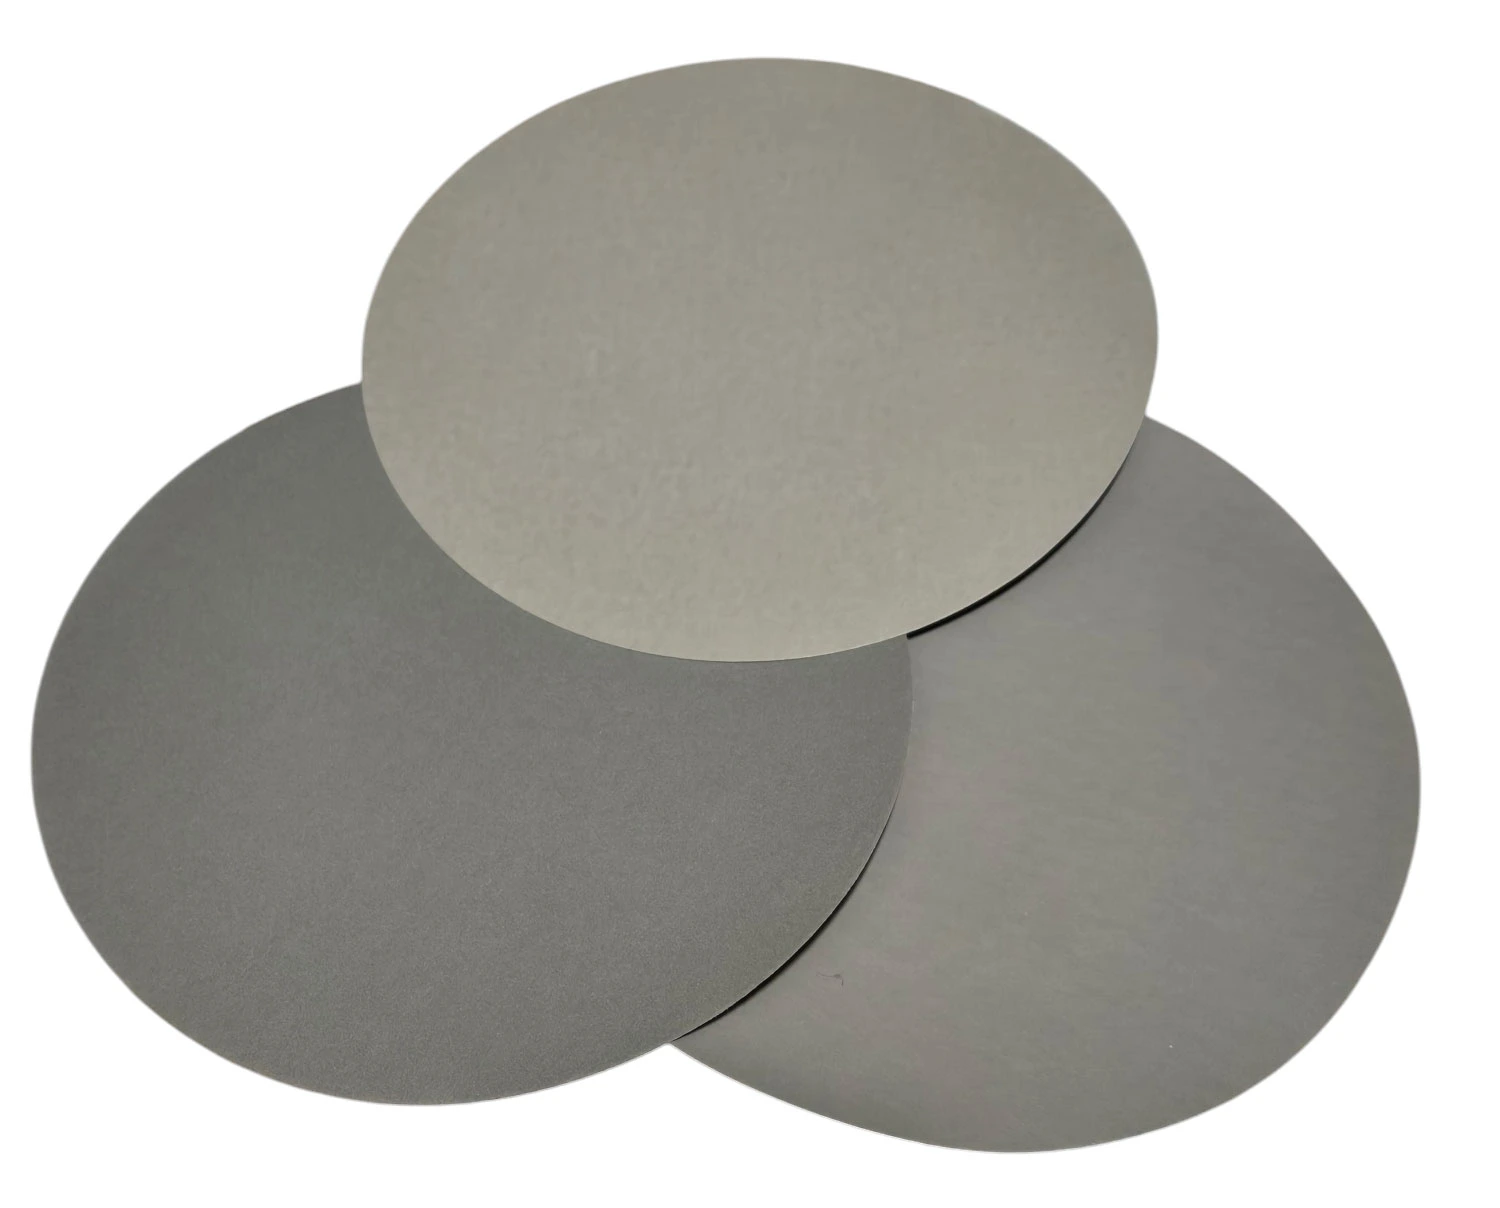
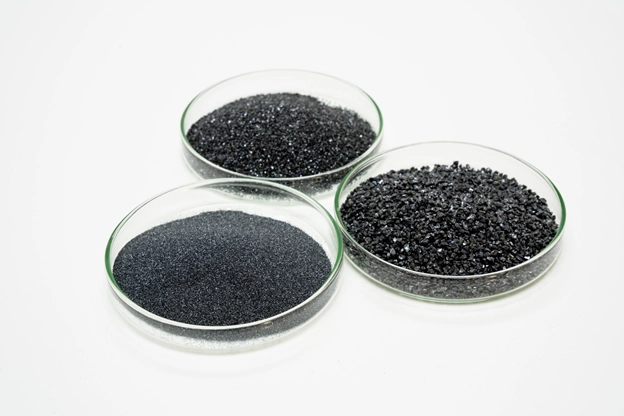
Select the Right Silicon Carbide Paper Discs for Metallography Sample Preparation
Upgrading Metallography Grinding with Silicon Carbide Paper
Alexander Schneider is a senior applications engineer with over 35 years of hands on experience in industrial diamond tooling. He specializes in the development, application, and optimization of ultra-thin and high-precision diamond blades, diamond core drills, and diamond and CBN grinding wheels for advanced materials.
His work spans ceramics, glass, composites, semiconductors, and high-performance metals. He supports research laboratories and manufacturing environments by optimizing tool design and cutting parameters to achieve high cut quality, long tool life, material integrity, and consistent process results.