


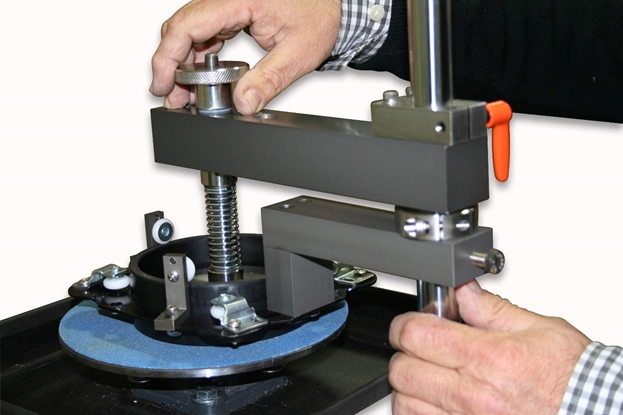
Optimize your Grinding Operation for Metallography & Sample Preparation


-
 Material Removal Rate: This rate is influenced by the grit size of the abrasive, the speed of the grinding equipment, and the pressure applied. Using larger grits and higher speeds can accelerate material removal but may also increase the risk of new deformations. The goal is to find a balance that allows effective removal without damaging the specimen.
-
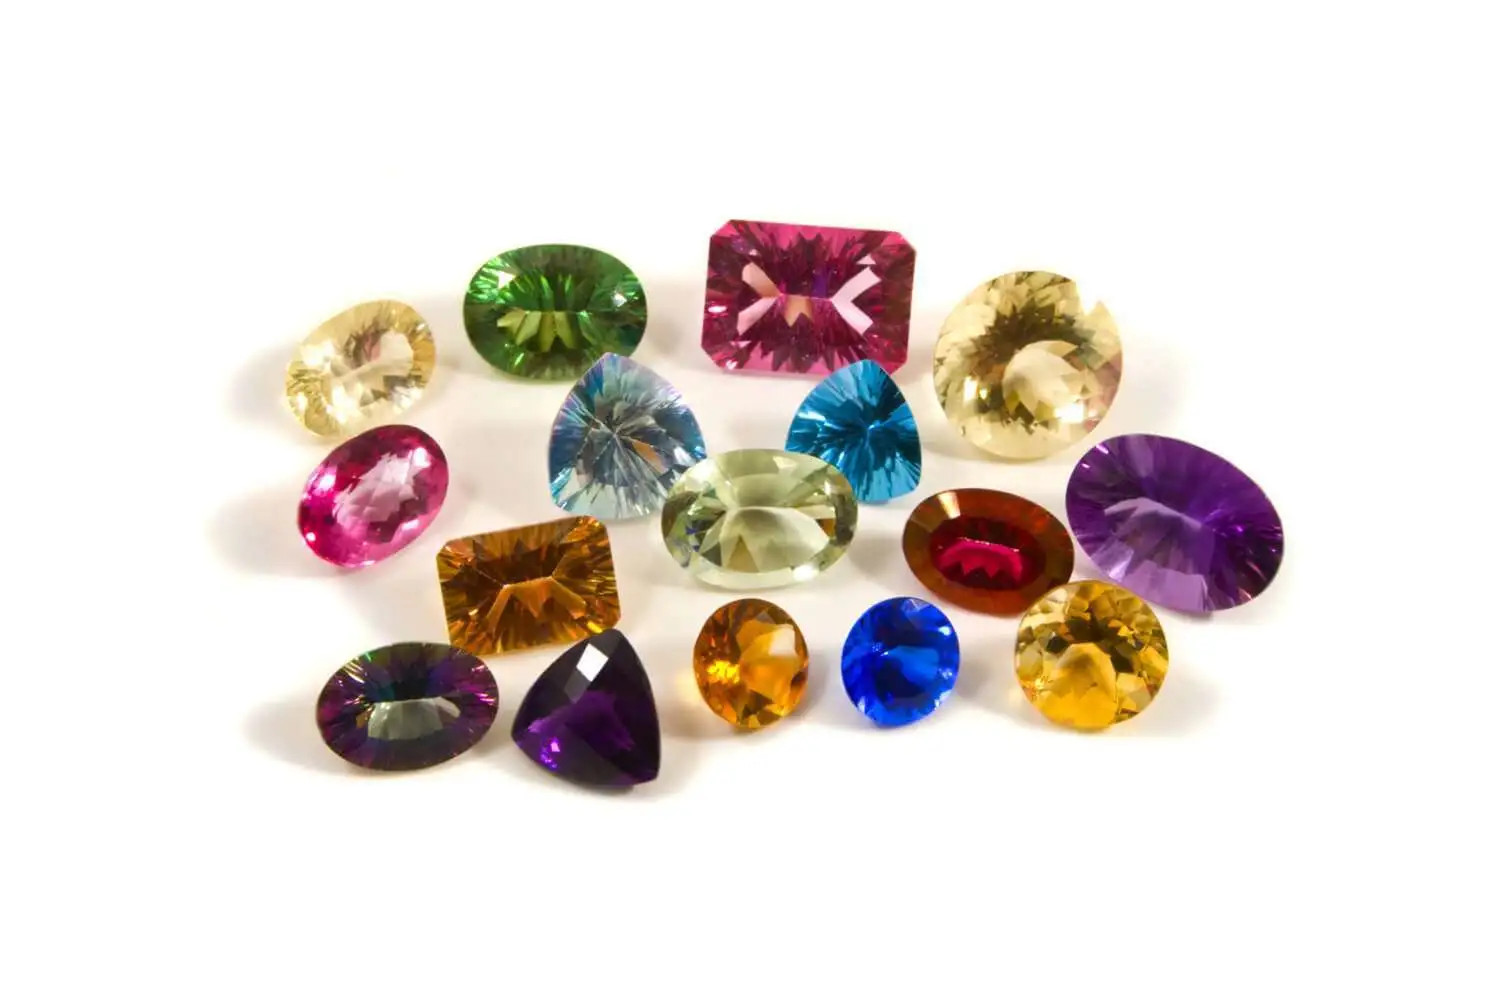
Surface Integrity: Achieving a flat, damage-free surface is crucial for accurate microscopic analysis. The selection of abrasives, grinding parameters, and equipment plays a significant role in maintaining this integrity.
-
Heat Management: Managing heat generation is critical during grinding. Excessive heat can alter the material properties of the specimen and potentially lead to inaccurate interpretations of its microstructure.
-
Purpose: Grinding is primarily used to remove large amounts of material and to produce a flat surface. Polishing, on the other hand, is used to produce a mirror-like, smooth finish and is critical for enhancing the clarity and contrast of the microstructure under examination.
-
Abrasive Size: Grinding uses coarser abrasives to remove material efficiently, whereas polishing uses finer abrasives to minimize surface scratches and improve finish.
-
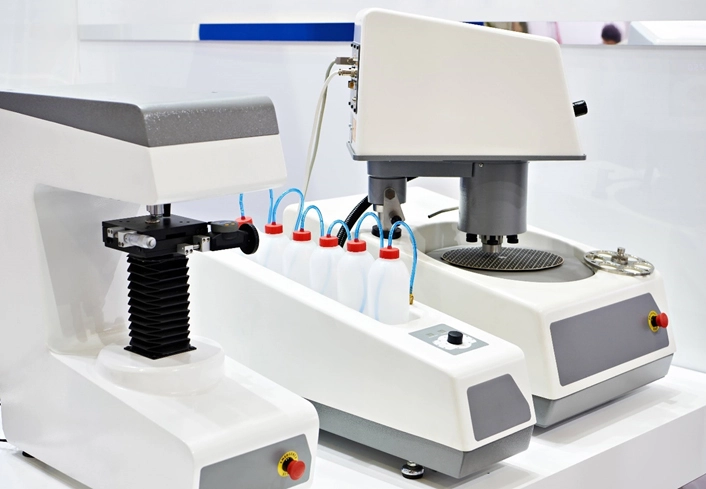
Equipment and Consumables: Polishing often requires different equipment and consumables, such as polishing cloths, finer abrasive particles (often in a slurry), and lower speeds to prevent damage to the specimen’s surface.
-
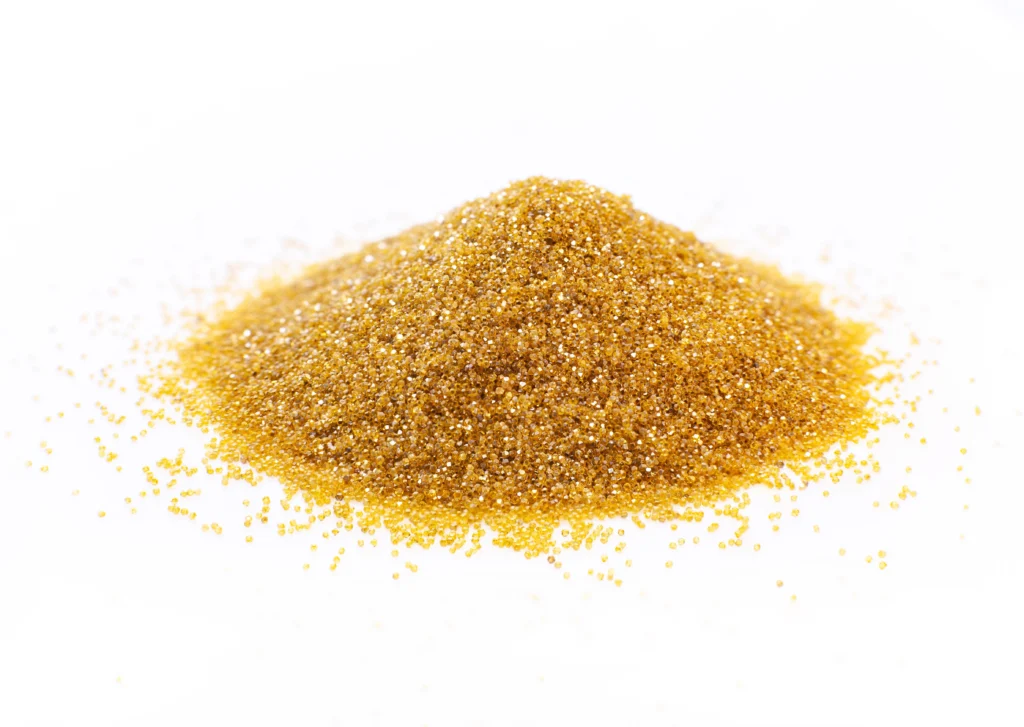
Grit Size: The grit size determines the finish and material removal rate. Coarse grits remove material faster but leave rougher surfaces, while finer grits produce a smoother finish but are slower.
-
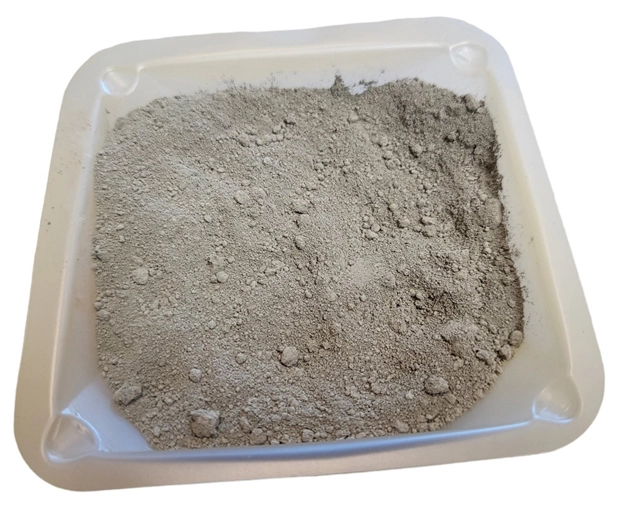
Bonding Material: The bonding material holds the abrasive particles together. Options include vitrified (ceramic), resin, rubber, and metal bonds. Vitrified bonds are common for precision grinding; resin bonds are used for fast stock removal; rubber and metal bonds are chosen for specific applications requiring high durability.
-
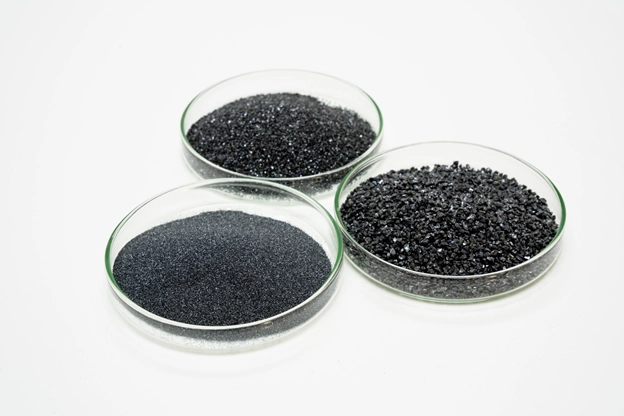
Compatibility with Material: The abrasive material must be harder than the material being ground. For example, diamond is necessary for grinding ceramics, while softer materials like aluminum can be ground with silicon carbide or aluminum oxide.
-
Usage Frequency: Regular use can decrease the lifespan due to wear, but proper maintenance can extend it.
-
Material Hardness: Harder materials wear down abrasives faster than softer materials.
-
Maintenance Practices: Regular dressing (reshaping and restoring the grinding surface) of wheels can extend their useful life by exposing fresh abrasive particles and removing clogged material.
-
Storage Conditions: Proper storage in a controlled environment free from humidity and temperature fluctuations preserves the integrity of grinding consumables.
-
Material Removal Rate: Higher speeds generally increase the material removal rate, as the abrasive makes contact with the specimen more frequently. However, this must be balanced with the heat generation that occurs at higher speeds.
-
Heat Generation: Excessive speed can generate significant heat, which might alter the microstructure of the material or induce thermal damage, such as burns or cracks.
-
Surface Finish: Optimal speeds are required to achieve the desired surface finish. Too high a speed might leave deeper scratches or grooves, while too low a speed might result in inadequate material removal.
-
Uniform Material Removal: Proper pressure is necessary to ensure that the abrasive particles effectively engage with the material. Excessive pressure, however, can lead to rapid abrasive wear and heighten the risk of damaging the specimen.
-
Specimen Integrity: Too much pressure can deform or fracture the specimen, particularly if it is brittle or thin, such as ceramics or thin metal sections. Managing this balance is critical to maintain the integrity of the material being processed.
-
Abrasive Wear: Optimal pressure not only ensures efficient abrasive wear but also extends the life of the grinding media by promoting even wear patterns.
-
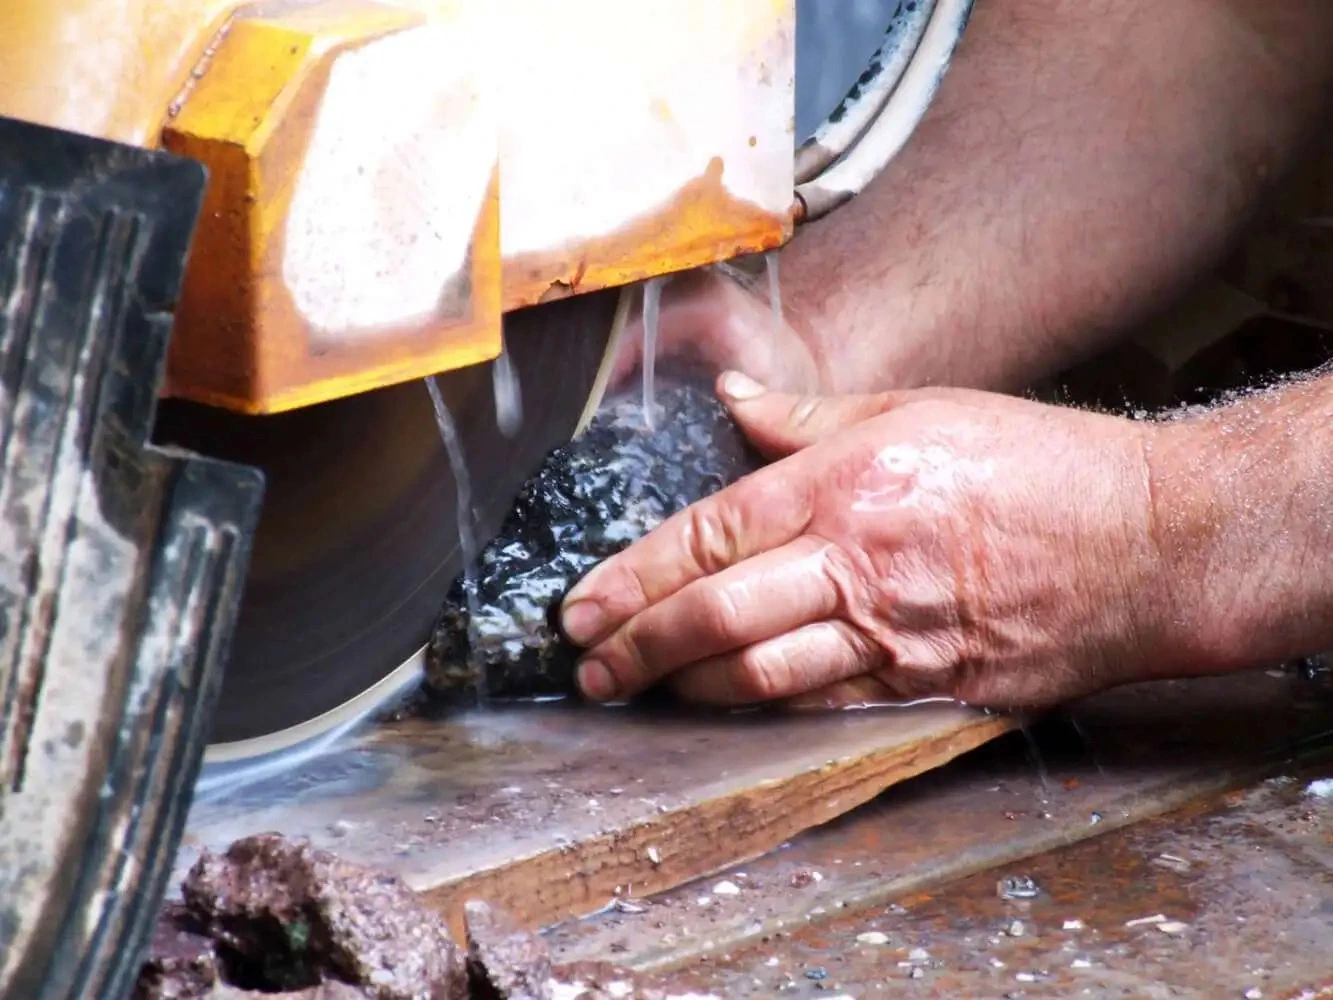
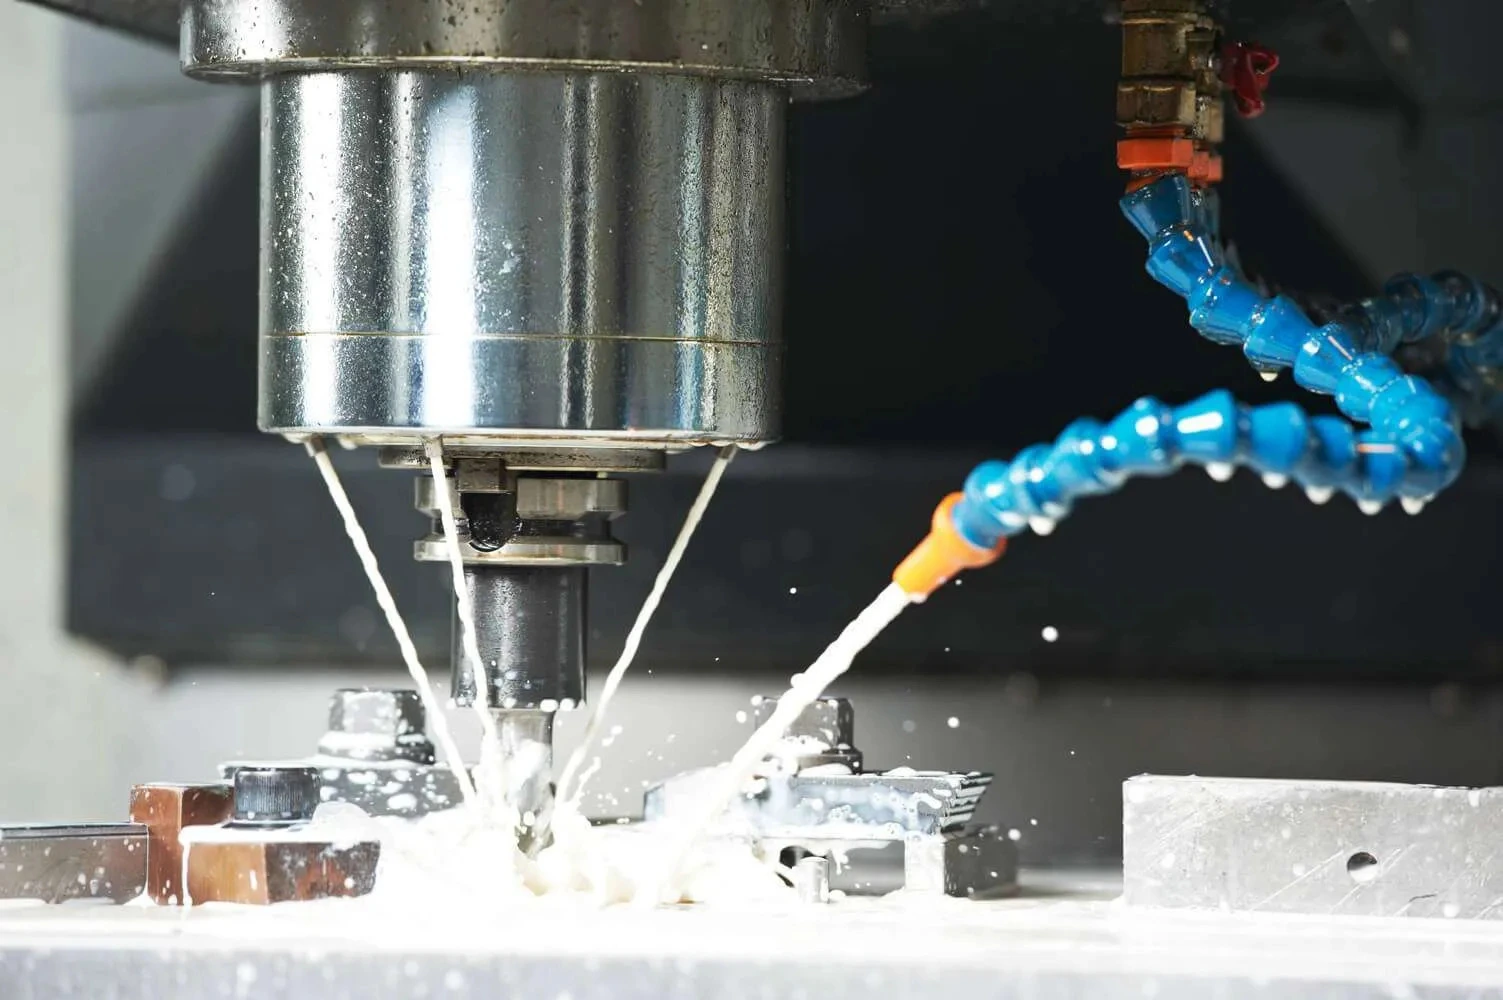
Temperature Control: It helps to dissipate heat generated during grinding, preventing thermal damage to the specimen and the degradation of the abrasive media.
-
Removal of Swarf: Coolant helps in flushing away the swarf (the debris created during grinding), which can improve the grinding efficiency and prevent clogging of the abrasive surface.
-
Reducing Friction and Wear: By lubricating the interface between the specimen and the abrasive, coolants reduce friction and wear, contributing to longer abrasive life and smoother surface finishes.

Ayan Sadyk is a materials scientist and process engineer with over two decades of experience in the industrial diamond tooling sector. His expertise lies in integrating ultra-thin diamond blades, CBN wheels, and advanced cutting systems into precision manufacturing workflows for applications in optics, semiconductors, and technical ceramics.
With a background in materials behavior and surface integrity, Mr. Sadyk brings a data-driven, application-specific approach to cutting and grinding process development. He has worked closely with manufacturers and R&D facilities across Eastern Europe, North America, and the Middle East, helping optimize tool life, surface finish, and process stability.
As an author, he focuses on bridging materials science with tooling innovation—writing on topics such as blade wear mechanisms, thermal effects in hard material sectioning, and adaptive process design.

Selecting the Right Diamond Suspension for your Application – Monocrystalline or Polycrystalline?
Improve Sample Quality & Optimize your Polishing Operating for Metallography & Sample Preparation
Optimize your Grinding Operation for Metallography & Sample Preparation

Low Speed Saw Case Studies

What is the difference between Lapping, Grinding, & Polishing
Guide to Selecting the Right SMART CUT® Metallographic / Metallurgical Polishing Cloth & Pads for Your Application
Select the Right Silicon Carbide Paper Discs for Metallography Sample Preparation
Upgrading Metallography Grinding with Silicon Carbide Paper
Sample Preparation Consumables for Metallography: Selection, Function, and Best Practices
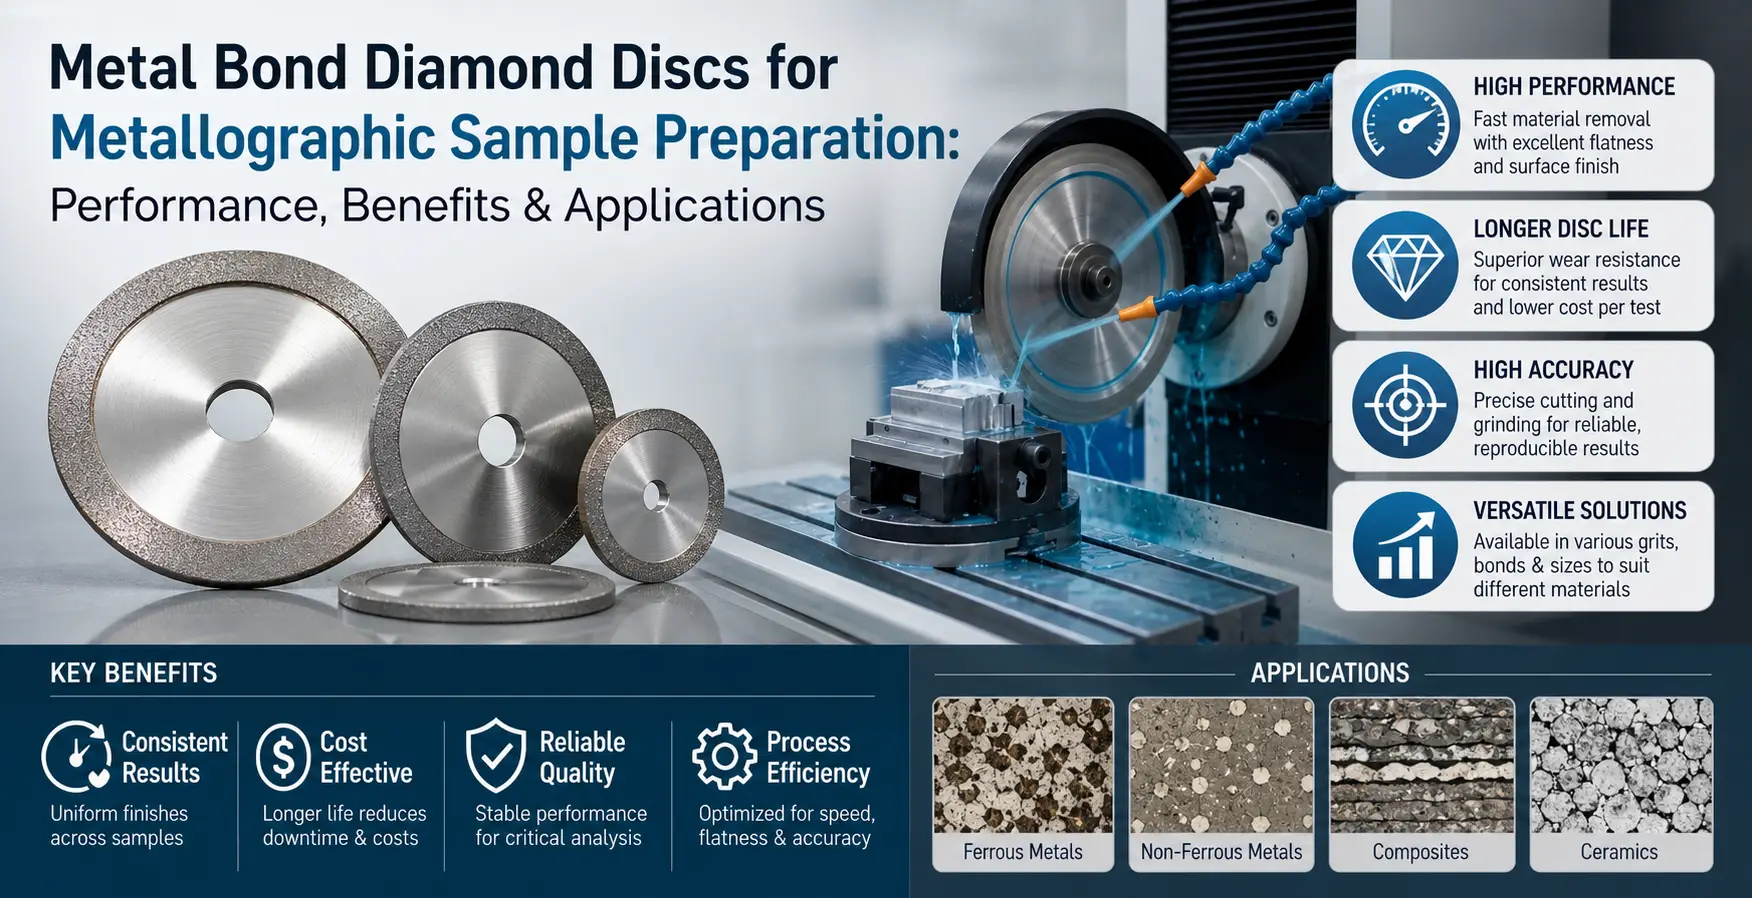
Metal Bond Diamond Discs for Metallographic Sample Preparation: Performance, Benefits & Applications
Ayan Sadyk is a materials scientist and process engineer with over two decades of experience in the industrial diamond tooling sector. His expertise lies in integrating ultra-thin diamond blades, CBN wheels, and advanced cutting systems into precision manufacturing workflows for applications in optics, semiconductors, and technical ceramics.
With a background in materials behavior and surface integrity, Mr. Sadyk brings a data-driven, application-specific approach to cutting and grinding process development. He has worked closely with manufacturers and R&D facilities across Eastern Europe, North America, and the Middle East, helping optimize tool life, surface finish, and process stability.
As an author, he focuses on bridging materials science with tooling innovation—writing on topics such as blade wear mechanisms, thermal effects in hard material sectioning, and adaptive process design.