


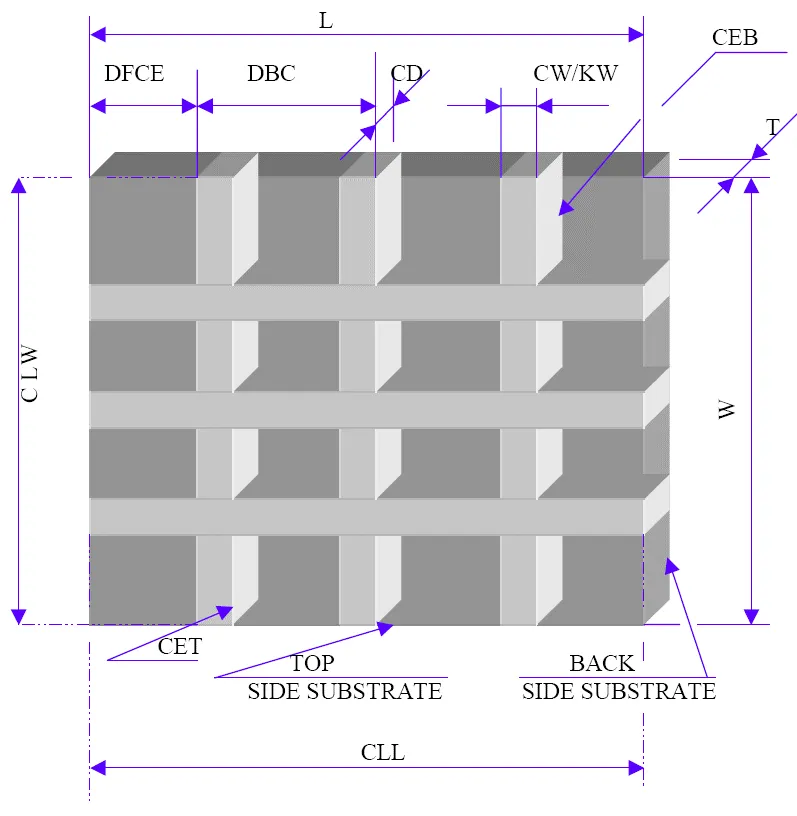


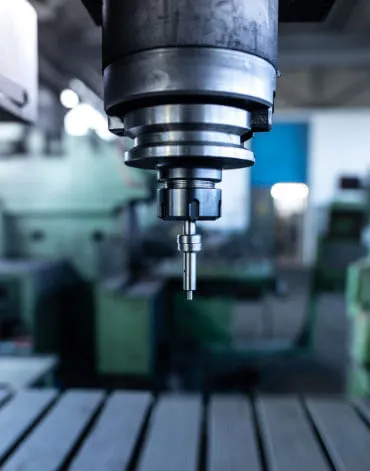


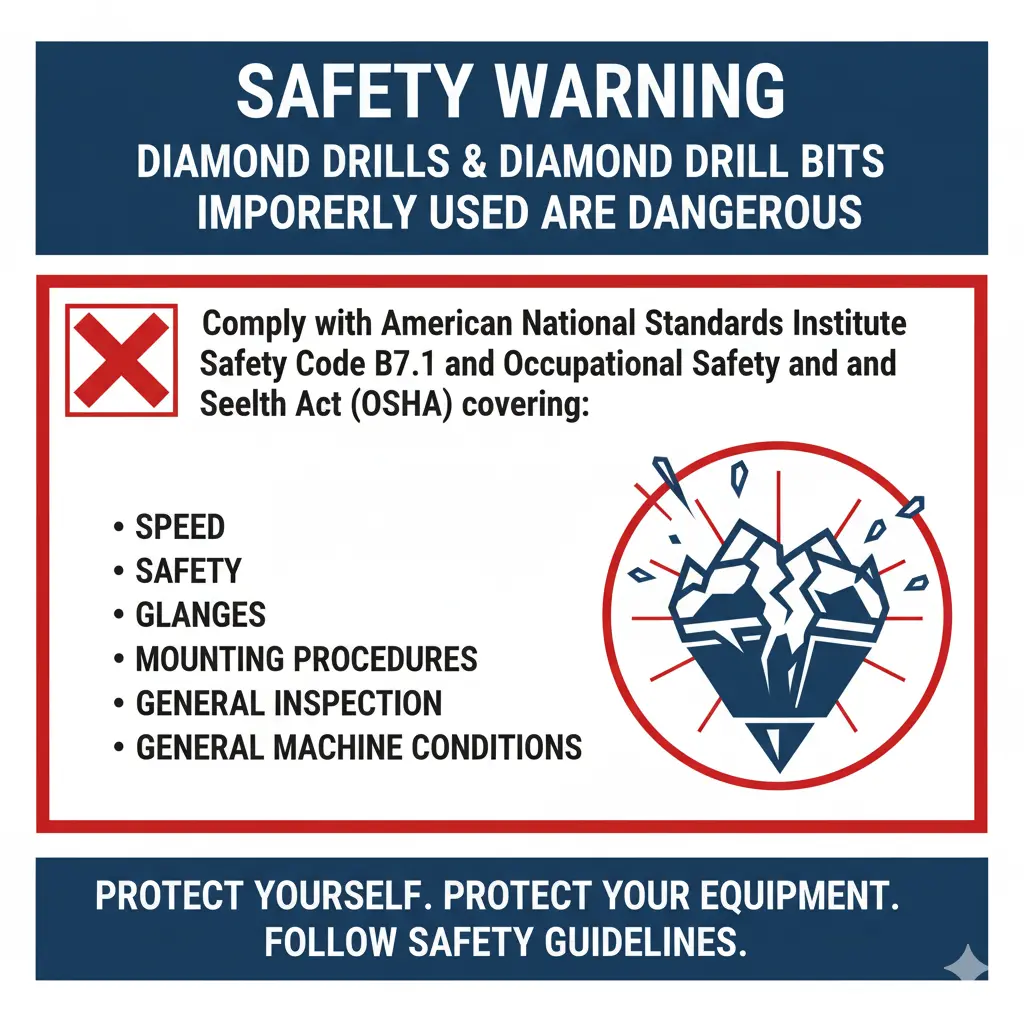
How to Properly Use Precision Diamond Drills


-
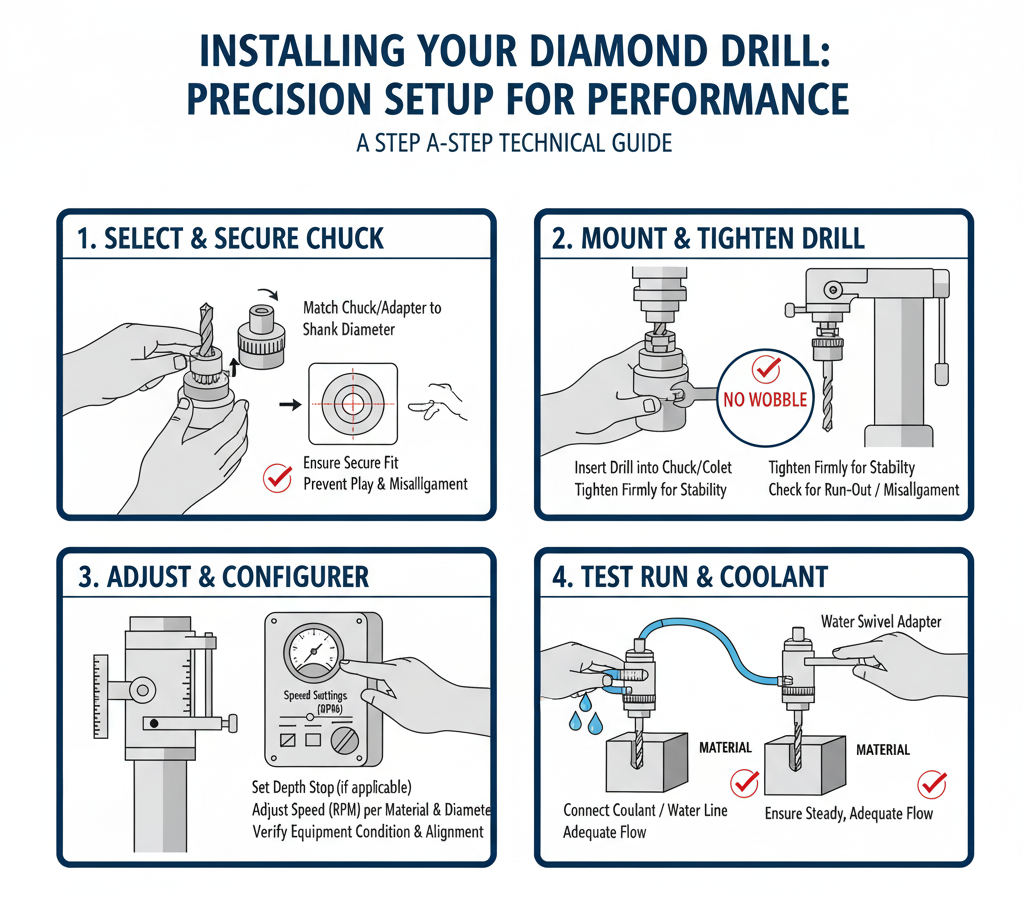
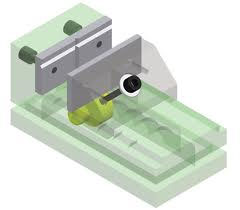
 - Center the outside hole
-
- Make sure the drill will not walk
-
- Keep the drill as rigid as possible


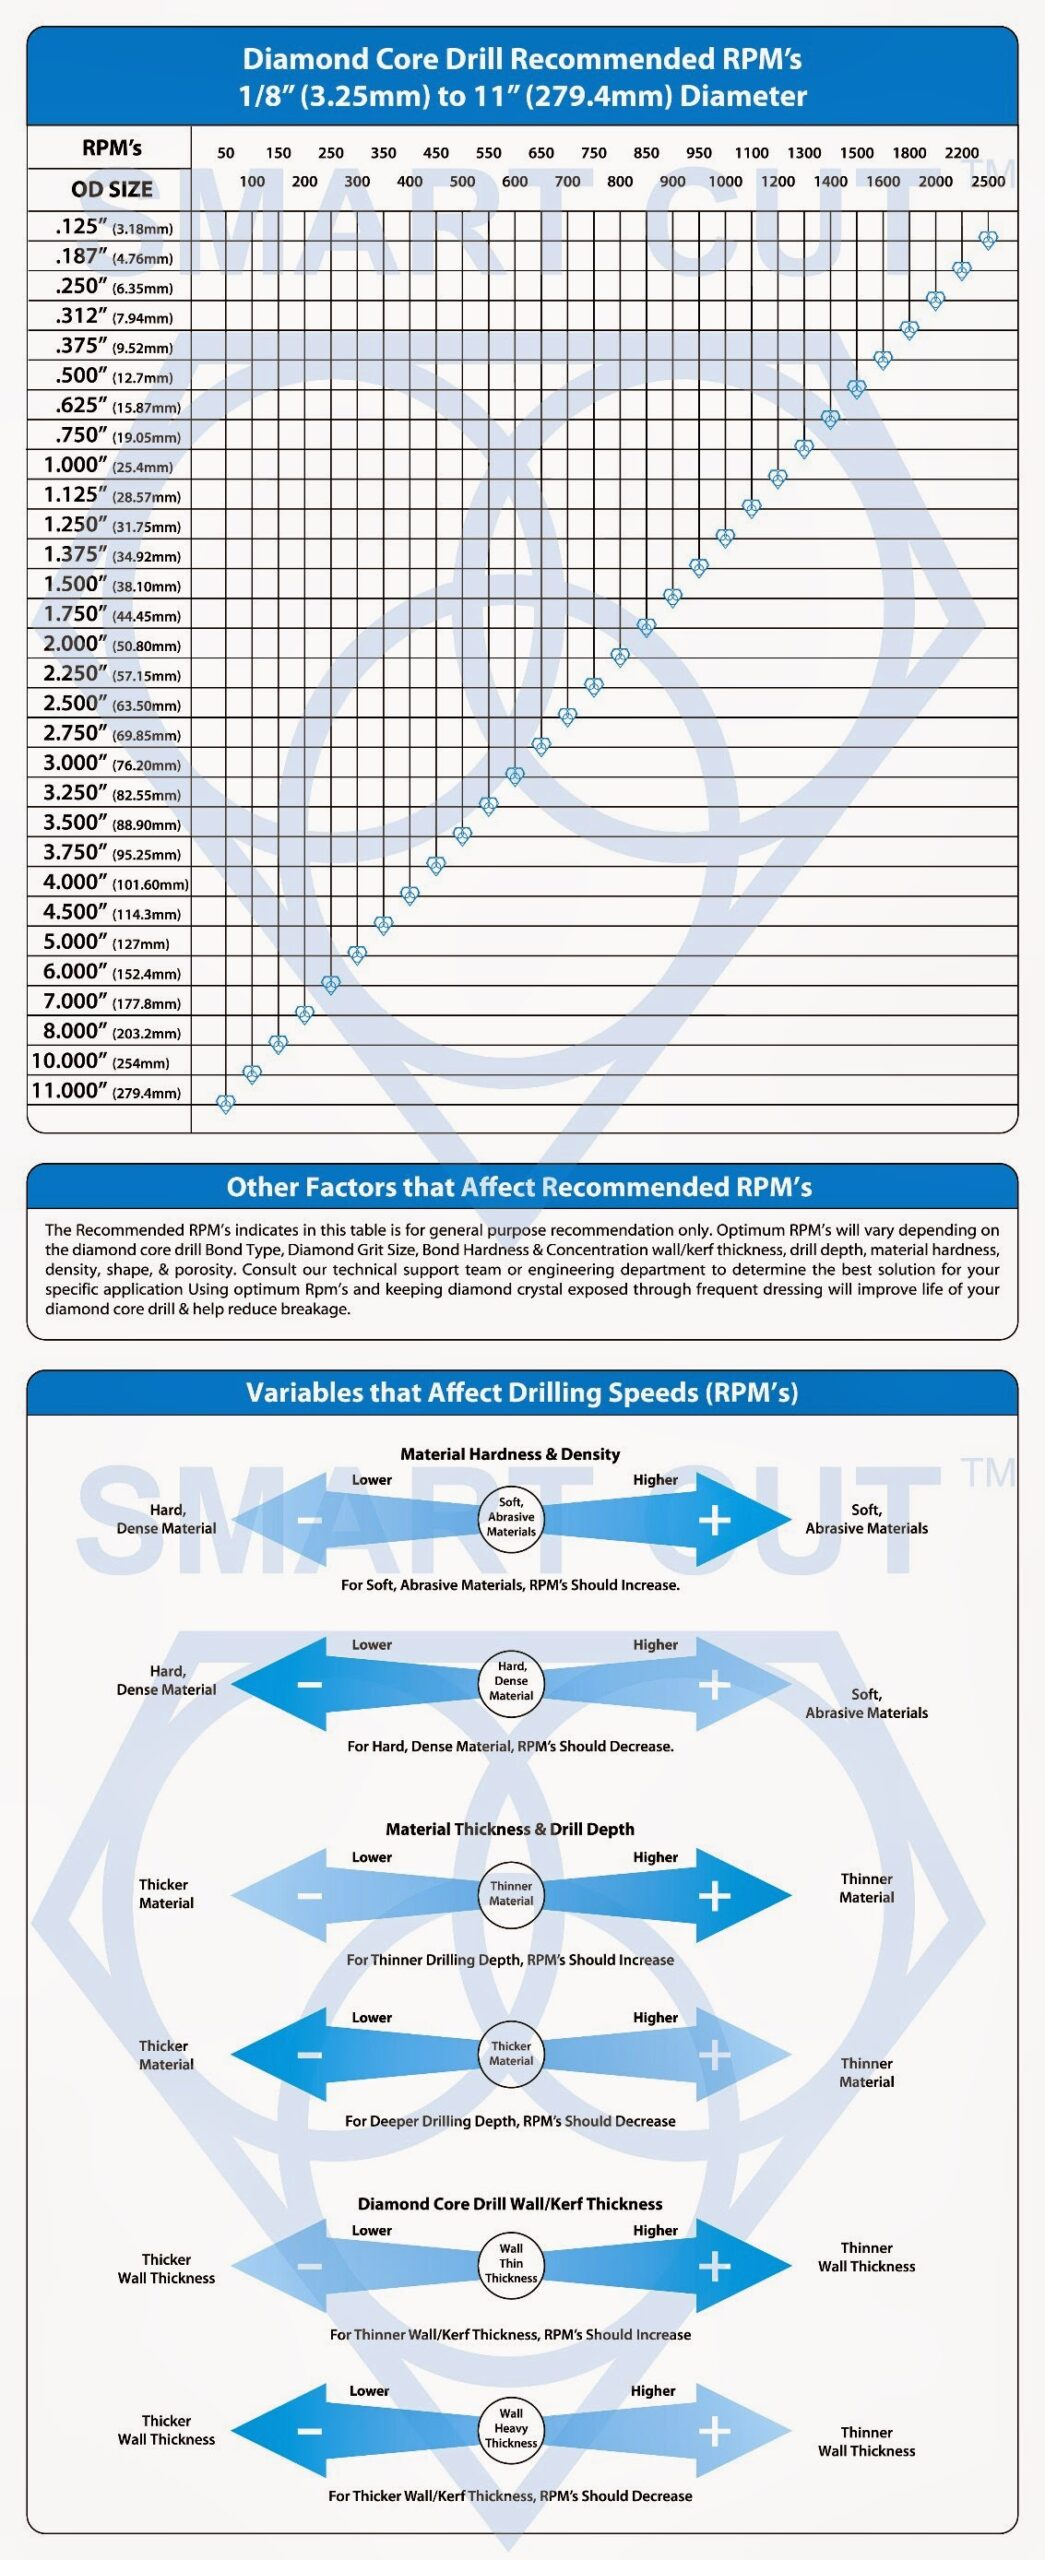

-
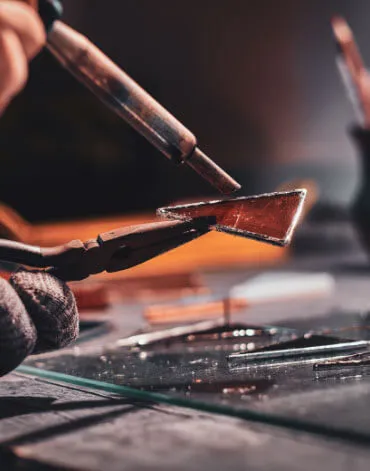
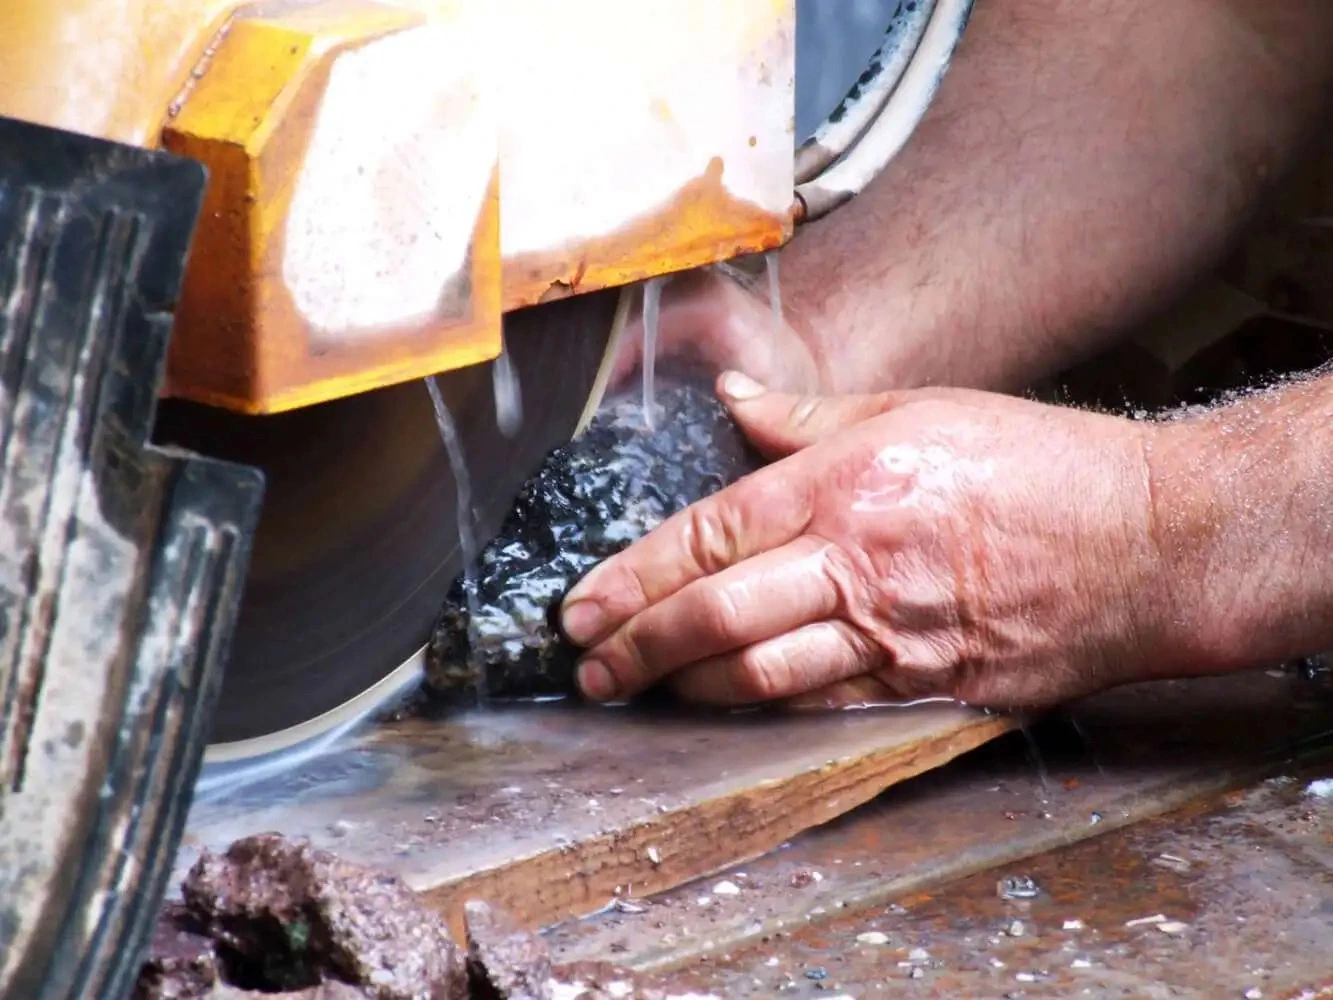
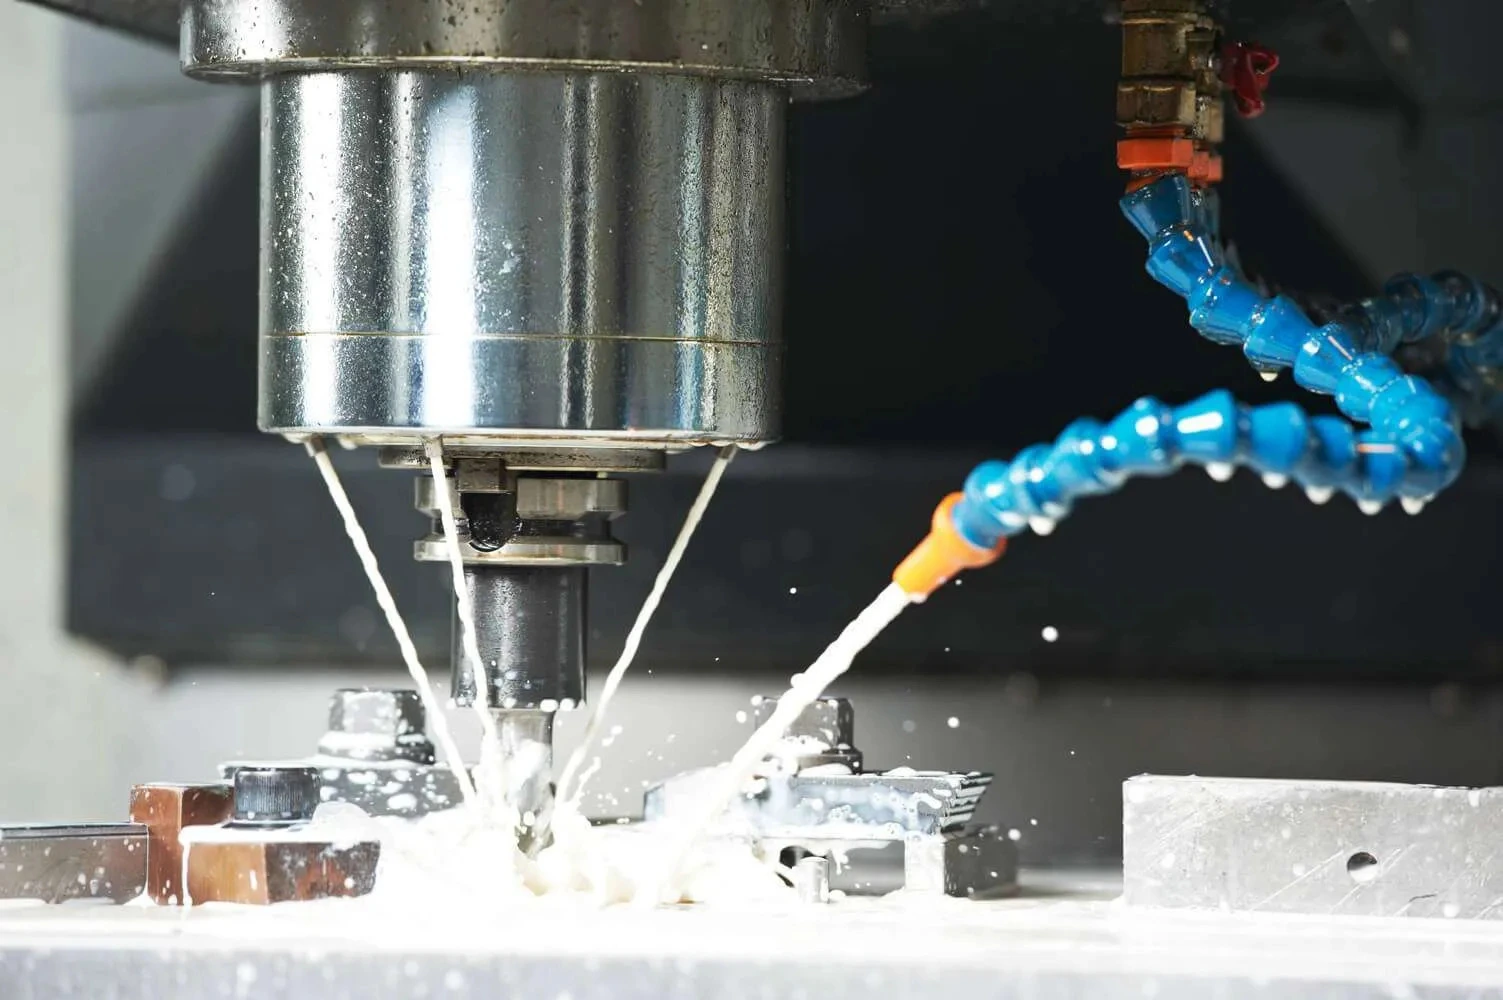
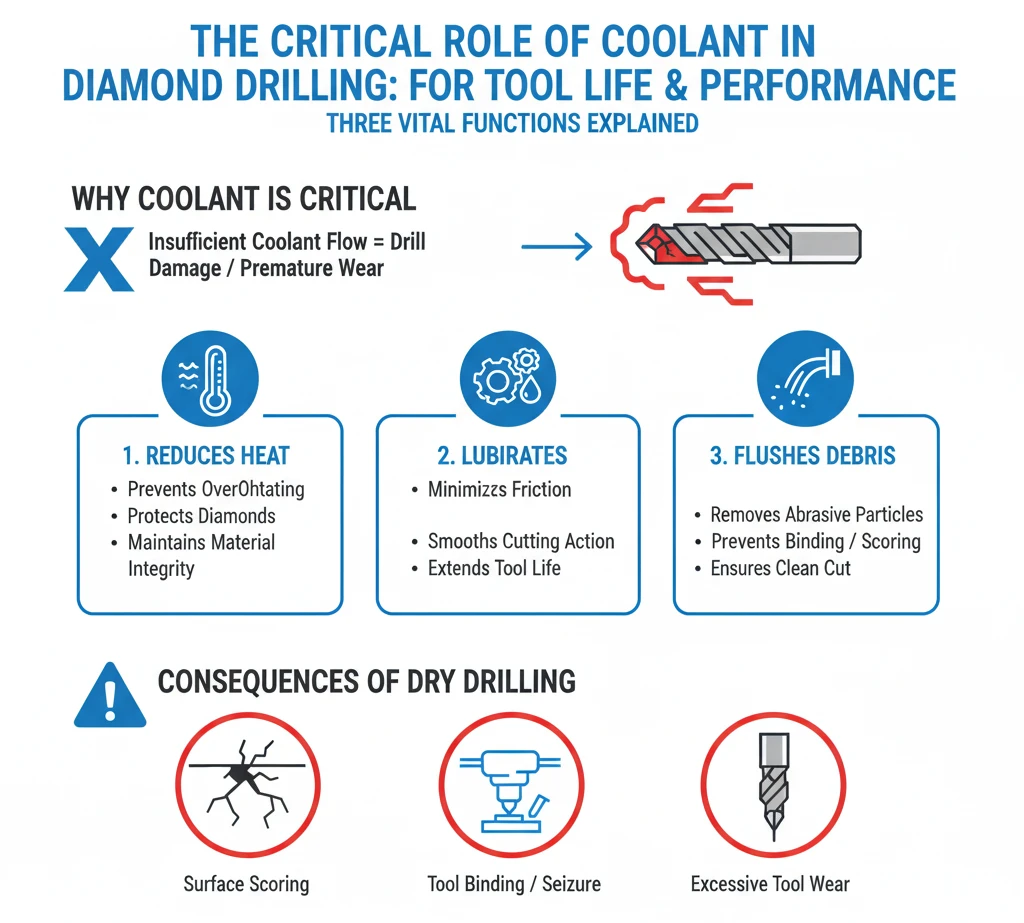
Use a squirt bottle or even a small cup of water to continuously pour water onto the drilling zone. Observe hole to make sure enough lubrication is reaching the drill.
-
Submerge the material into a tub of water. So water just touches material surface.
-
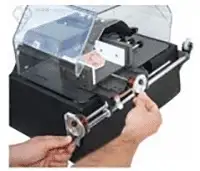
consider using a water swivel adapter to provide coolant through the center of your drills. Water swivel adapters provide the most efficient and effective method of coolant.
-
should you find yourself in a situation where a water swivel adapter cannot be used, use a garden type of hose which can be easily obtained from any hardware store.
-
if this is not possible, use a squirt bottle to provide coolant to your drilling zone.
-
Best and most efficient way of drilling ultra hard materials
-
Best & most efficient way to obtain (extract) core samples
-
Improve surface finish quality and reduce material chipping
-
Increase Diamond Drill Life 40% to 75%
-
Increase Drilling Speed & Feed Rate
-
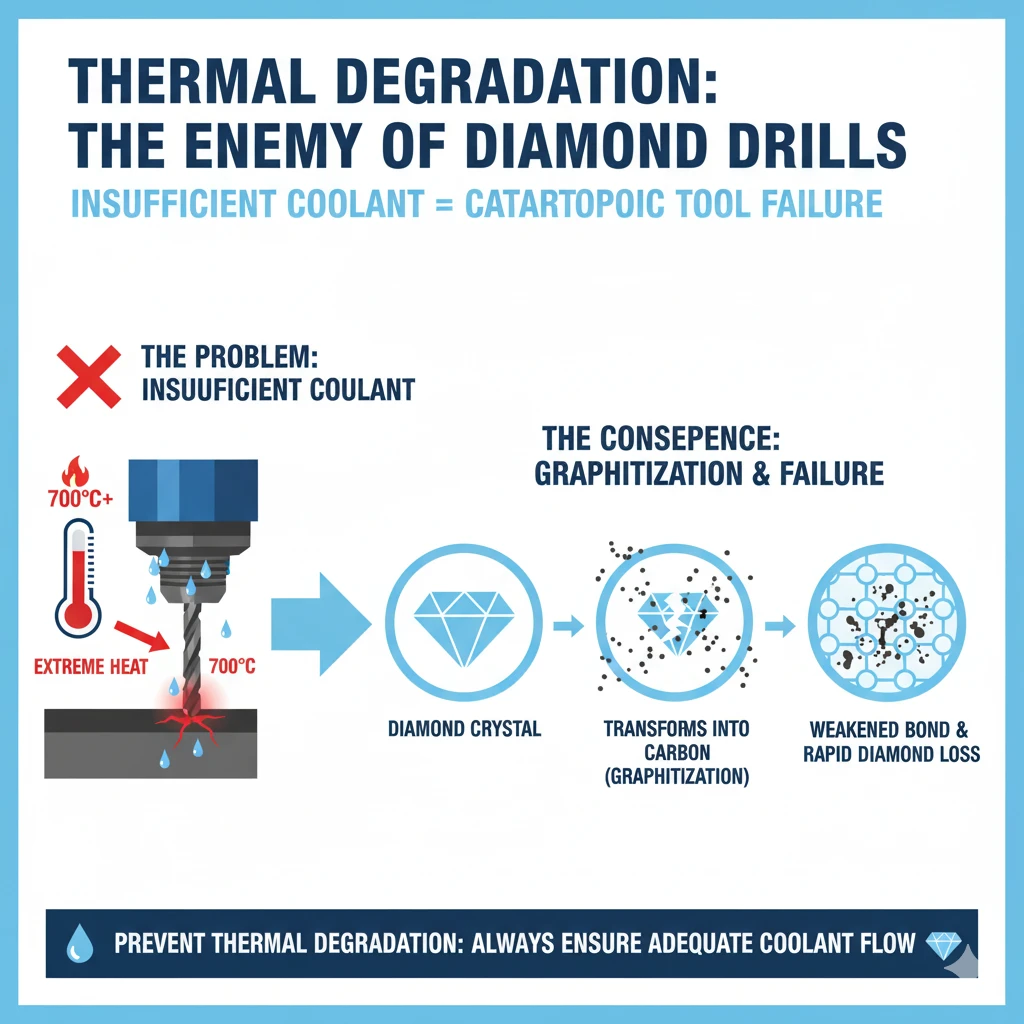
Prevent micro cracks that occasionally arise from heat generated while drillings
-
Preserve material true micro structure
-
Obtain More Consistent overall performance
-
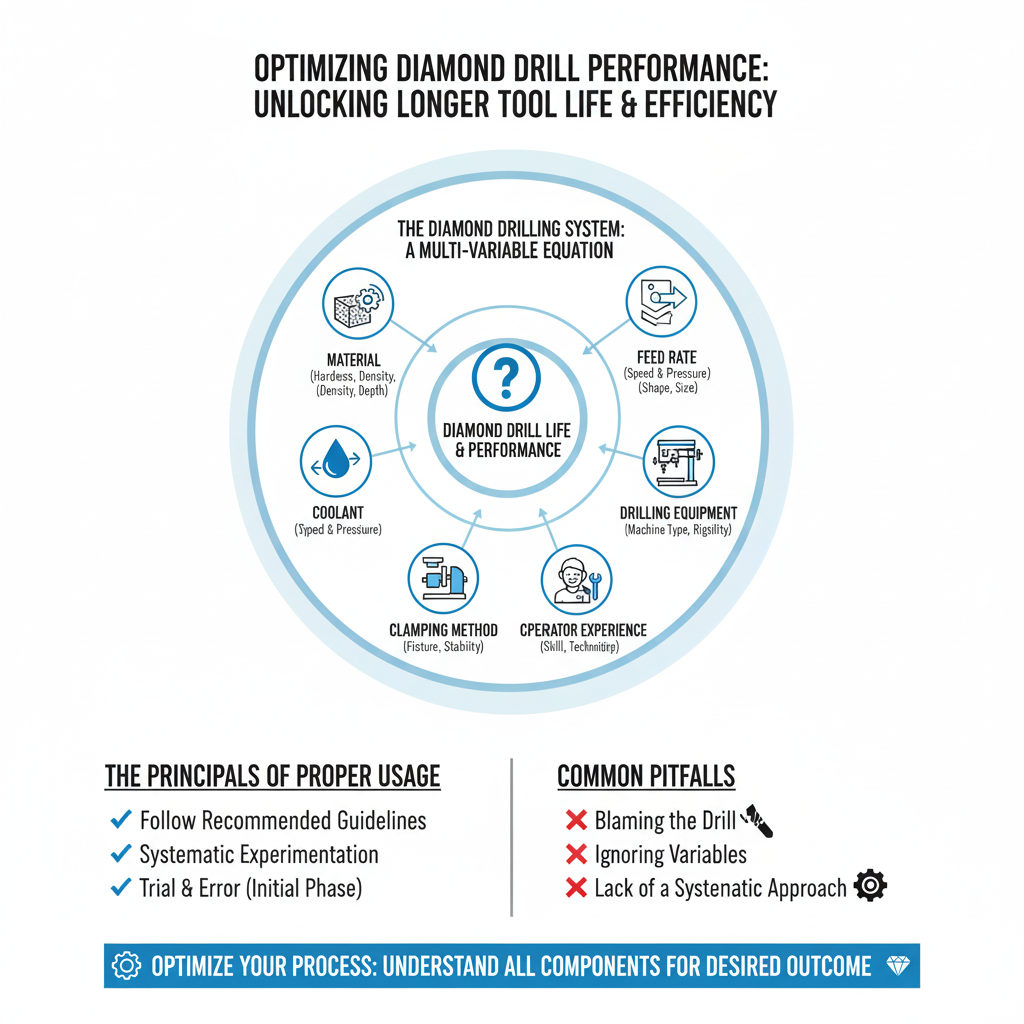
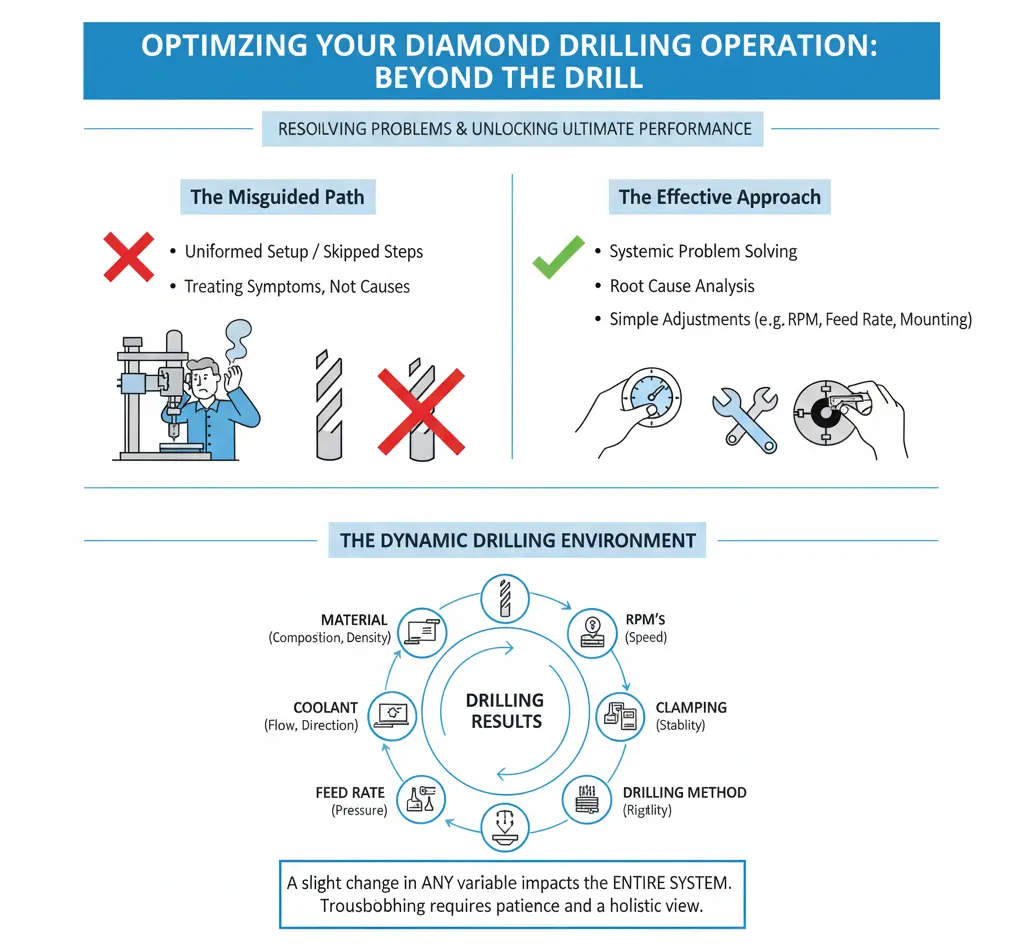
Optimize your Diamond Drilling Operation to ultimate point of efficiency


-
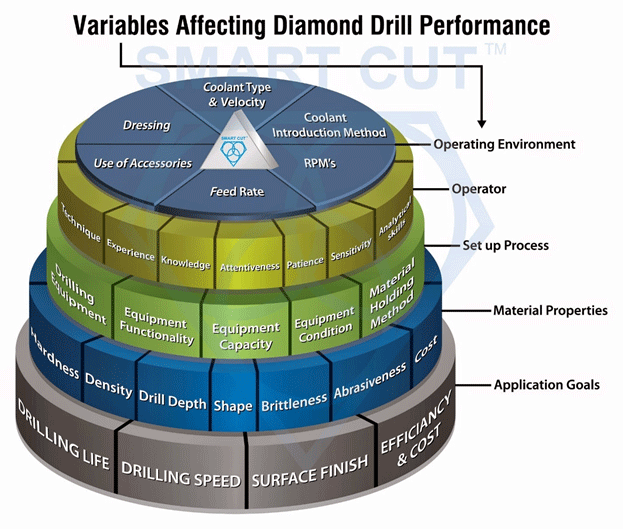
Material Hardness and Abrasiveness: Harder materials generally require slower feed rates to reduce the risk of overheating and wear on the diamond crystals. Conversely, softer materials can be drilled at higher feed rates.
-
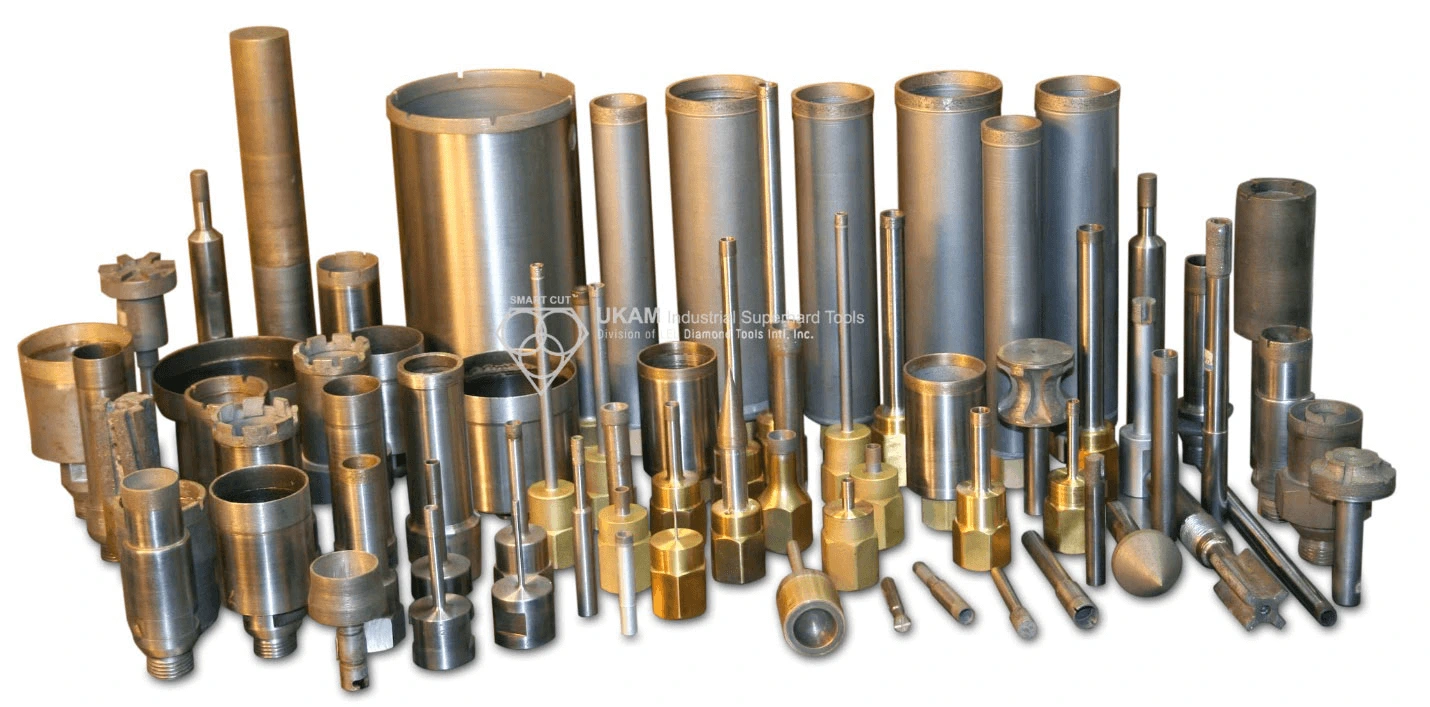
Diamond Drill Specifications: The size and type of the diamond drill, including the diamond grit size, concentration, and the bond material, significantly influence the optimal feed rate.
-
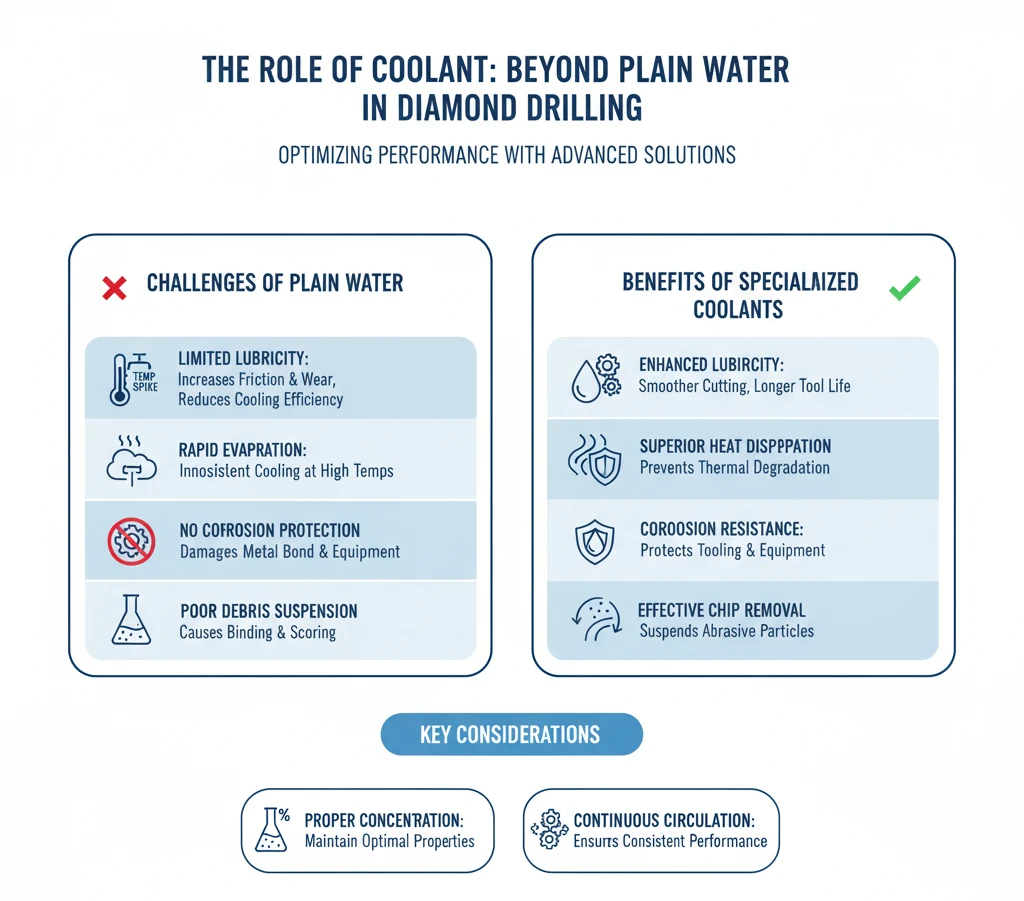
Coolant Use: The type and flow of coolant can affect how fast a drill can operate. Effective cooling improves cutting speeds and extends the life of the diamond drill.
-
Machine Capability: The power and precision of the drilling equipment also determine how effectively a feed rate can be implemented without causing damage or deviation in the hole.


Alexander Schneider is a senior applications engineer with over 35 years of hands on experience in industrial diamond tooling. He specializes in the development, application, and optimization of ultra-thin and high-precision diamond blades, diamond core drills, and diamond and CBN grinding wheels for advanced materials.
His work spans ceramics, glass, composites, semiconductors, and high-performance metals. He supports research laboratories and manufacturing environments by optimizing tool design and cutting parameters to achieve high cut quality, long tool life, material integrity, and consistent process results.
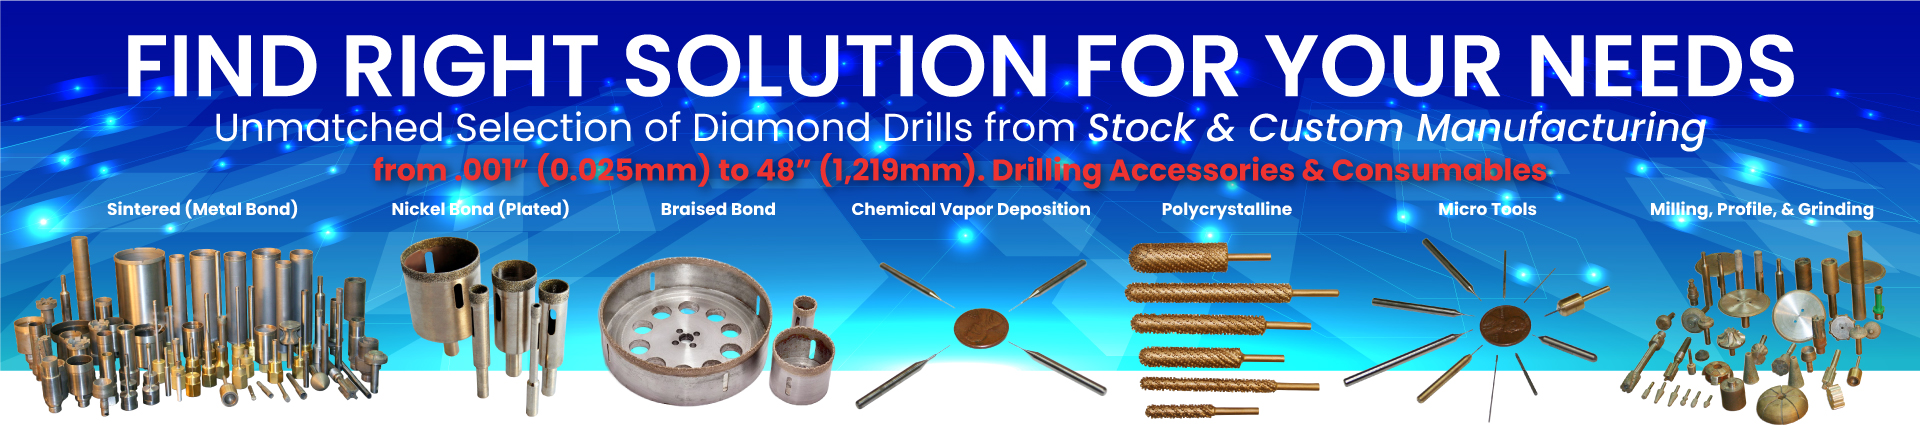

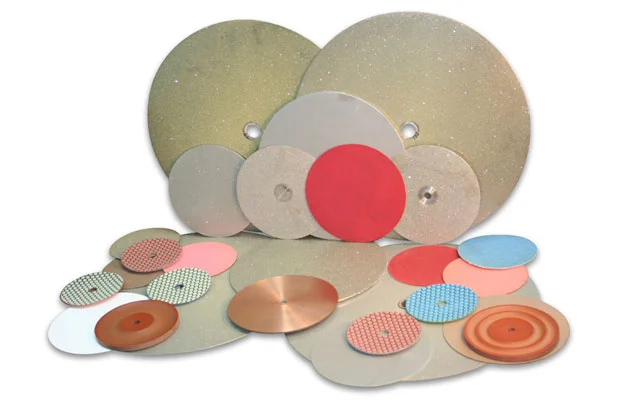
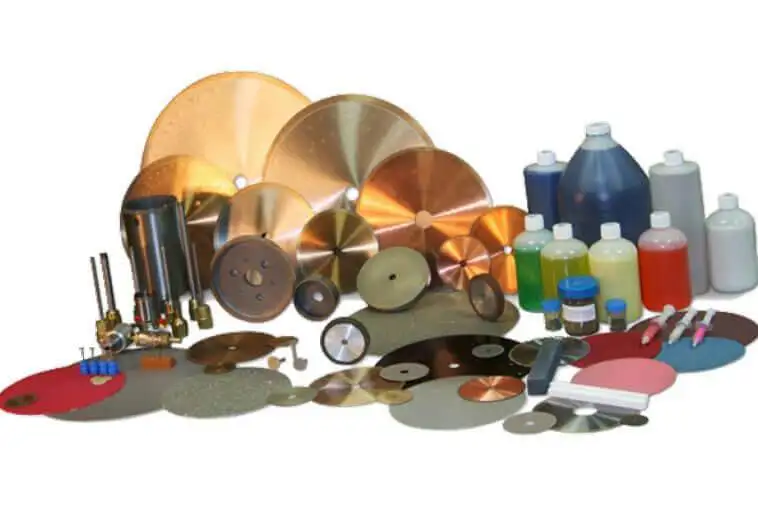
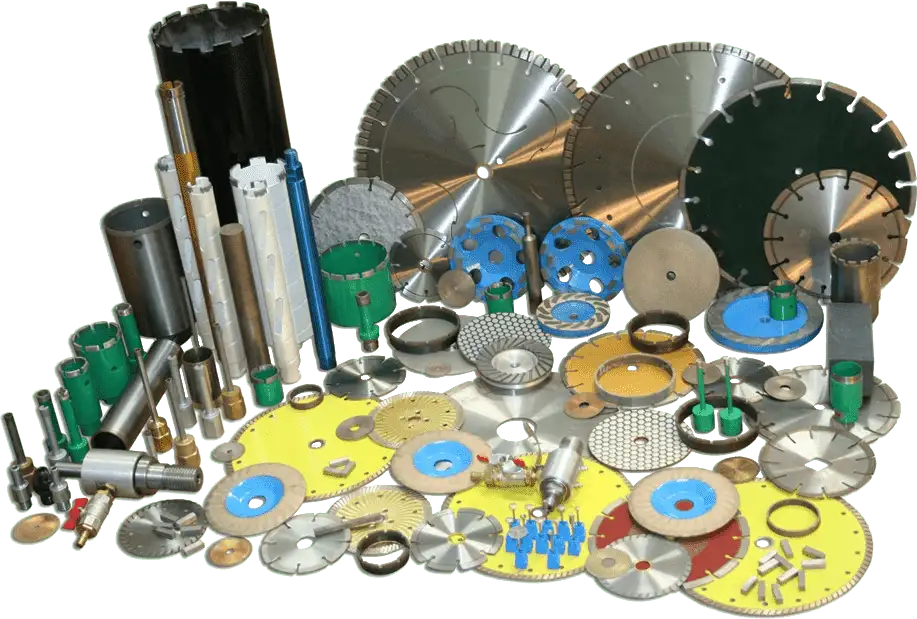
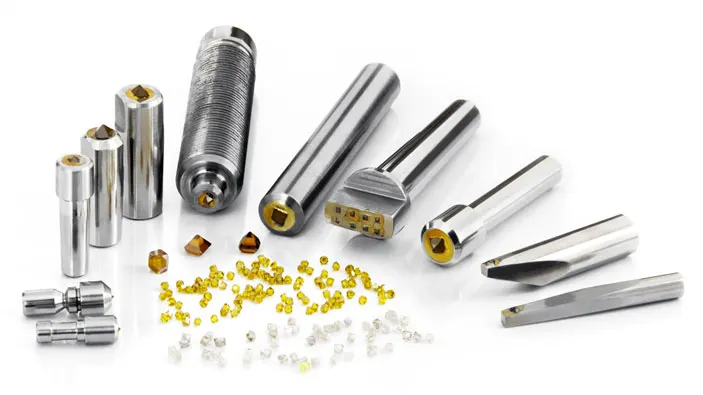
Select Right Diamond Drill for your Application
How to Properly Use Precision Diamond Drills
Diamond Drills Guide

Diamond Tools Guide – Selecting Right Drills & Tools for your application

Optimizing your Diamond Drilling Operation
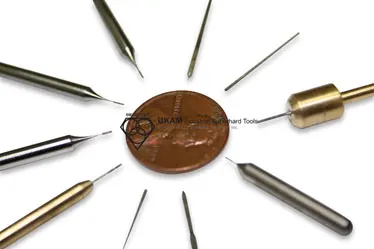
Micro Drilling Guide

Selecting Right Drilling Equipment for your Application. What you features & functionality you should look for?

Diamond Core Drill & Drill Trouble Shooting Guide

Understanding & Calculating Return on Investment for Diamond Core Drills & Other Tools

Understanding Tradeoffs – Searching for Perfect Diamond Drill & Tool

Why Use Diamond Drills?
Alexander Schneider is a senior applications engineer with over 35 years of hands on experience in industrial diamond tooling. He specializes in the development, application, and optimization of ultra-thin and high-precision diamond blades, diamond core drills, and diamond and CBN grinding wheels for advanced materials.
His work spans ceramics, glass, composites, semiconductors, and high-performance metals. He supports research laboratories and manufacturing environments by optimizing tool design and cutting parameters to achieve high cut quality, long tool life, material integrity, and consistent process results.