

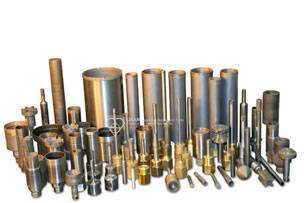

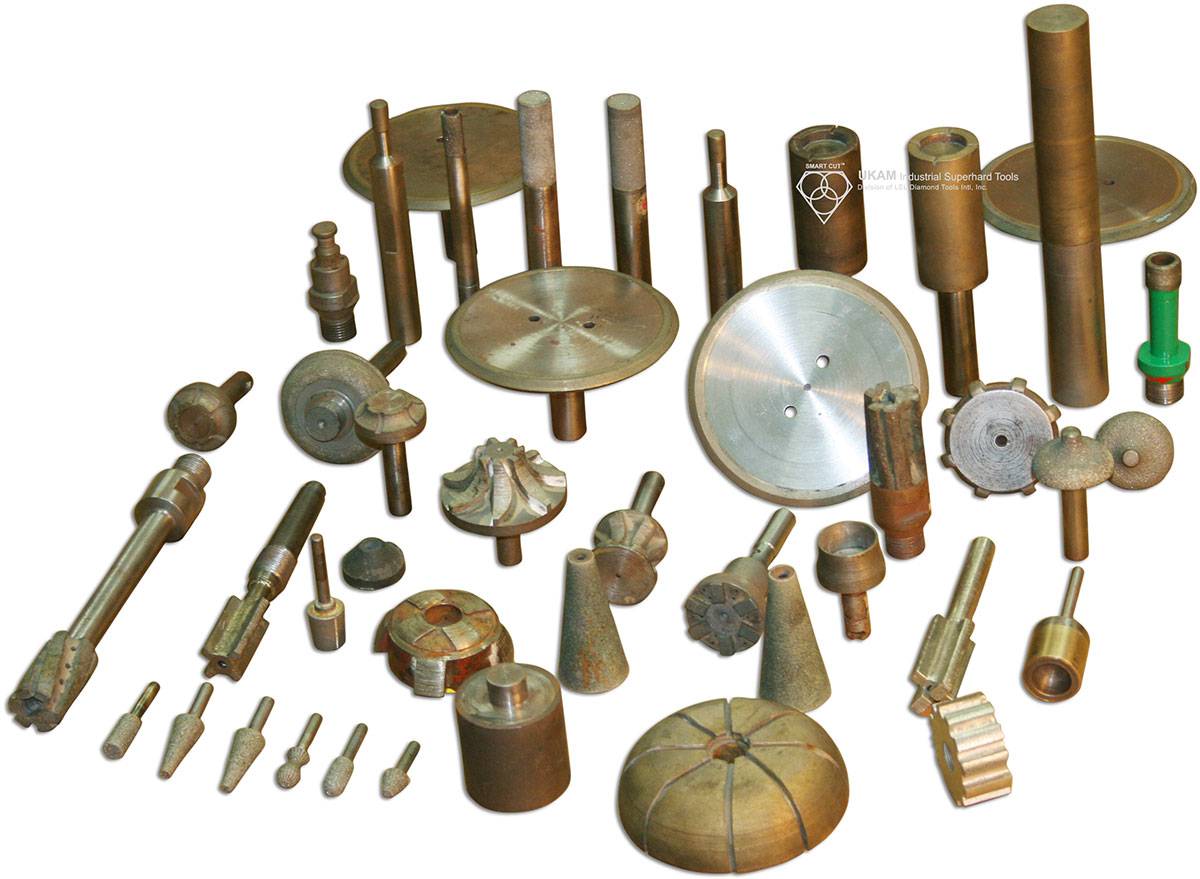
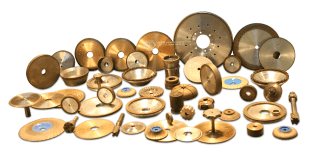
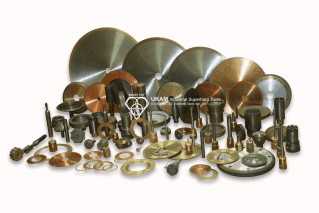
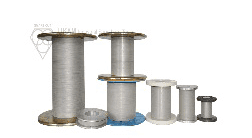
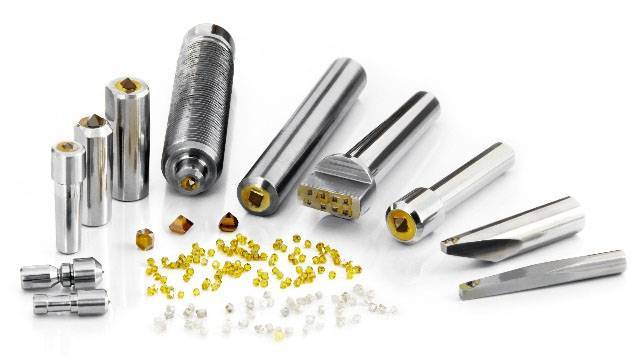

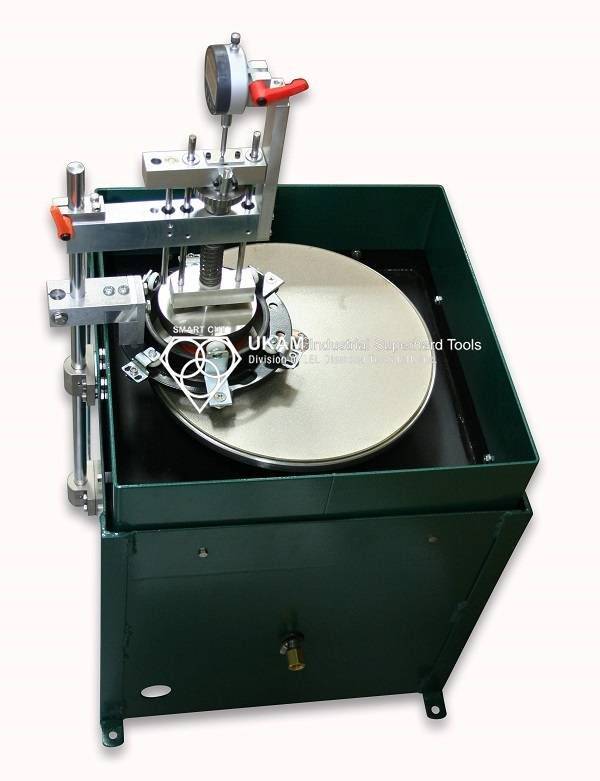


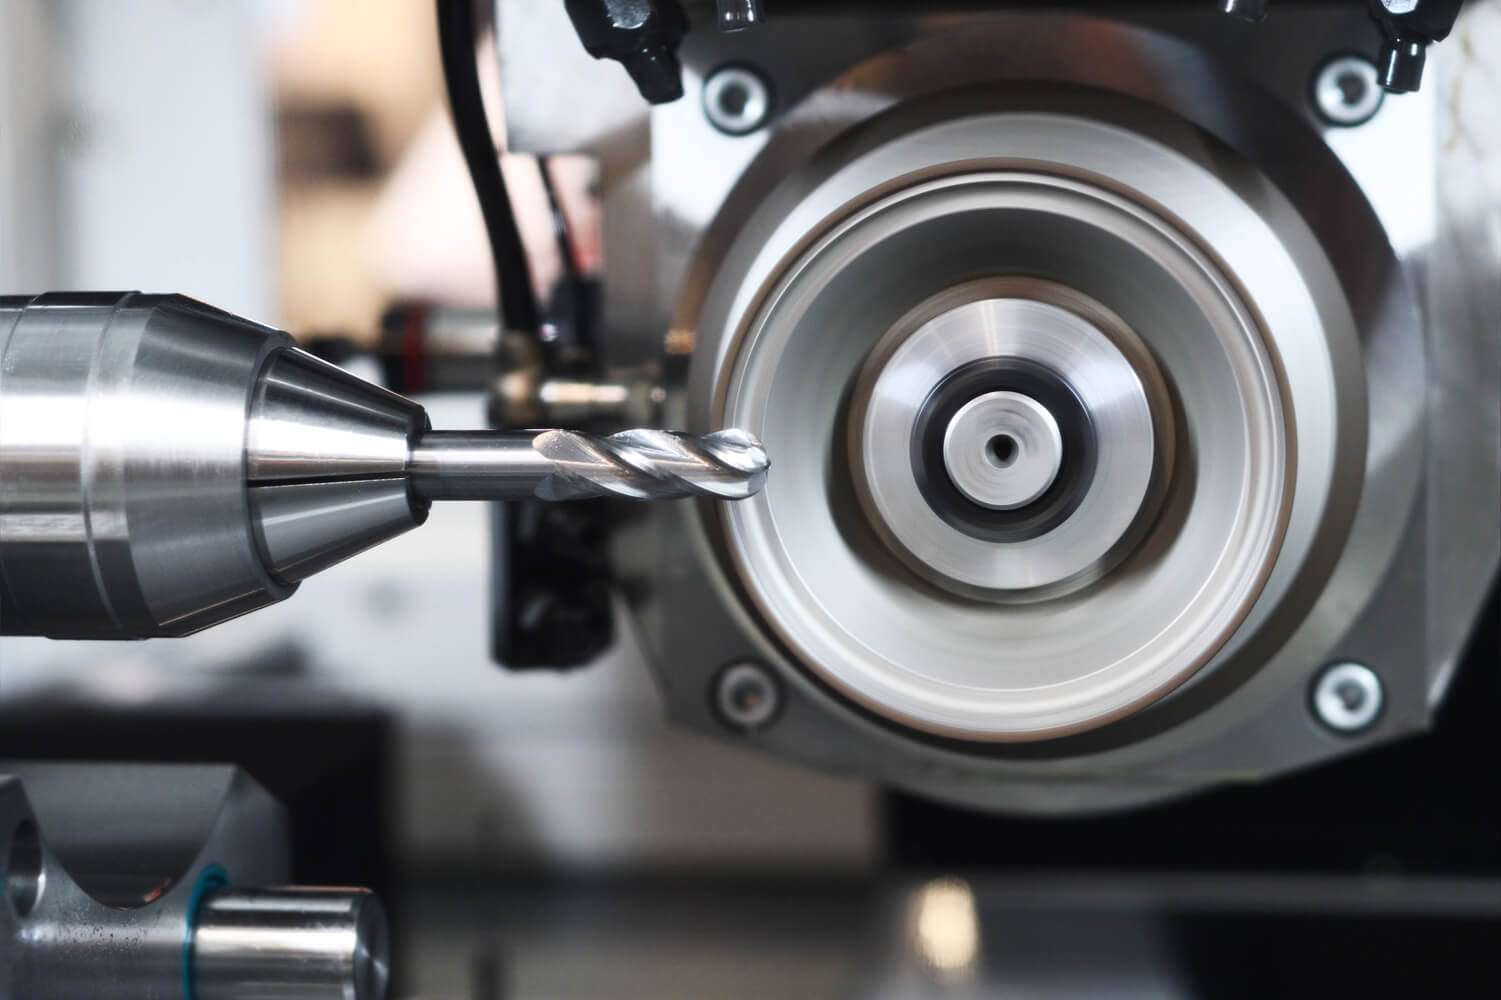
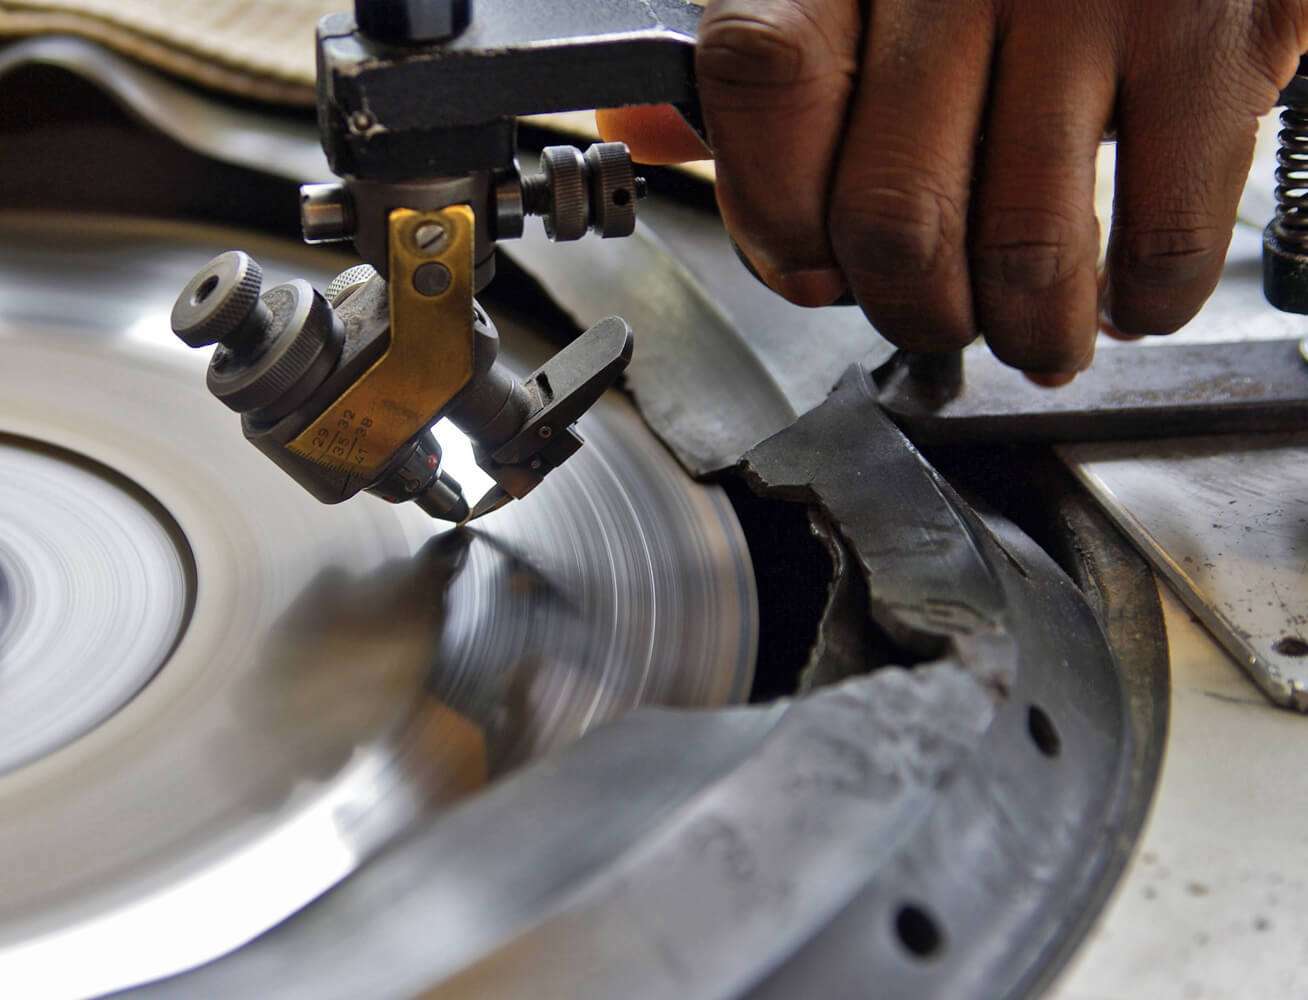

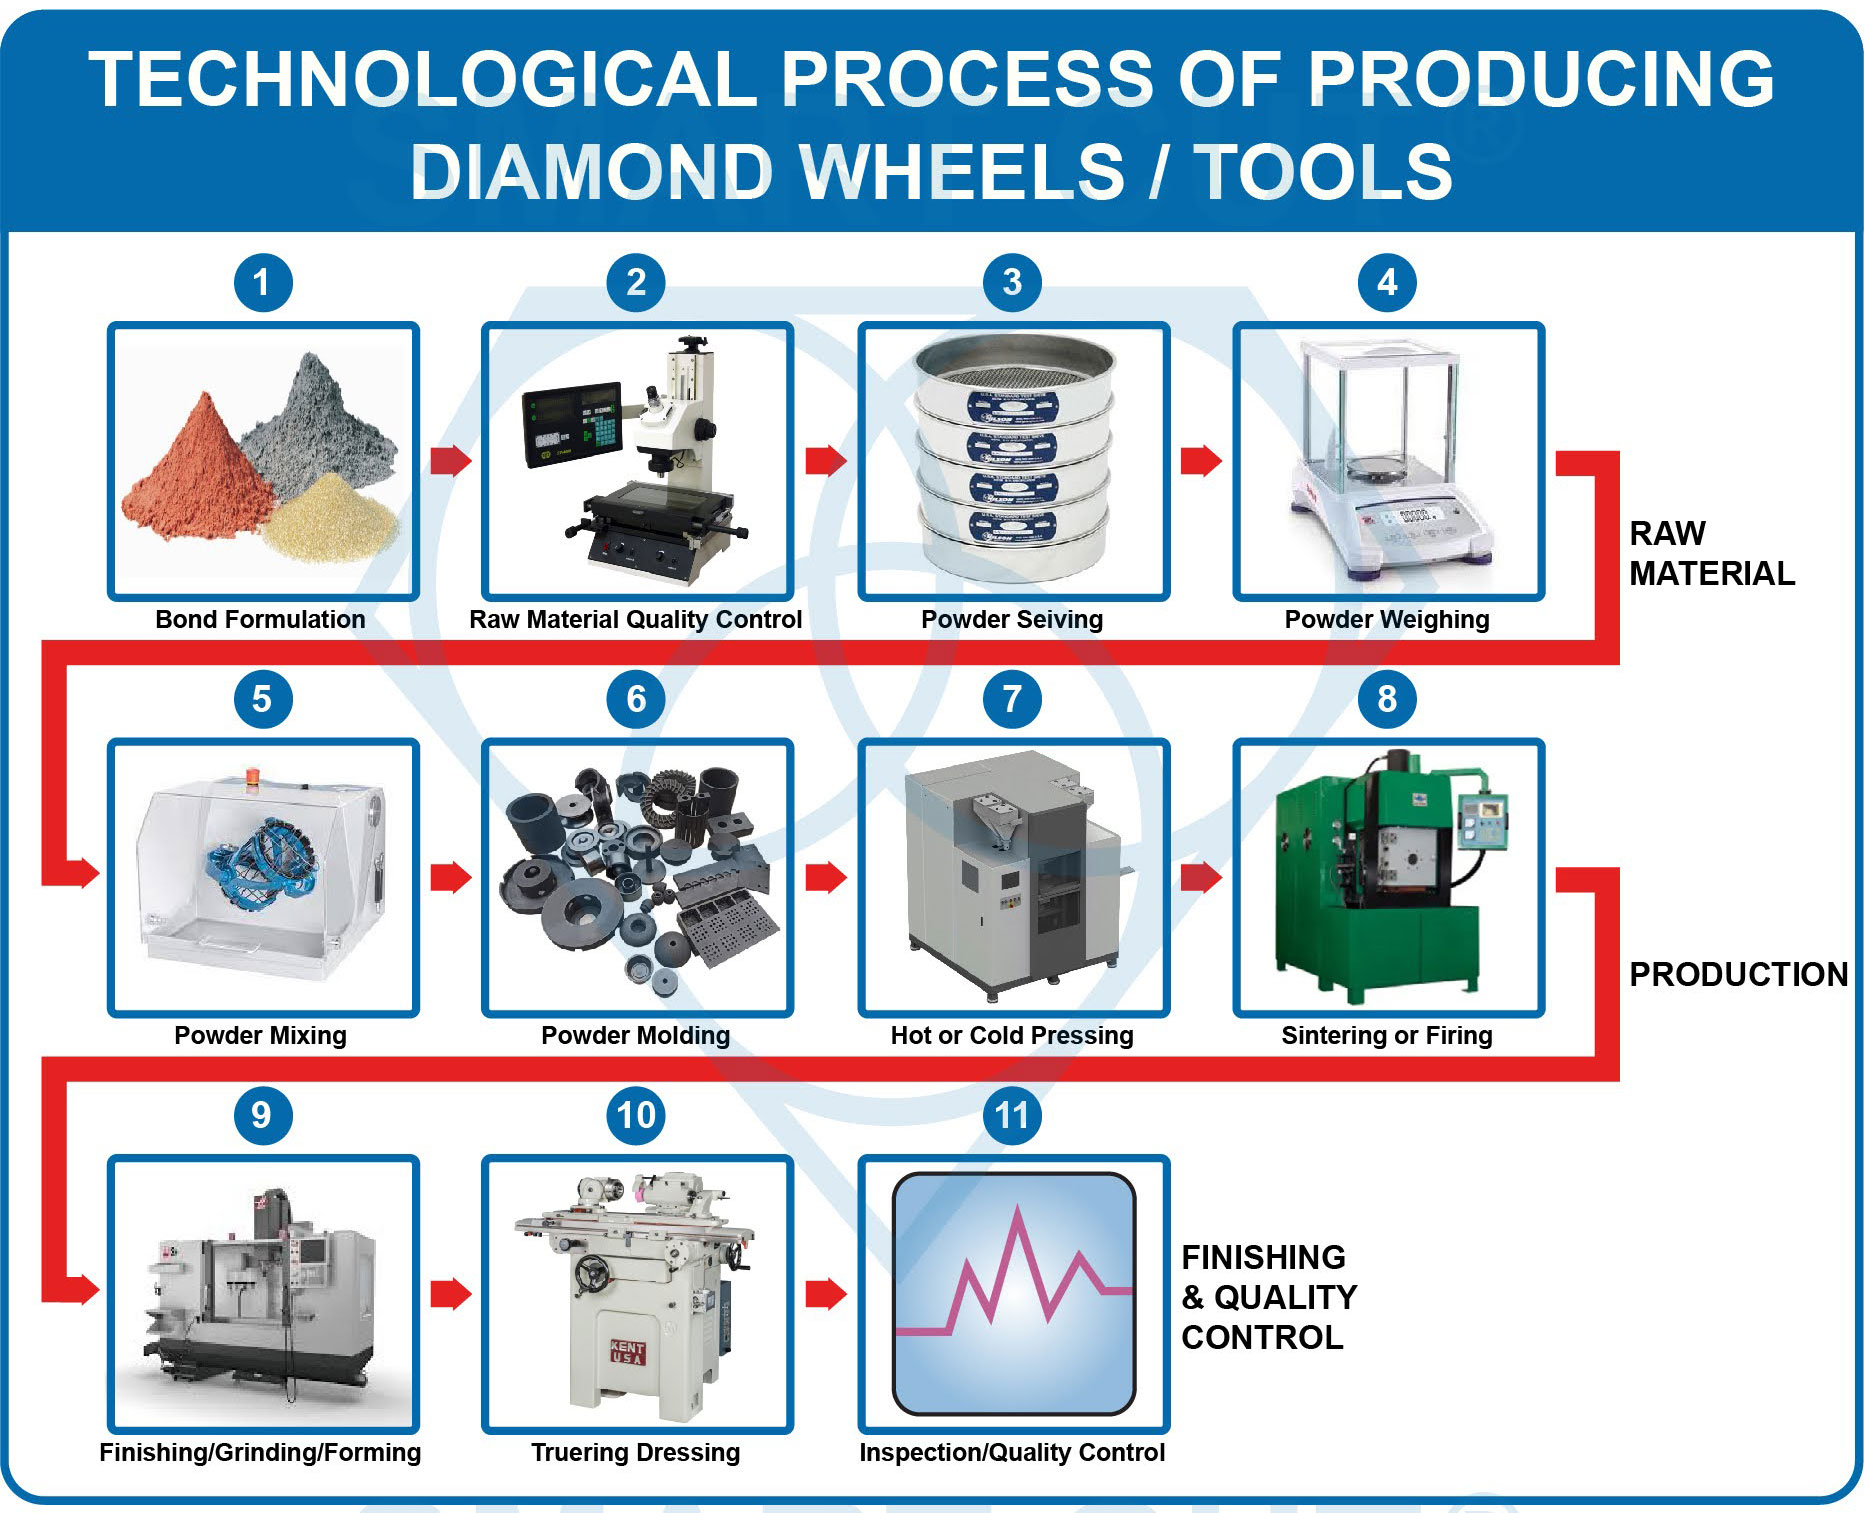
How Diamond Tools are Manufactured
04
Aug
-
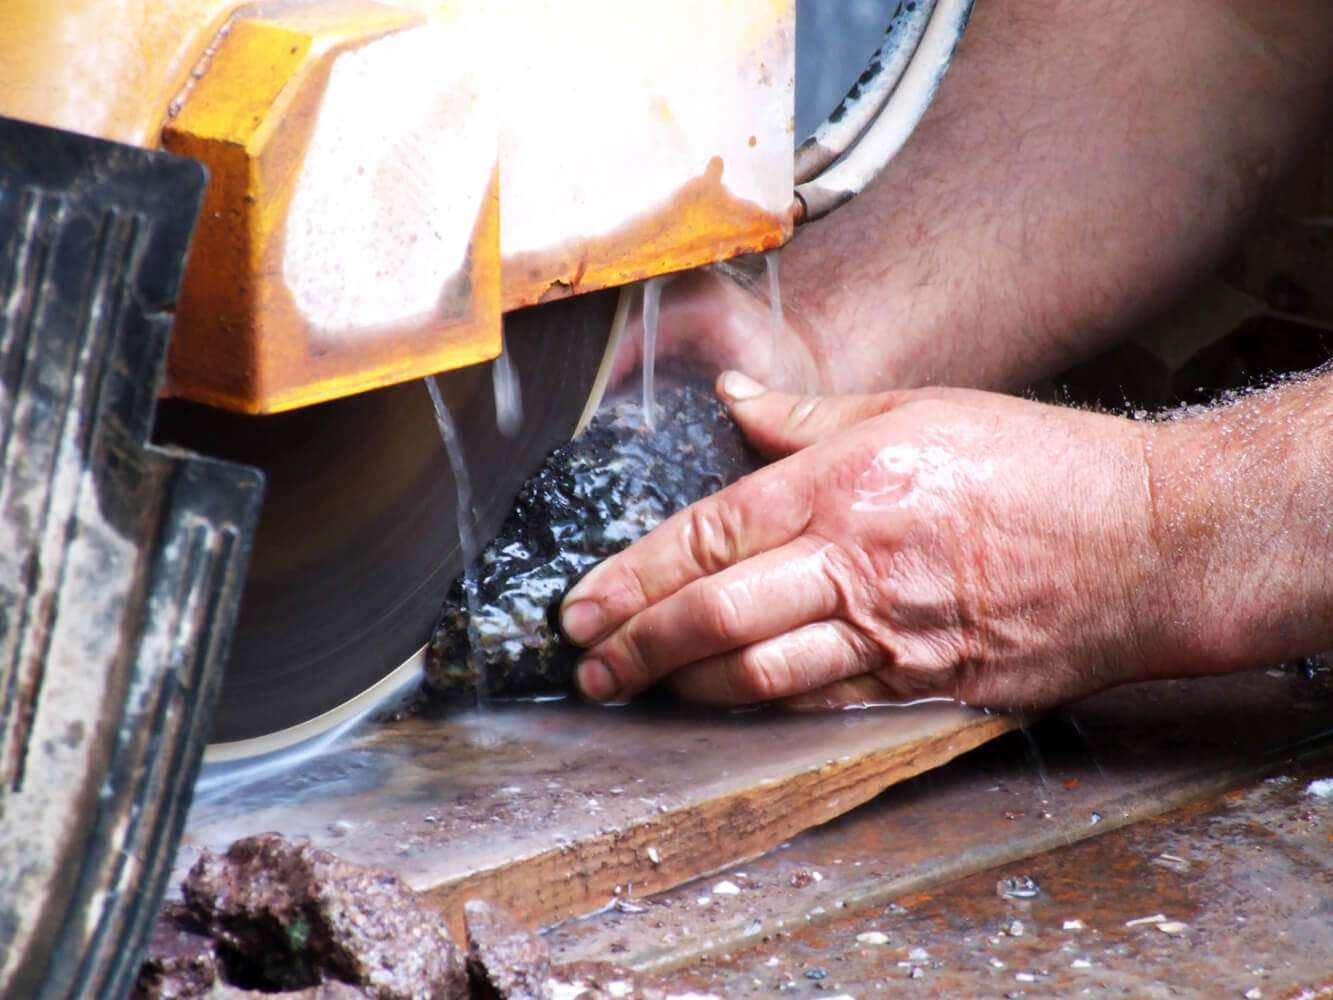
 Sources : Industrial diamonds can be sourced from either natural or synthetic methods.
-
Natural Diamonds: These are diamonds that, while not gemstone quality, are suitable for industrial use. They're mined from the earth in locations such as Russia, Australia, and various African countries.
-
Synthetic Diamonds: Produced using high-pressure, high-temperature (HPHT) methods or chemical vapor deposition (CVD) methods. Synthetic diamonds can offer more consistency in terms of size and quality, making them desirable for many industrial applications.
-
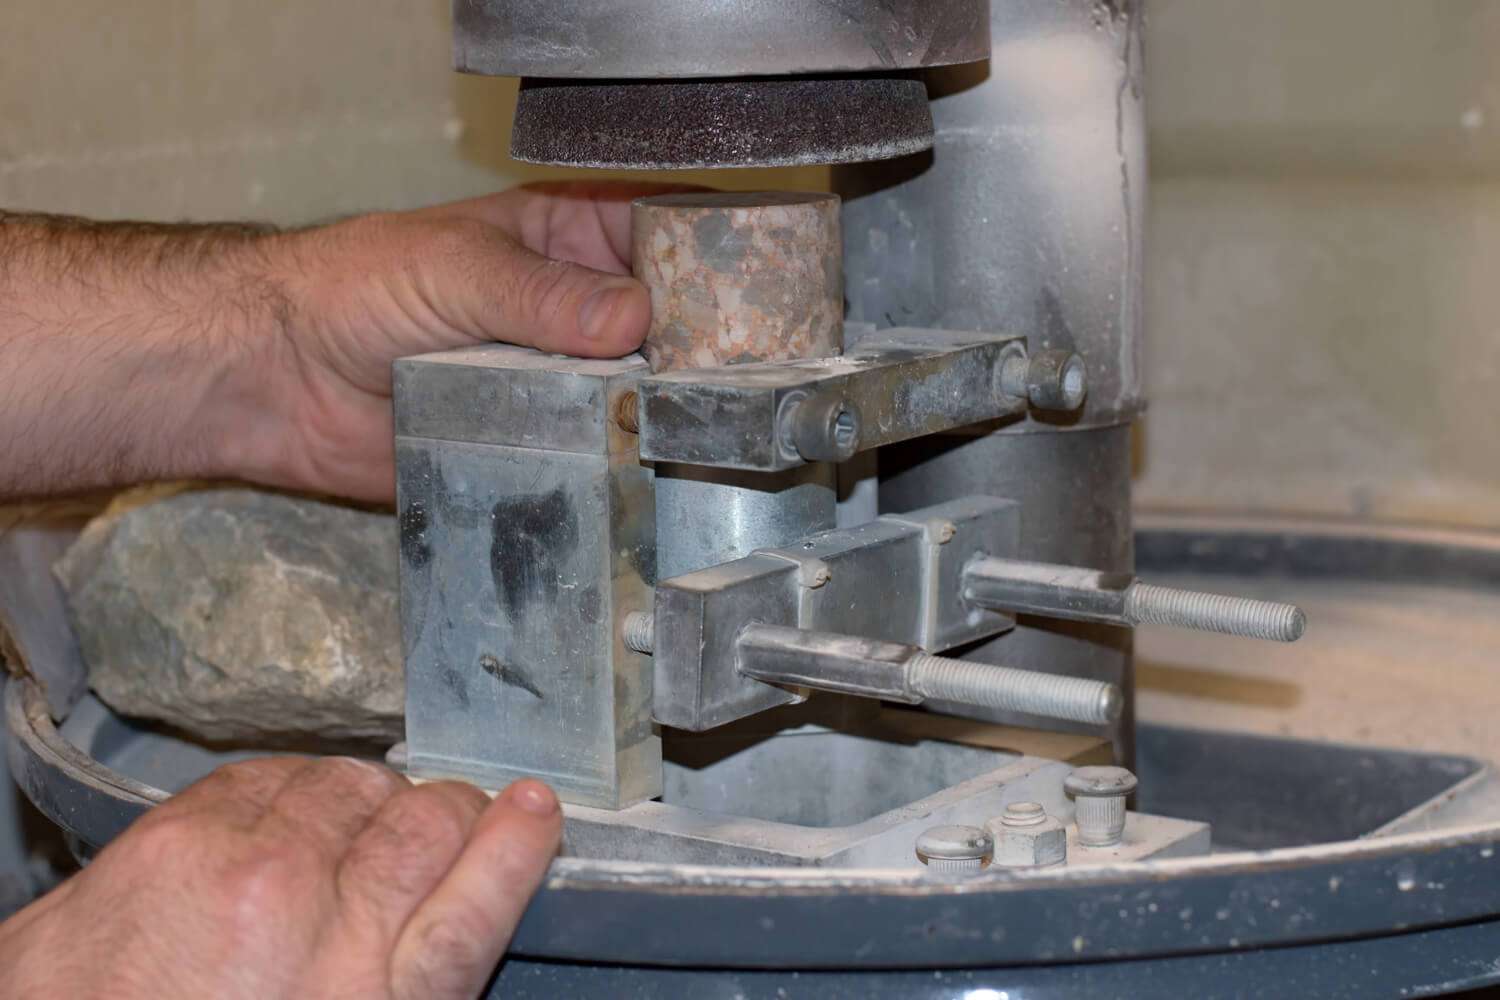
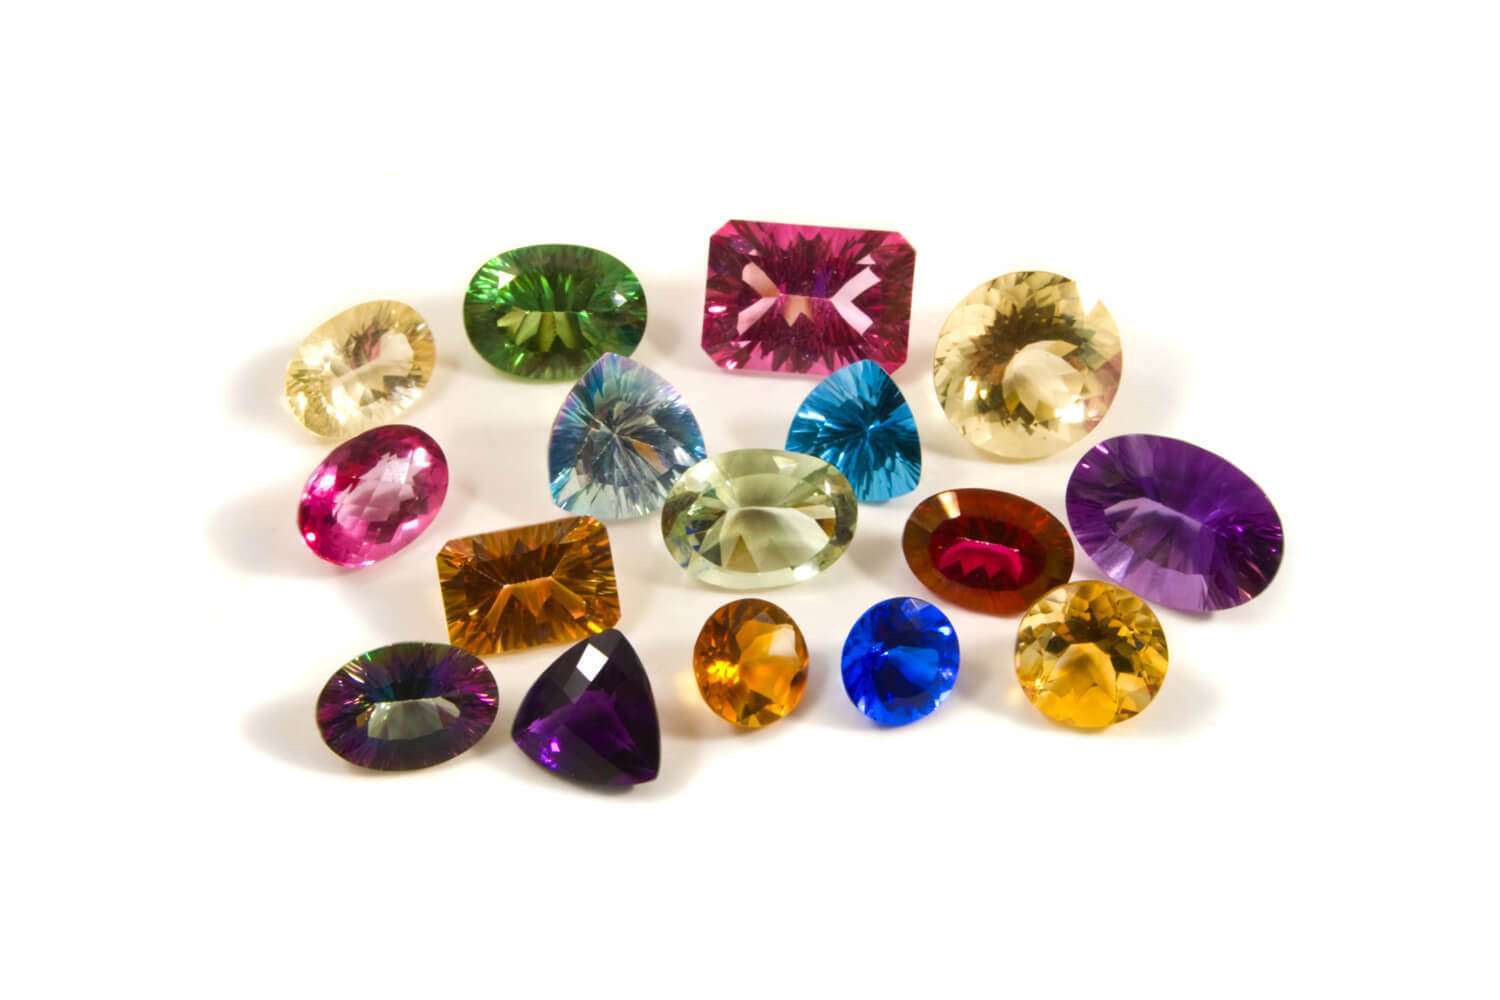
Selection: Choosing the right quality and type of diamond is essential. Factors considered include hardness, impurity levels, shape, and size.
-
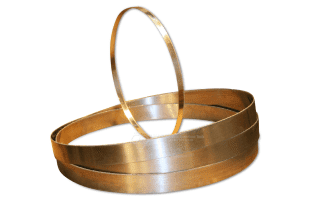
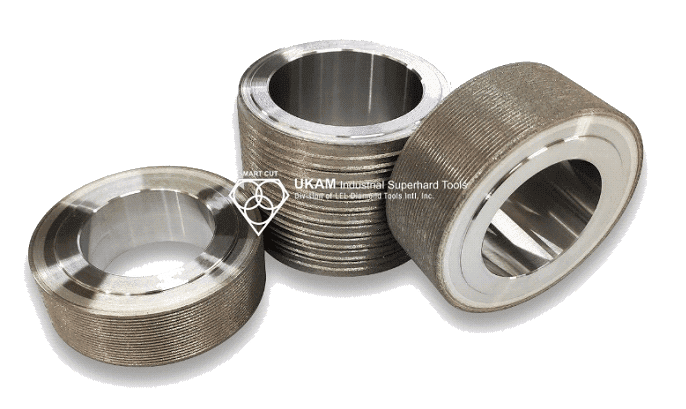
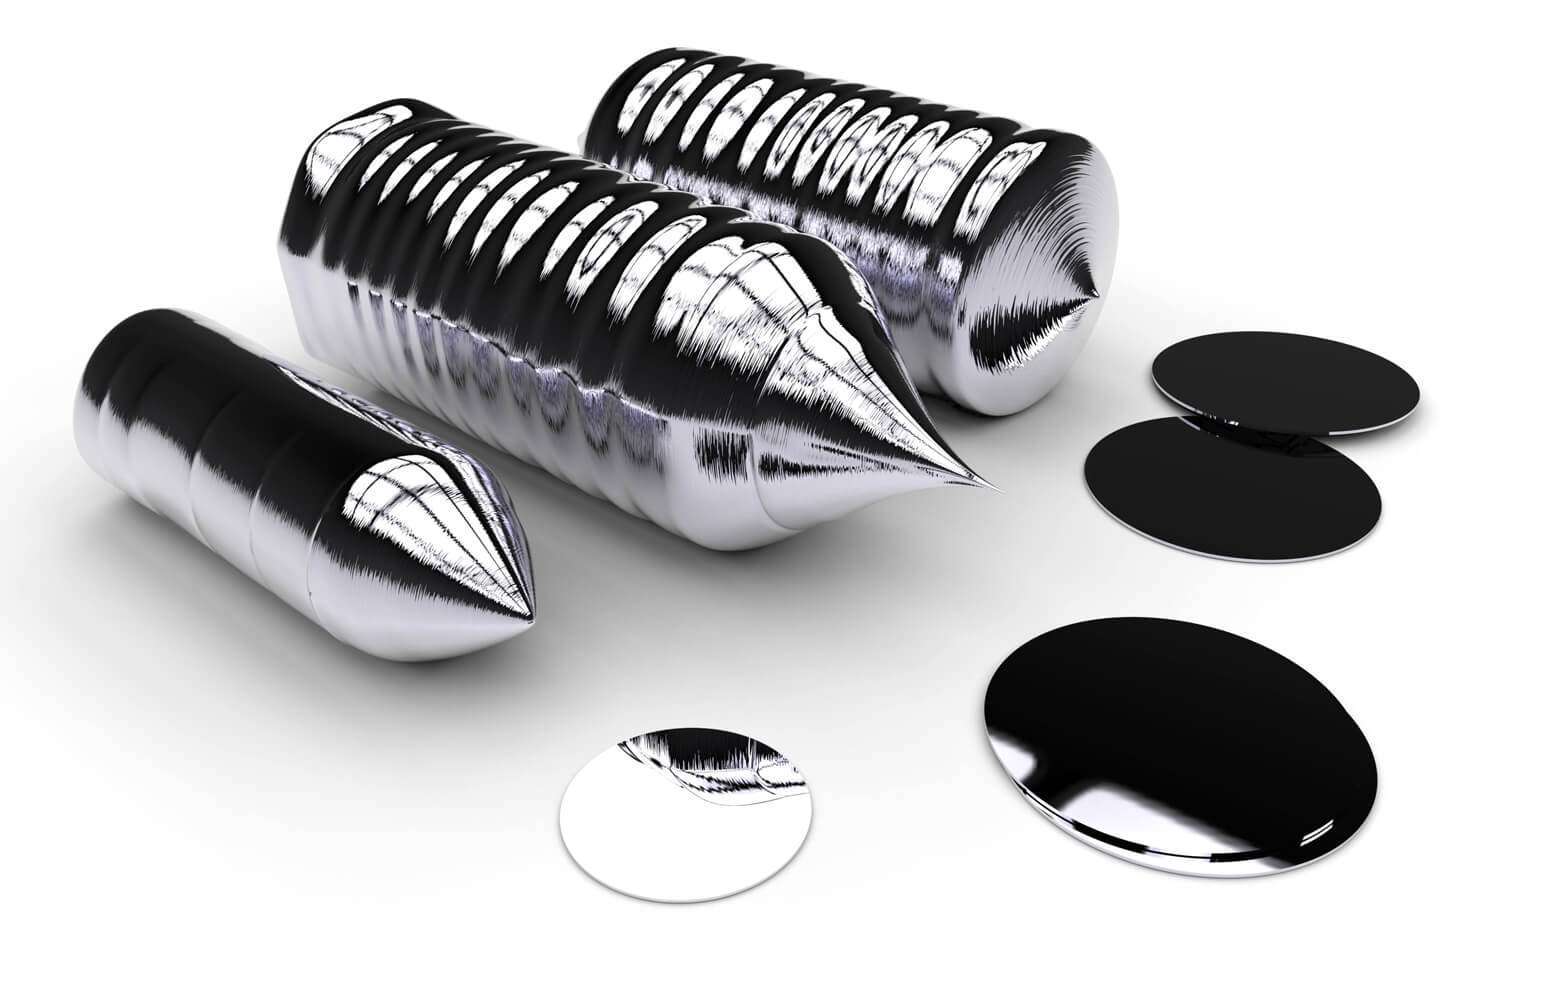
Material Types: The matrix material, typically a metal alloy, holds the diamond particles in place. Common matrix materials include bronze, cobalt, nickel, and tungsten carbide.
-
Selection Criteria: The matrix's hardness, wear resistance, bonding capability with diamond, and thermal conductivity are critical factors in its selection.
-
Types of Resins: There are various types of resins that can be used, including phenolic, polyimide, and others. The choice of resin will depend on the specific requirements of the tool, like the intended use, expected life, and desired finish.
-
Modifiers and Fillers: Depending on the desired properties of the bond, different additives, modifiers, or fillers might be added to the resin. These can improve its wear resistance, adjust its hardness, or change its heat dissipation properties.
-
Resin Types and Their Characteristics:
-
Phenolic Resins: These are thermosetting polymers and are known for their good thermal stability and mechanical strength. They provide good adhesion and are often used for grinding wheels.
-
Polyimide Resins: They offer high thermal resistance and are suitable for applications where high temperatures are generated.
-
Epoxy Resins: Known for their excellent adhesion properties and chemical resistance. They might be used in combination with other resins to improve bond strength.
-
Fillers: Materials like glass fibers, bronze powder, or other metallic powders might be added to enhance the resin's wear resistance or conductivity.
-
Plasticizers: These can be added to improve the flexibility of the bond. This is especially crucial for applications requiring a more forgiving bond that doesn't easily crack or chip.
-
Some resins require catalysts or accelerators to promote the curing process. The choice and quantity of these agents can influence the setting time and final properties of the bond.
-
Bronze and Copper Powder: These metallic powders are frequently used in resin bonds because they improve the tool's heat dissipation properties. They can help carry away the heat generated during cutting or grinding, thus preventing excessive wear on the tool.
-
Tungsten Carbide:This is a hard, high-density material that can increase the wear resistance of the tool. It's especially valuable in applications where the tool is exposed to high stress.
-
Aluminum Powder: It can be used to enhance the thermal conductivity of the bond, similar to bronze and copper.
-
Glass Fibers: These can enhance the bond's structural integrity, making it more resilient against cracking or breaking.
-
Graphite: This material is sometimes added because of its lubricating properties, which can reduce friction during cutting or grinding.
-
Silica or Alumina: These materials can adjust the bond's hardness and wear resistance. They're especially useful in fine-grinding applications where a smooth finish is required.
-
Rubber Particles: Rubber can be added to improve the bond's flexibility, making it less prone to chipping or breaking during use.
-
Cellulose Fibers: These can be used to increase the bond's structural integrity, especially in phenolic resins.
02
Jun
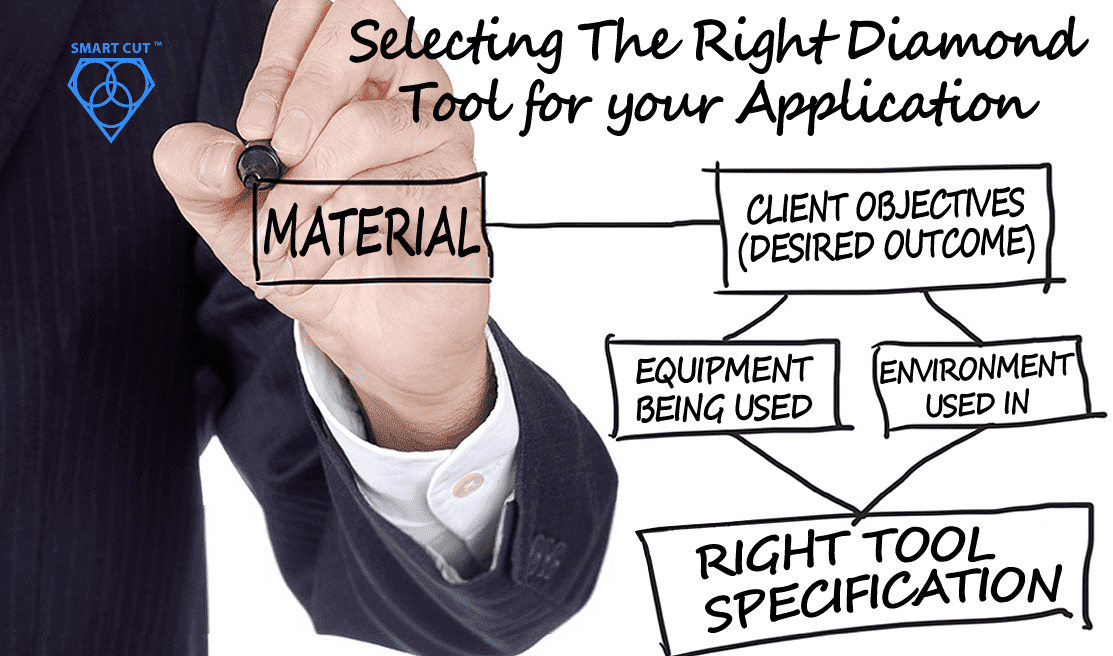
How to Selecting Right Diamond Tools for your application
Selecting the appropriate Diamond & CBN Tool specification is a crucial aspect of achieving your objectives. Opting for the ideal specification not only yields optimal results but also ensures the best return on investment. Conversely,...

02
Jun
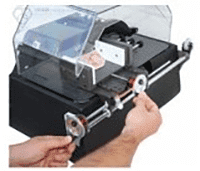
How to properly use Diamond Tools
UKAM Industrial Superhard Tools manufactures precision diamond tools for a large variety of applications, materials, and industries.
Share this Article with Friend or Colleague
Metal Bonded Diamond Tools are “impregnated” with diamonds. This means that selected...

02
Jun
Why use diamond
Diamond is the hardest material known to man kind. When used on diamond/tools, diamond grinds away material on micro (nano) level. Due to its hardness Diamond will work all types of materials from...
02
Jun
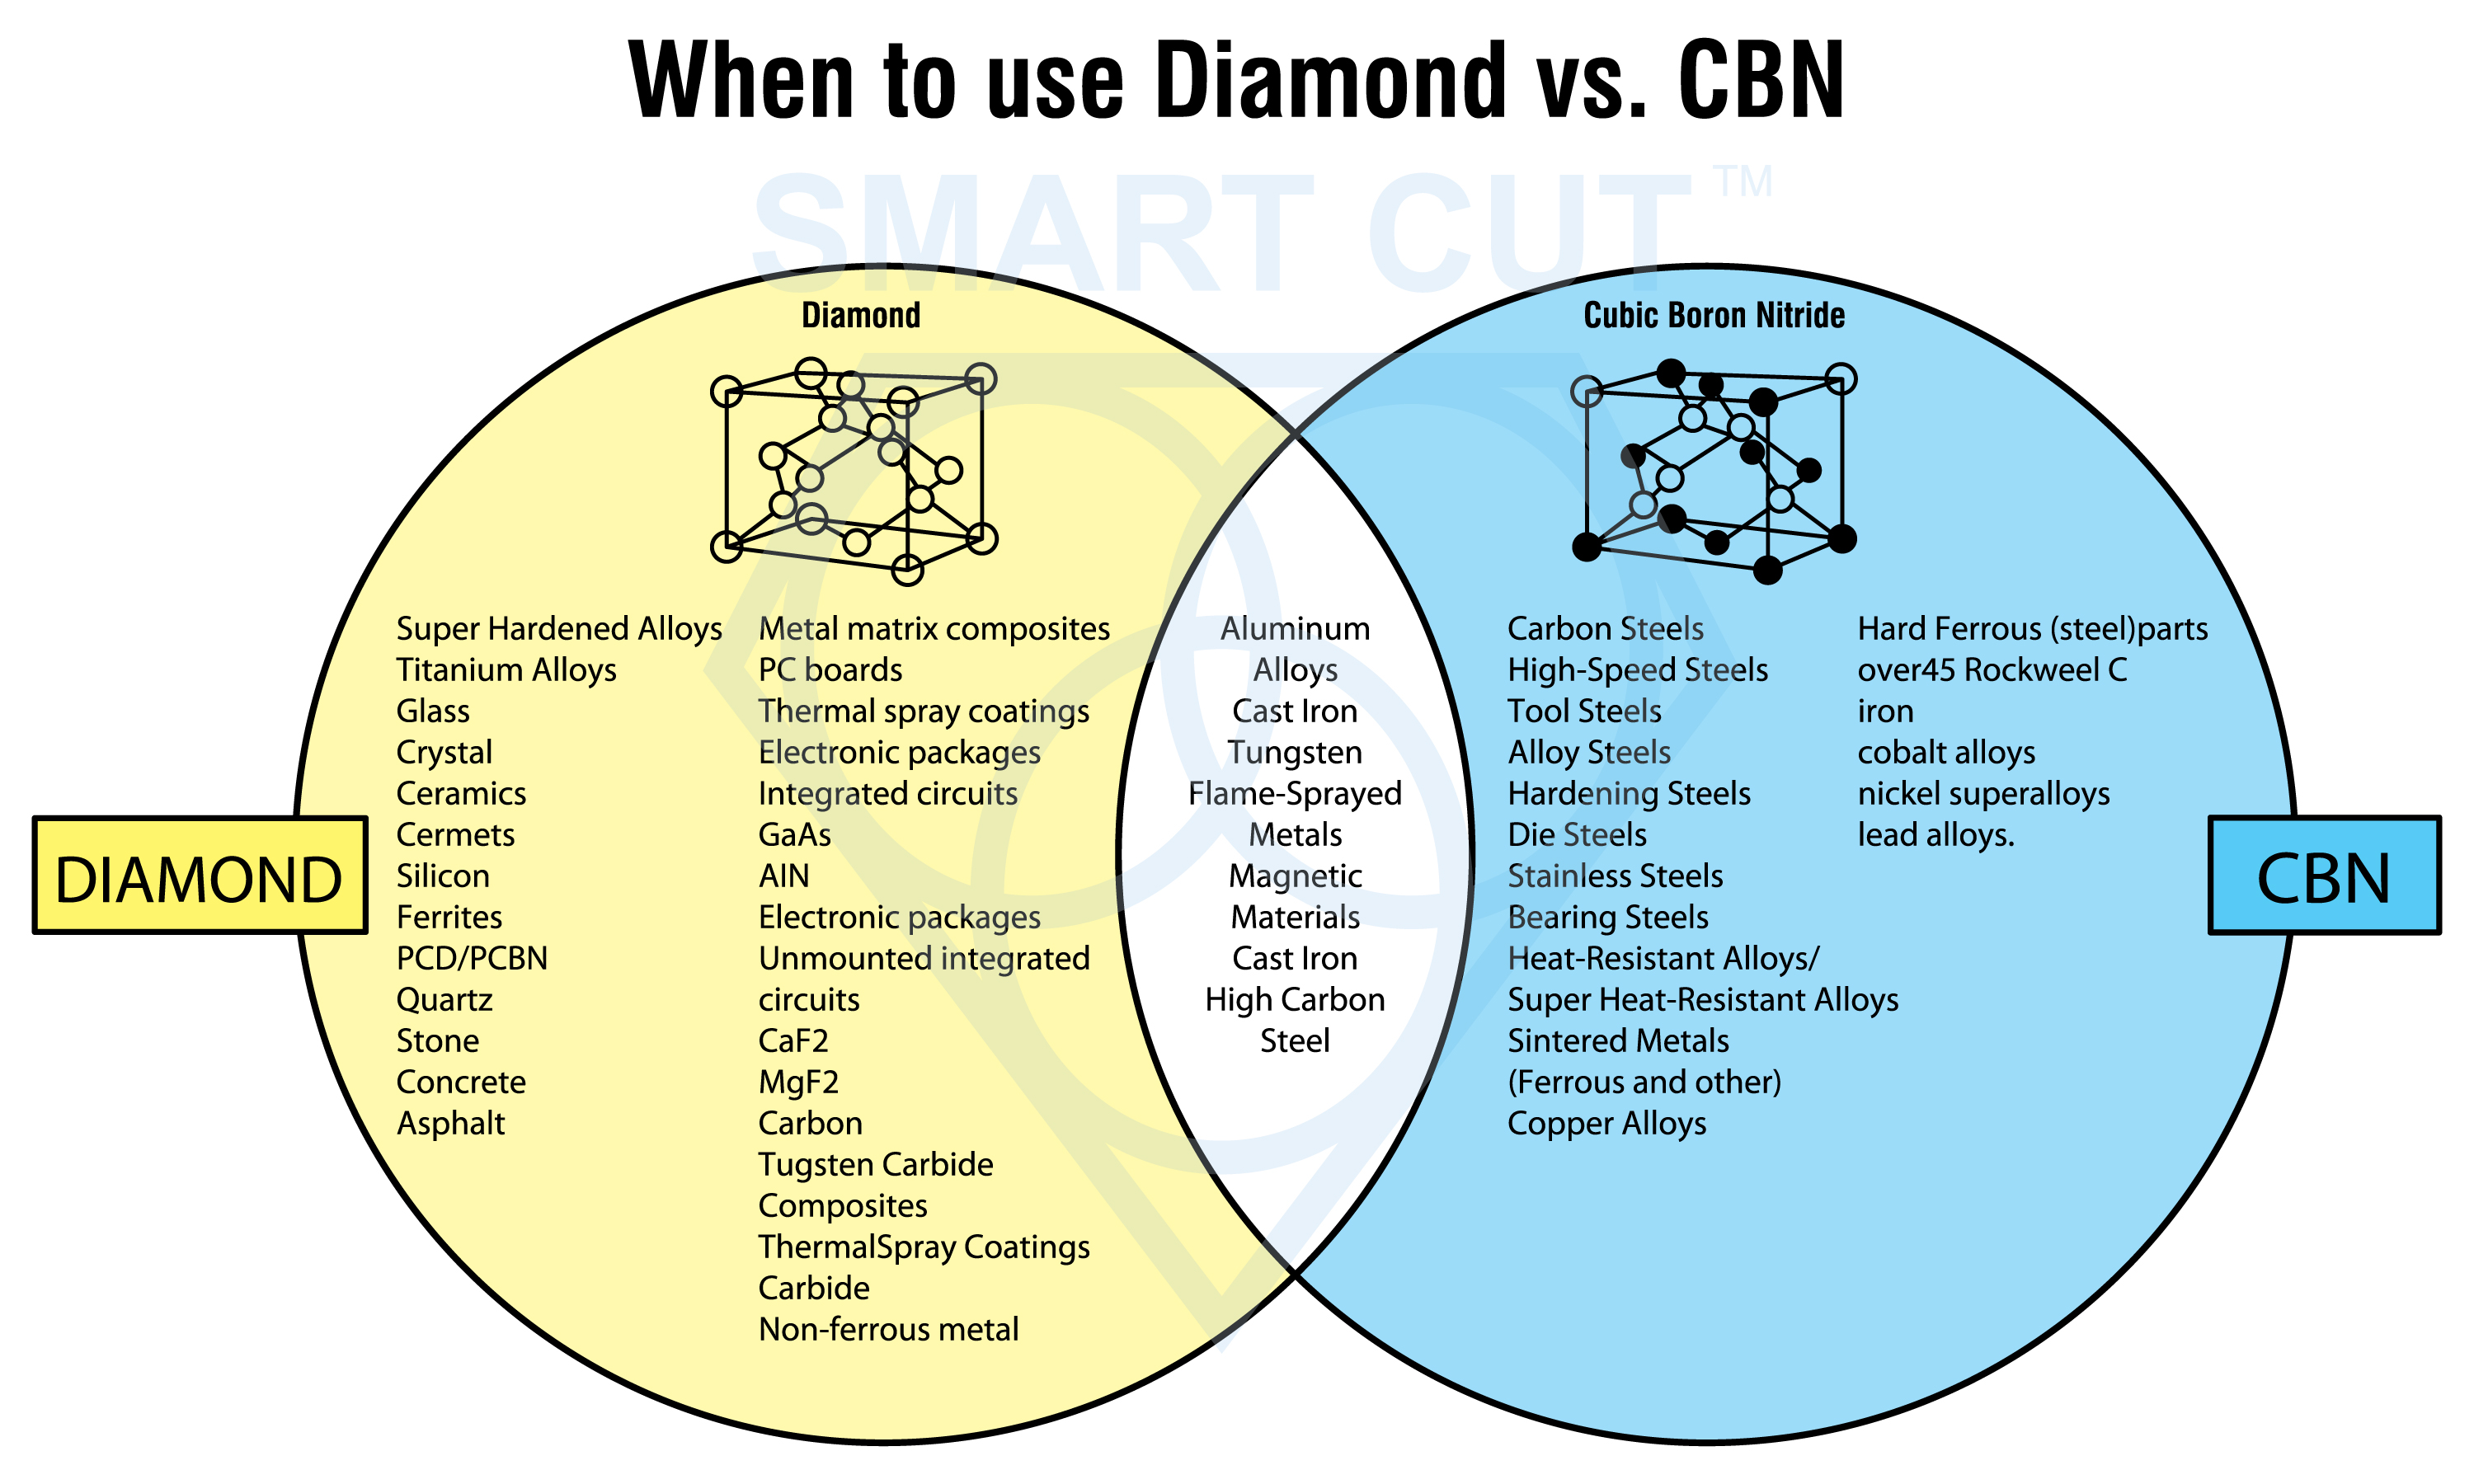
Diamond vs CBN (cubic boron nitride) Tools
Cubic Boron Nitride (CBN) is a synthetic material that is renowned for its exceptional hardness and high thermal stability. It is composed of boron and nitrogen atoms arranged in a crystal lattice structure, similar to...

02
Jun
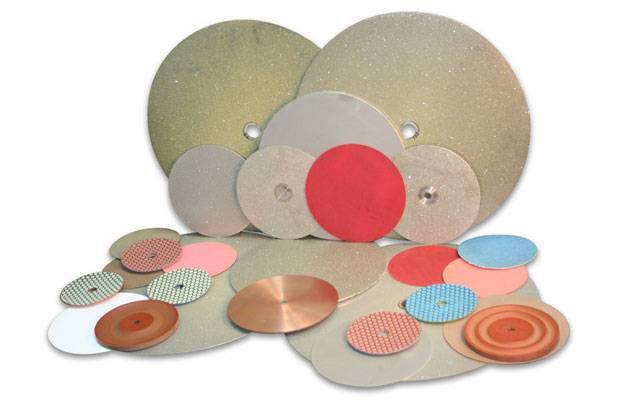
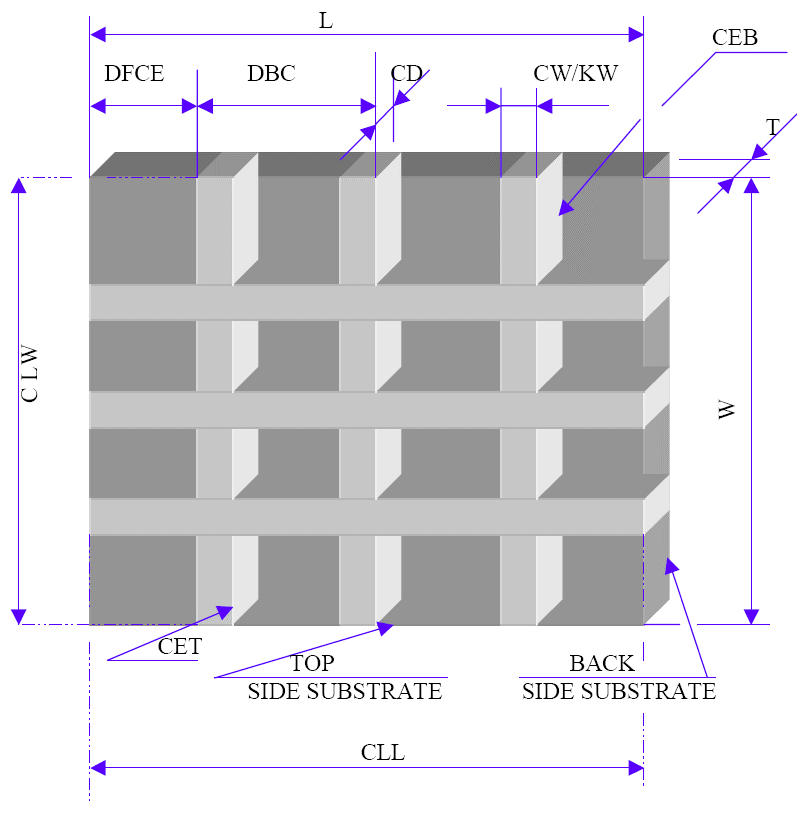
What is Diamond Mesh Size and how to select best one for your application
Diamond grit size can be defined as the size of the diamond particles used in the bond matrix. The larger the diamond particles (grit size) the faster the tool will cut.
Share this Article with Friend or...
02
Jun
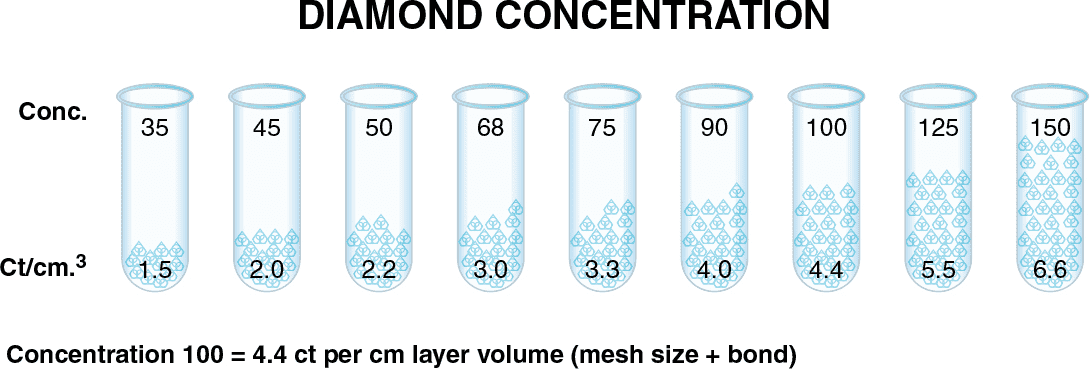
What is Diamond Concentration and which to use for your application
Diamond concentration is measured based on the volume of diamond within a section of the tool. It is typically defined as Concentration 100, which equates to 4.4 carats per cubic centimeter of the diamond layer...

02
Jun
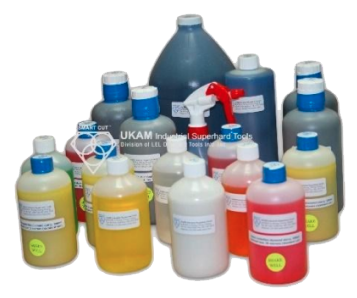
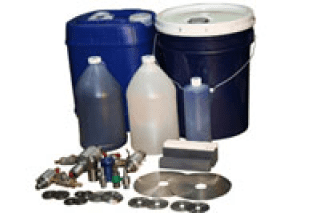
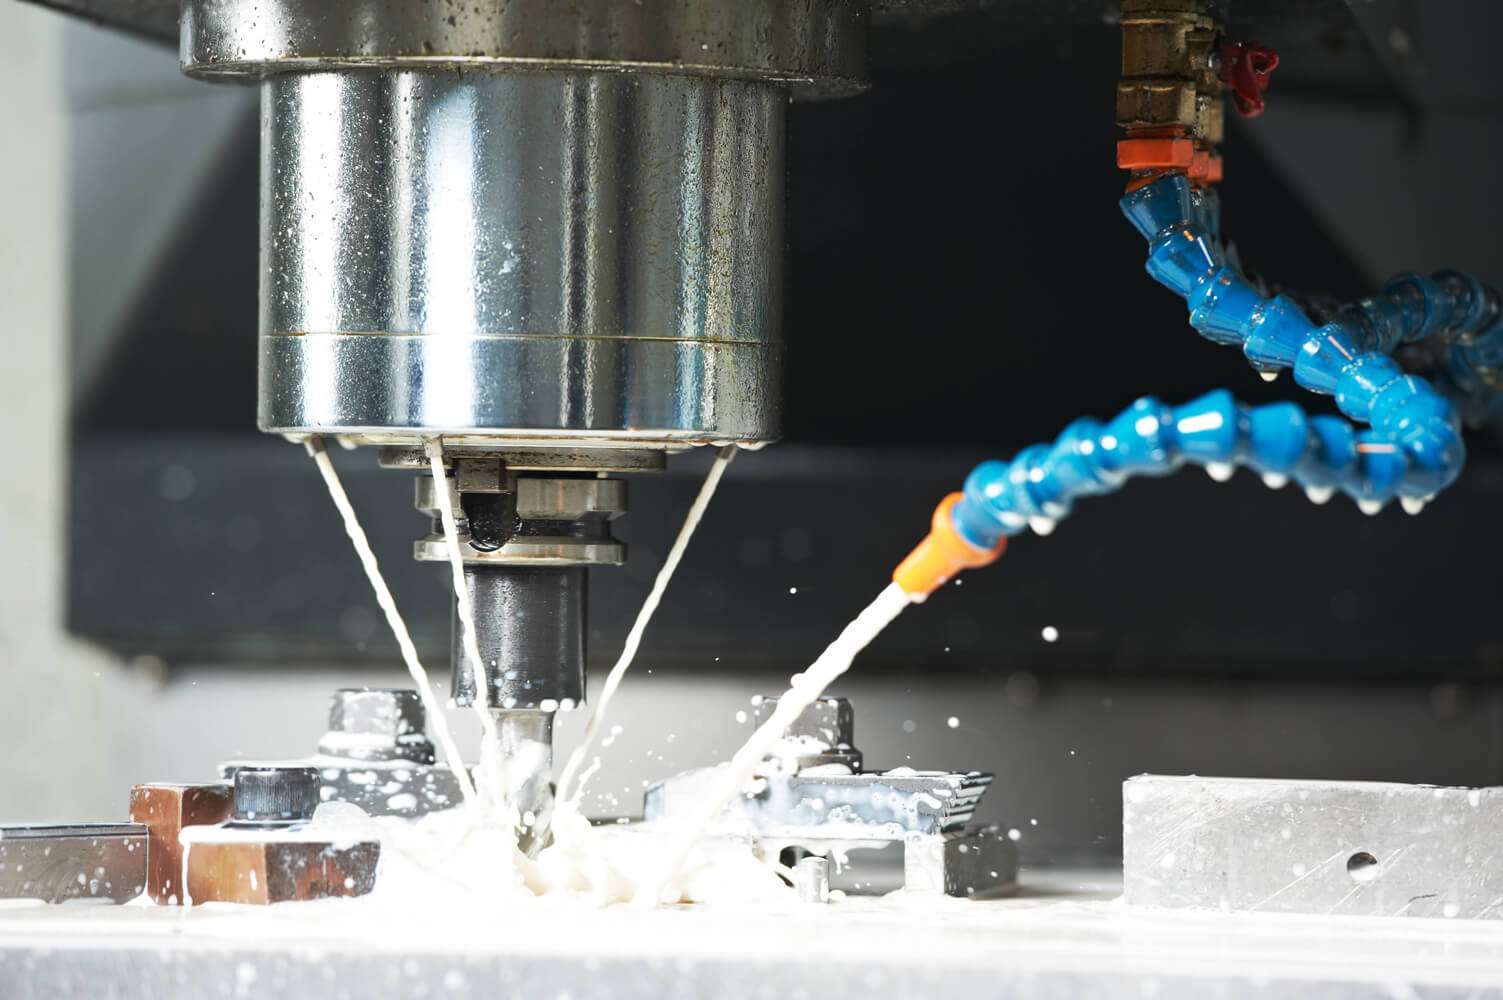
Diamond Tool Coolants Why, How, When & Where to Use
Coolant is one of the most overlooked variables in the overall diamond or cbn tool machining process. Effective and proper use of coolant and recalculating coolant system will pay off in terms of improved surface...

17
May
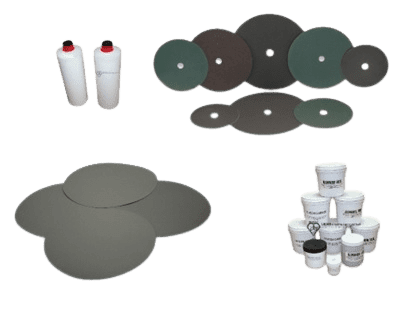
Get to Know the Diamond Tool Bond Types and Which to use for your application
Selecting the appropriate diamond bond type for specific applications is crucial for several reasons. Diamond bond type directly affects the tool's performance, efficiency, and longevity. Different bond types determine how well a tool can withstand...