


-
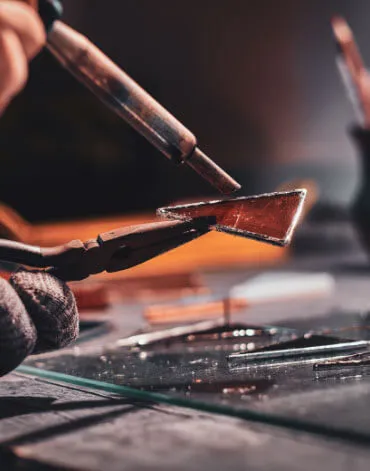
 Dipping Method: Begin by dipping the carving point into water before initiating the engraving or carving process. Continue to dip the tool periodically throughout the operation to maintain coolness and reduce dust and debris accumulation.
 -
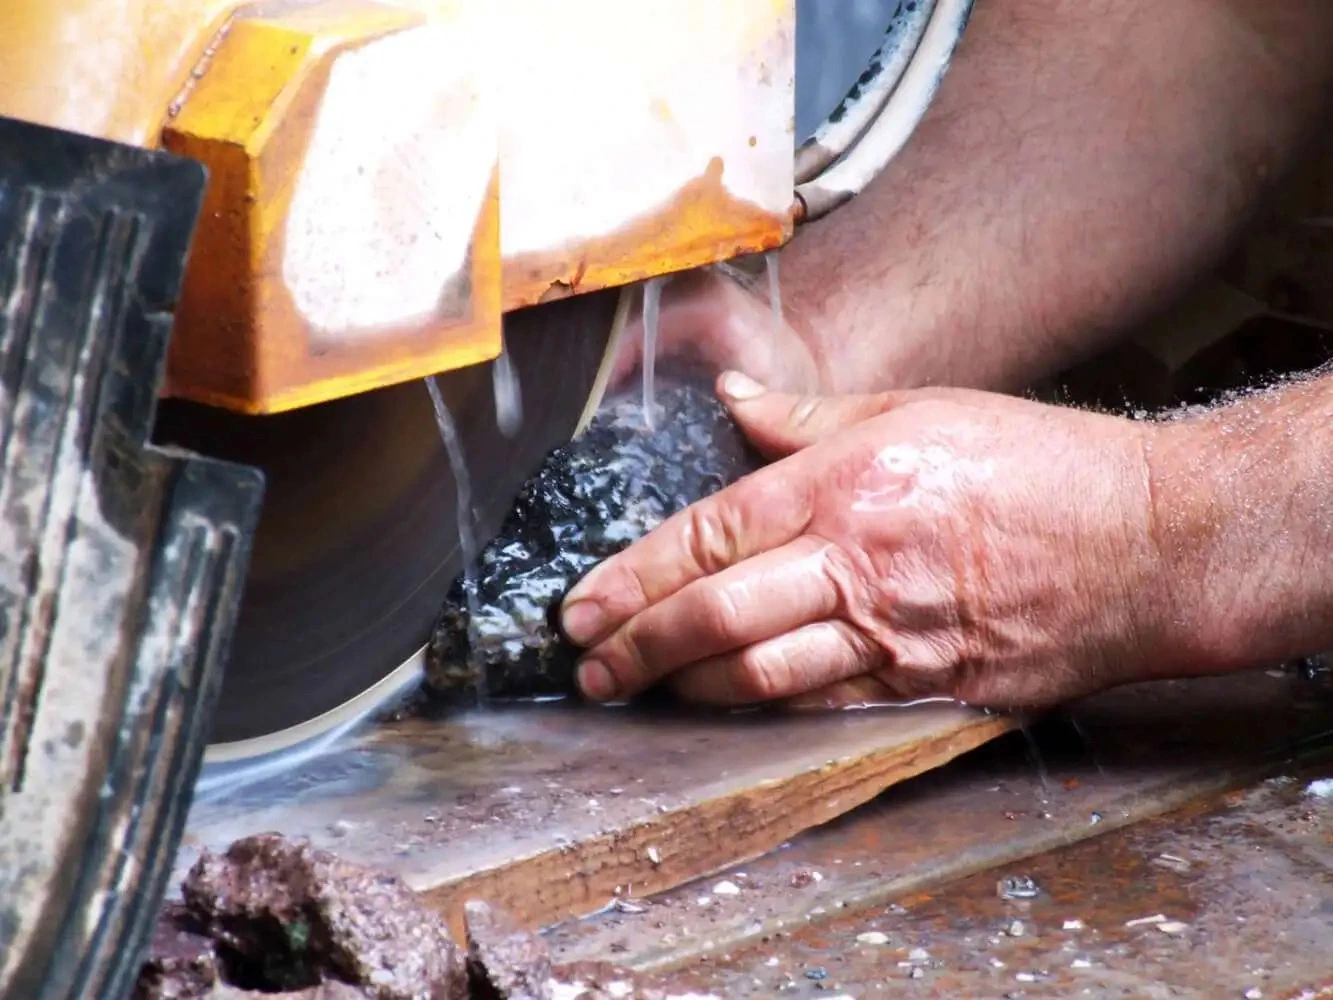
Spray Bottle Method: Fill a spray bottle with clean water and spray directly onto the material's surface where the carving is being performed. This method helps keep the carving point cool and also minimizes dust around the working area.
-
Sponge Method: Keep a water-soaked sponge nearby your working station. Periodically touch the carving point to the sponge to cool it down. This method is particularly useful for quick and localized cooling without interrupting the workflow.
-
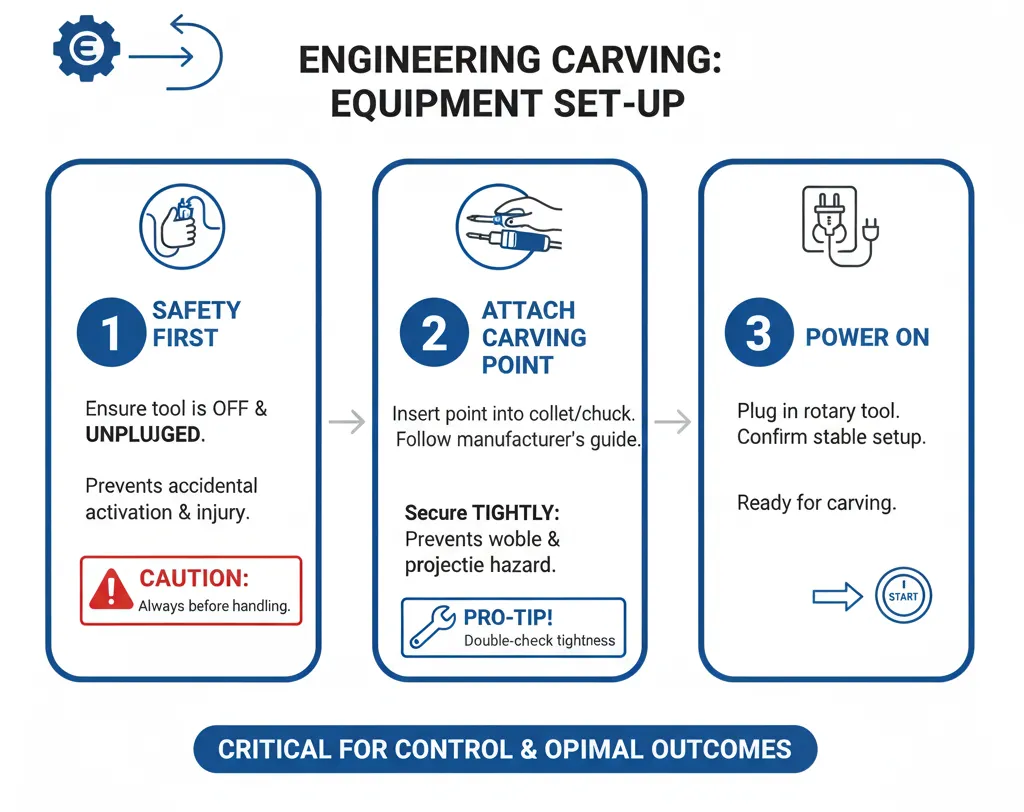
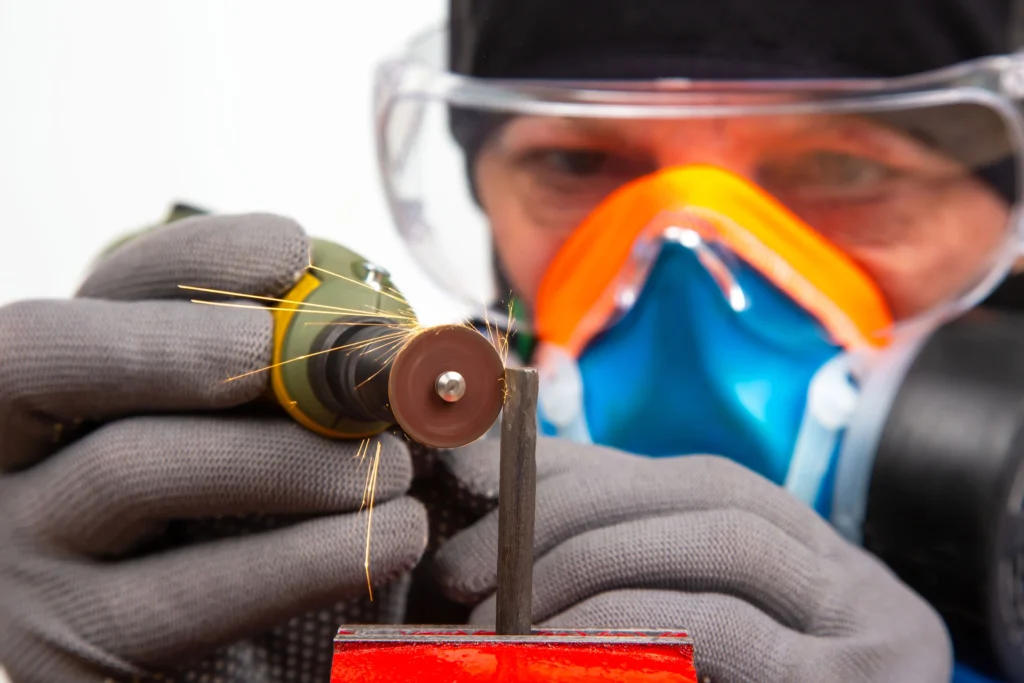
Ensure the rotary tool you are using is compatible with the use of liquids. Protect all electrical components of the tool from water exposure to prevent any electrical hazards.
-
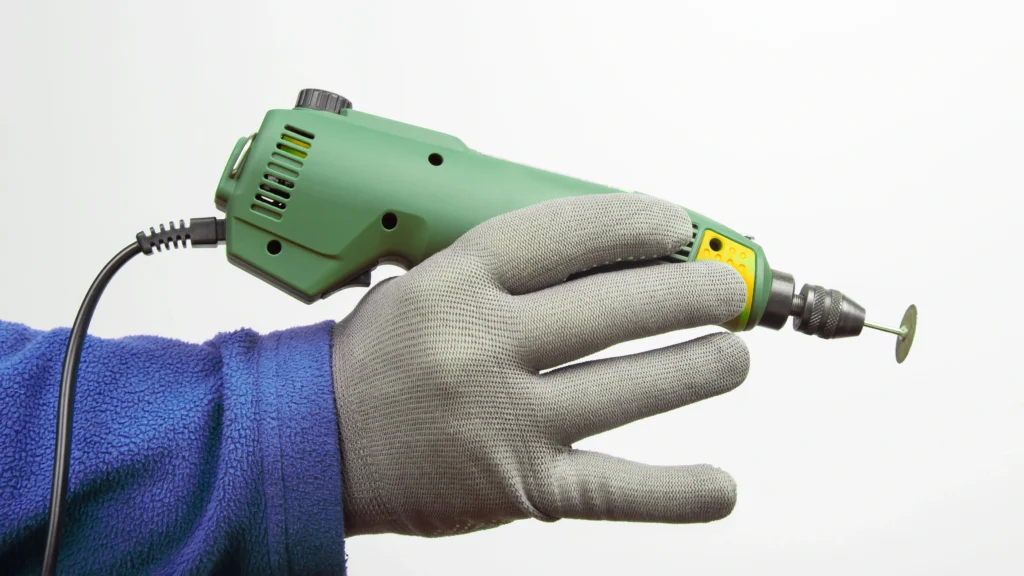
Be particularly cautious if the material or device you are working on is sensitive to water or electrical interactions. Avoid allowing water to contact any electrical parts to prevent damage or hazards.
-
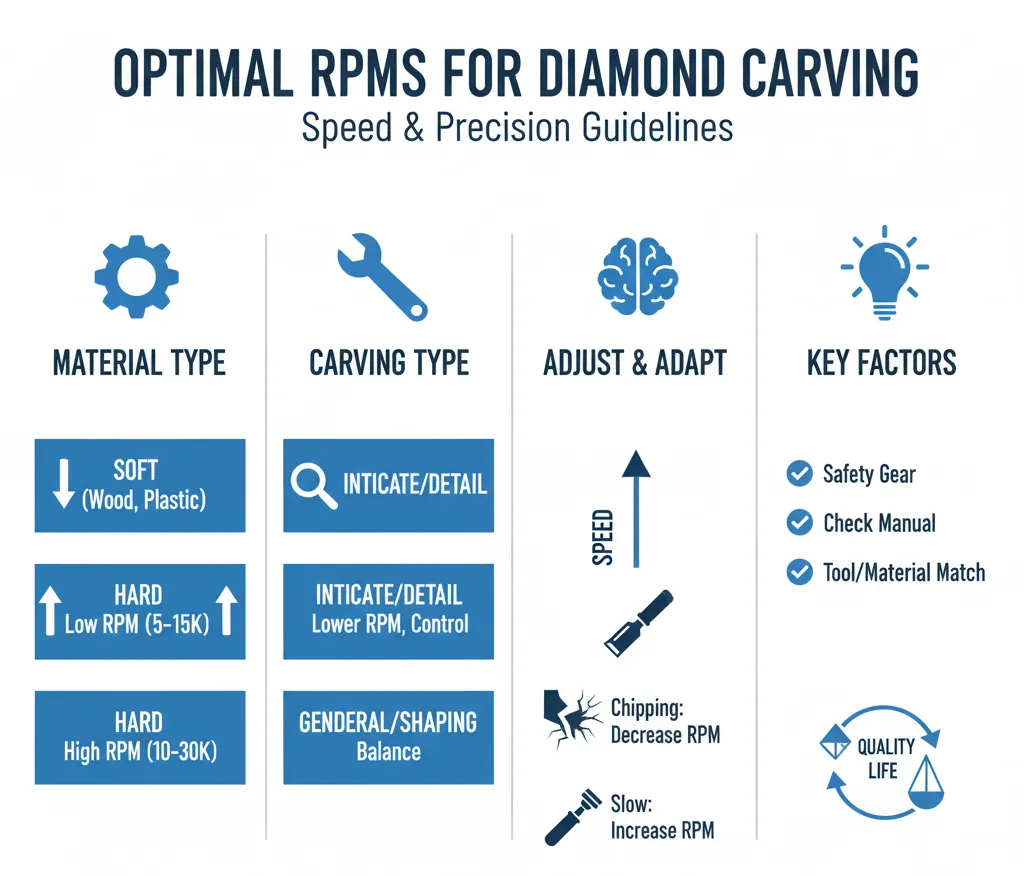
Always adhere to the manufacturer’s guidelines regarding the use of coolants. These recommendations can provide specific instructions tailored to your tools, ensuring safety and efficiency.

Alexander Schneider is a senior applications engineer with over 35 years of hands on experience in industrial diamond tooling. He specializes in the development, application, and optimization of ultra-thin and high-precision diamond blades, diamond core drills, and diamond and CBN grinding wheels for advanced materials.
His work spans ceramics, glass, composites, semiconductors, and high-performance metals. He supports research laboratories and manufacturing environments by optimizing tool design and cutting parameters to achieve high cut quality, long tool life, material integrity, and consistent process results.

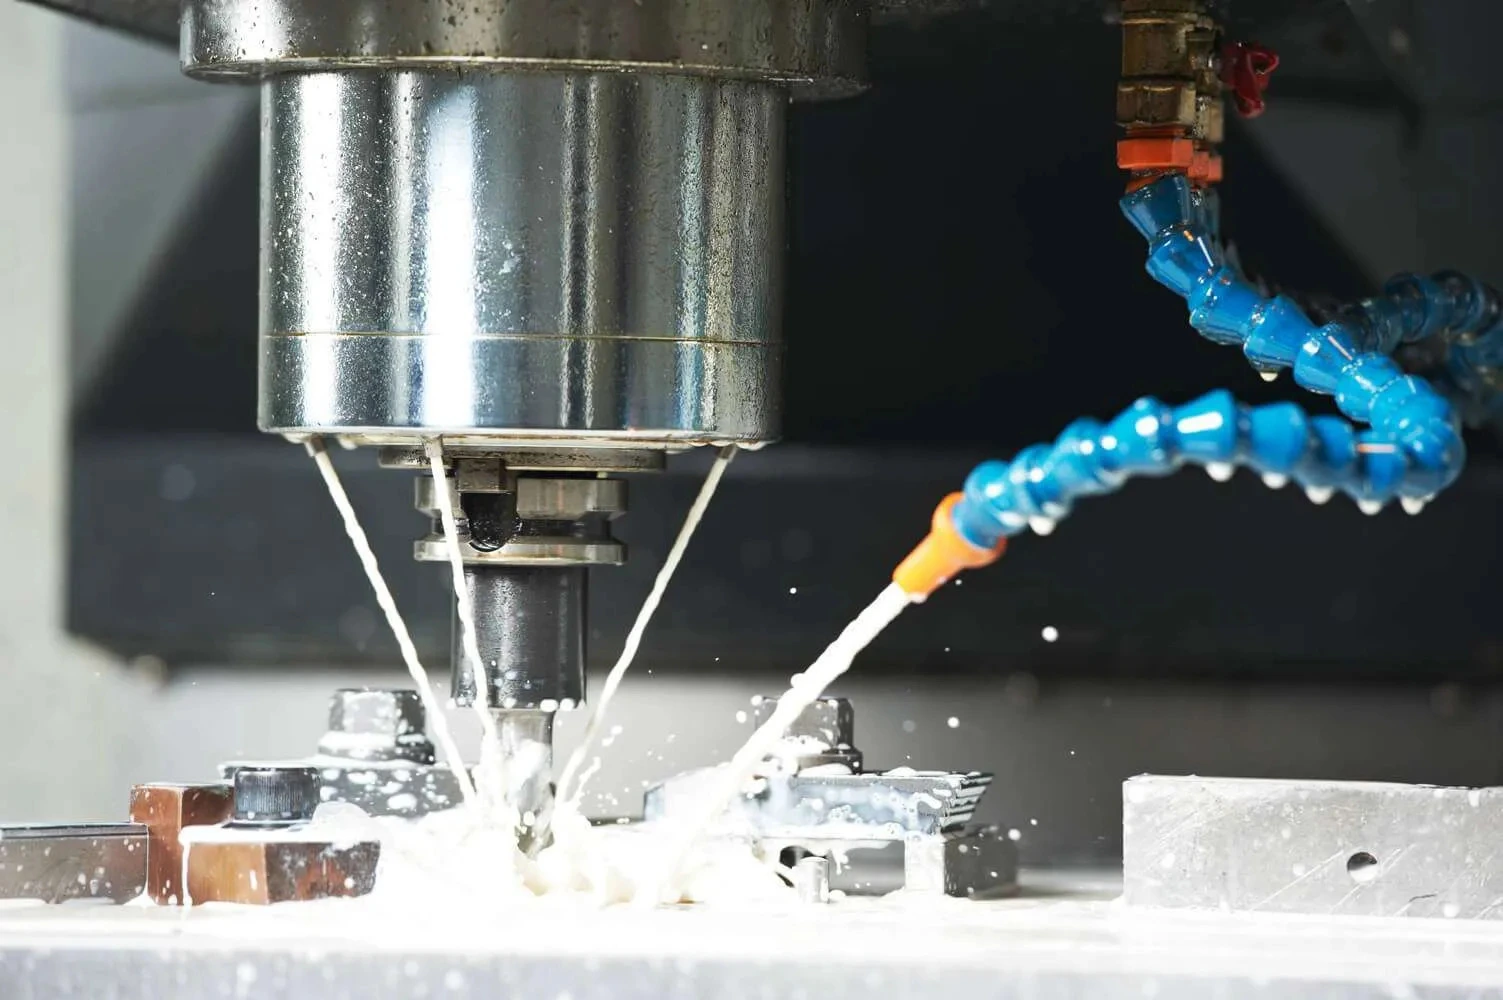
Diamond Tool Coolants Why, How, When & Where to Use

Selecting the Right Coolant Method for your Diamond & CBN Tools

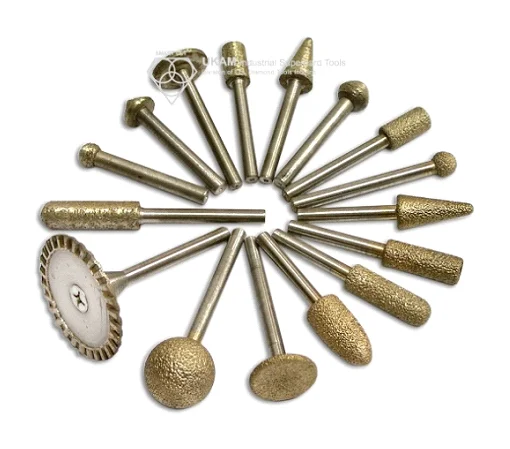
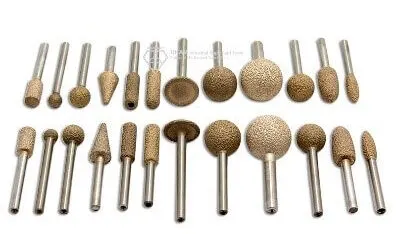
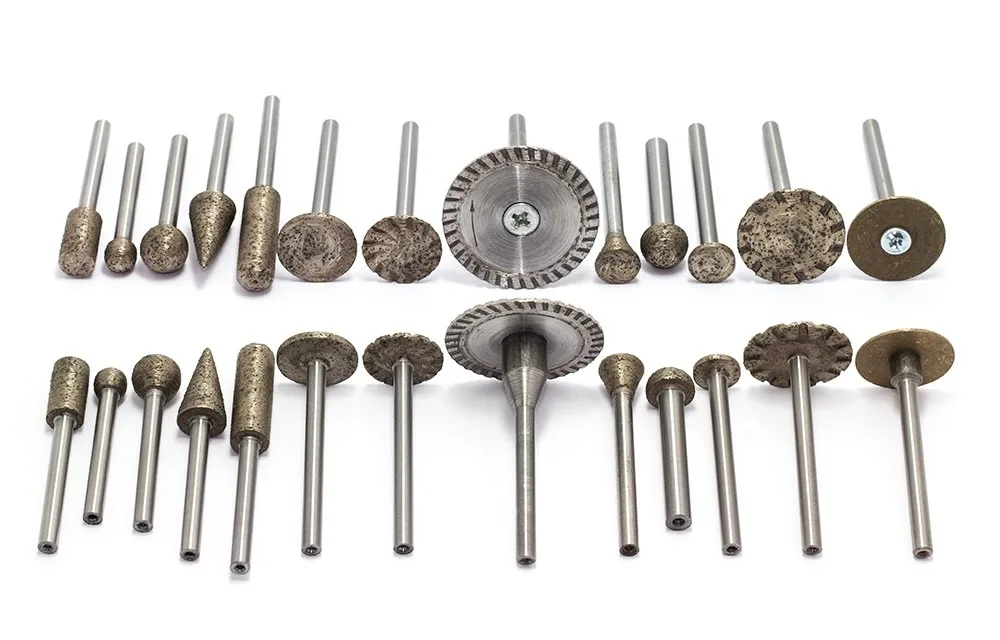
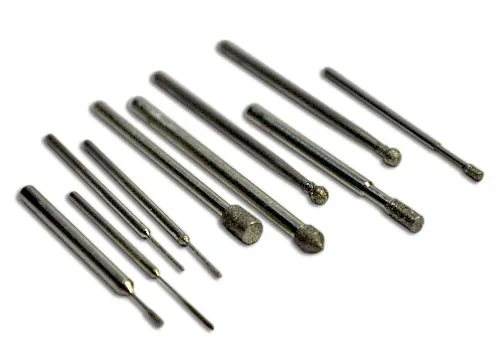
How to Selecting Right Diamond Tools for your application

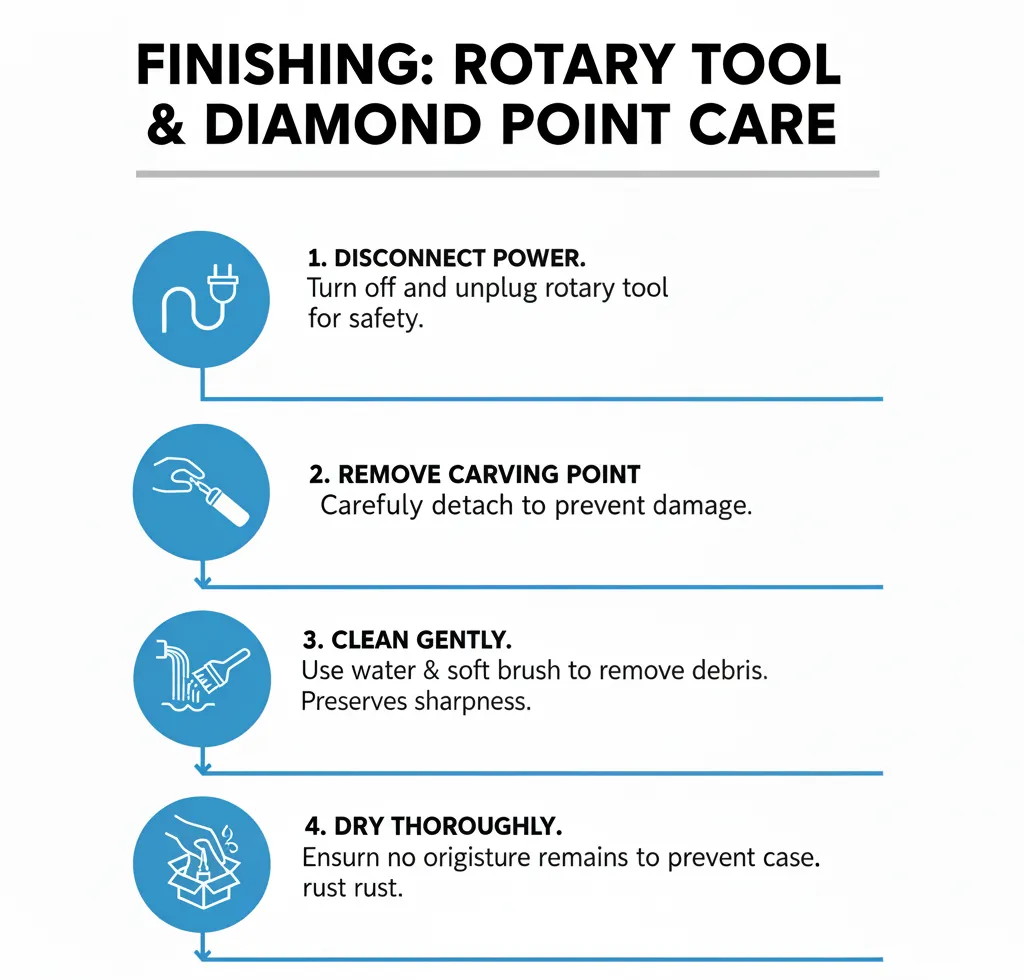
How to properly use Diamond Tools

Why use diamond

Diamond vs CBN (cubic boron nitride) Tools
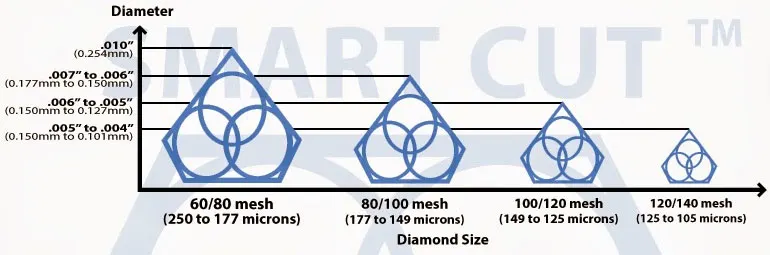
What is Diamond Mesh Size and how to select best one for your application

What is Diamond Concentration and which to use for your application

Choosing The Correct Diamond Bond Type
How to Properly Use Diamond Tools: A Complete Guide to Performance, Safety, and Tool Life
Alexander Schneider is a senior applications engineer with over 35 years of hands on experience in industrial diamond tooling. He specializes in the development, application, and optimization of ultra-thin and high-precision diamond blades, diamond core drills, and diamond and CBN grinding wheels for advanced materials.
His work spans ceramics, glass, composites, semiconductors, and high-performance metals. He supports research laboratories and manufacturing environments by optimizing tool design and cutting parameters to achieve high cut quality, long tool life, material integrity, and consistent process results.